
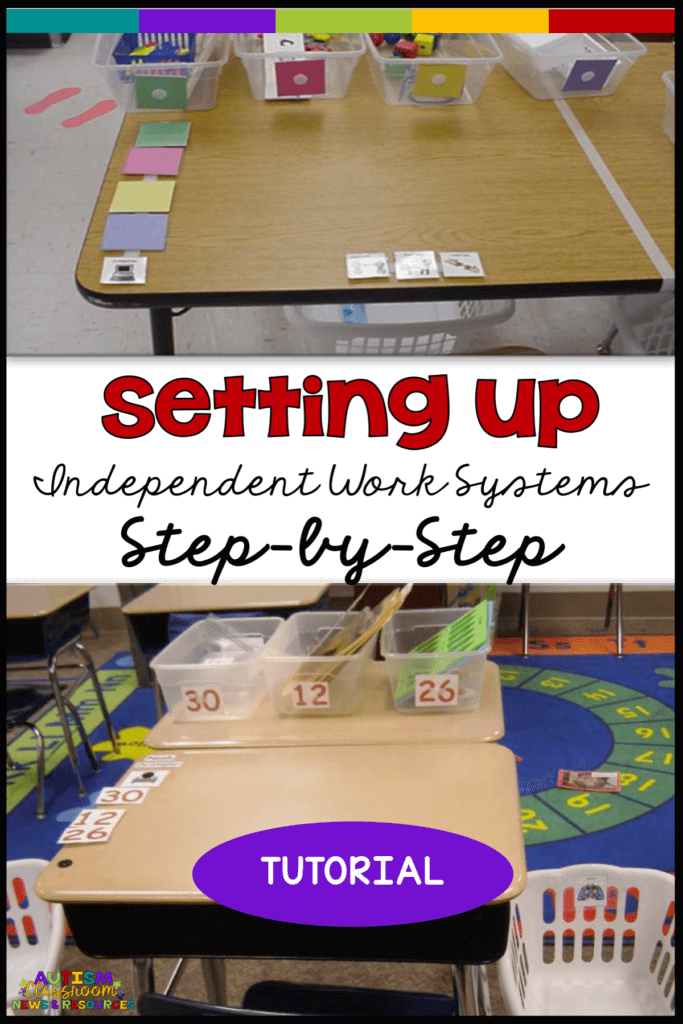
In the last post, I talked about the materials you need to set up independent work stations for autism. So today I want to talk about how to put those materials together to function in your classroom.
Step 1: Determine How Many Work Stations
Determine through your schedule and physical space how many independent work stations for autism you need to have running at one time.
Make sure you have tables for that number of systems. How many students will be in the independent work station center at the same time? That’s how many systems you need to set up.
You can have desks or tables or even round tables as long as they have enough space to lay out the elements of the system. And you can find some ways to get creative with work stations in this post–see #2.
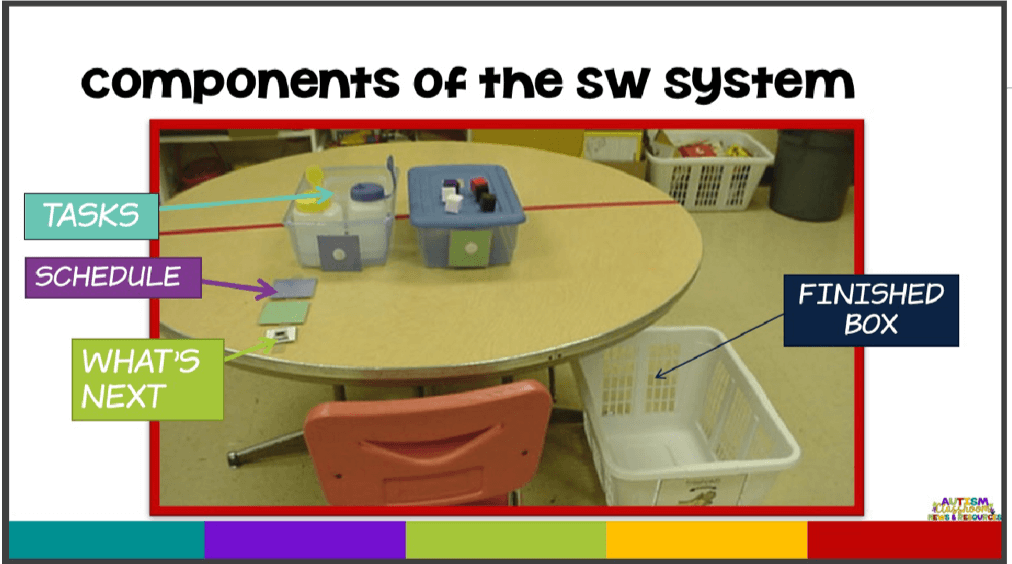
Step 2: Where Will the Independent Work Stations Go
Locate where in your room the independent work station center will be set up. I suggest it be in a different place than where you do instruction with the student so they don’t confuse when I work independently and when I work with the teacher. You also want to limit distractions in the area, so I often have the tables or desk facing the wall rather than having the student facing out into the room. You can read more about these decisions in this post.
Step 3: Set up Your Independent Work Stations
Then it’s time to set up your desks or tables for the number of systems you need. I like the stations to have most of the students facing away from the rest of the classroom to reduce the number of distractions.
Step 4: Velcro for the Schedule
Put a strip of soft Velcro on the left side of the table you want to use for the independent work system. That’s where your schedule is going to go. The system needs to be worked from left to right and top to bottom…so make sure to put your schedule on the left side. Can’t put Velcro on the tables? Check out this post for an alternative (see #3).
You can have your schedule going top to bottom or left to right (it’s a literacy thing). But keep in mind that top to bottom is a developmentally earlier skill than left to right. So if you are just starting out, I would start with top to bottom.
Step 5: Velcro on the Baskets
On the end of each basket, put a piece of soft Velcro (loop). The student is going to match the schedule visuals on to the matching visual on the basket. This piece of Velcro is designed to hold the visual they match to onto the basket.
Step 6: Velcro on the Schedule
Put rough Velcro on the back of each of the schedule cards (both sets. Then on 1 of the matching visual cards, put a piece of soft Velcro on the FRONT of the card. That is where the students will match the tasks by putting the visual on top of the matching one. Put one of each of these visuals on the front of each basket from step 5.
Each independent work system will need its own schedule.
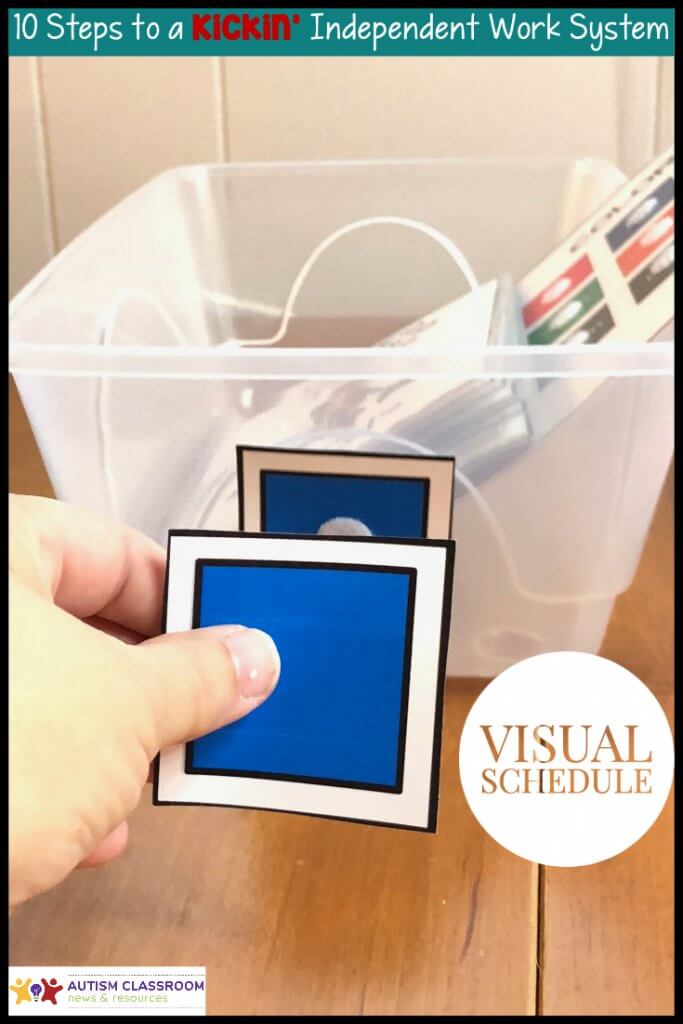
Step 7: Set up the Schedule for the Independent Work Stations
Set up the schedule. Put the visuals on the Velcro strip from step 4 in order of the matching visuals on the basket. The visuals on the schedule should go from top to bottom and match the visuals on the basket that go left to right. Put a visual of the reinforcing item or activity the student gets when the work is done at the end of the schedule.

Step 8: Put Baskets in System
Put 3 baskets at the top of the table in front of the student’s work area. Store other baskets on a nearby shelf to hold tasks. The number of tasks in the system will really depend on the level of independence of your student. For many students you might want to start with 1 task. The one above, for instance, has 2 tasks. With our system, it should now look like this, but feel free to individualize the number of baskets for your students.
Step 9: Put Tasks in Baskets
Put 1 mastered task in each basket. Make the tasks easy and something the student has already easily mastered and completes independently. For more about tasks, check out this post.
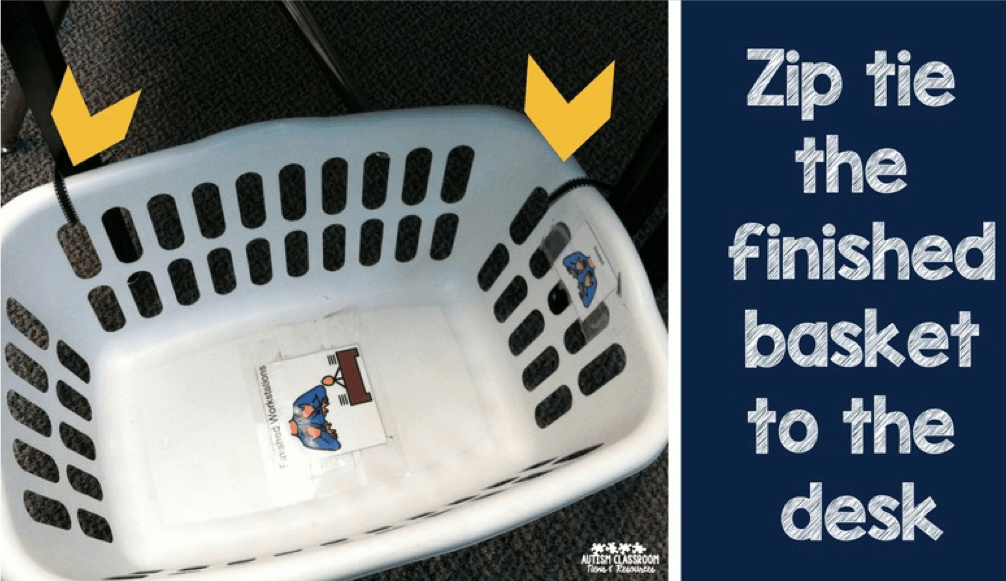
Step 10: Finished Basket
Set up your finished basket to the right of the table. You can put a sign on it (or not) that says finished. Making sure it’s the right is important to keep the student working left to right. Here’s an hack of how to keep the basket close to the desk.
And now you are ready to teach students how to work independently using these independent work stations for autism.
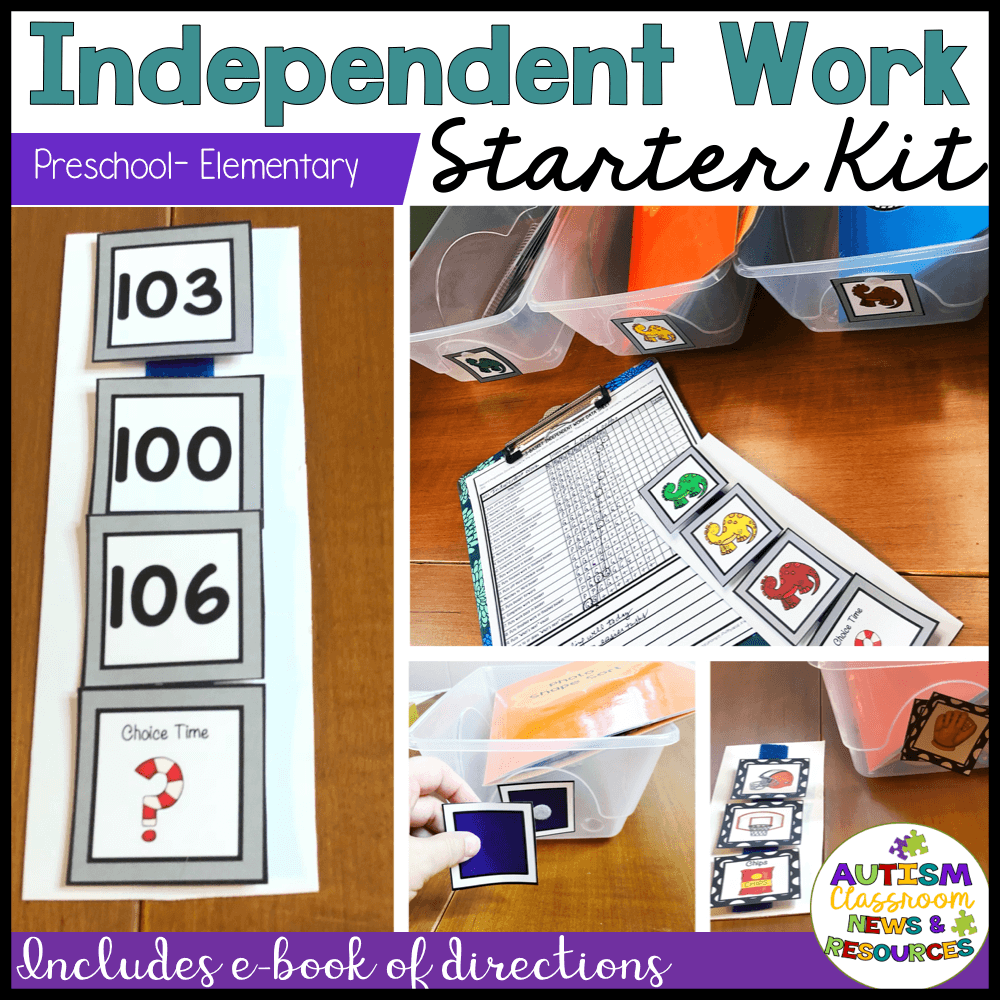
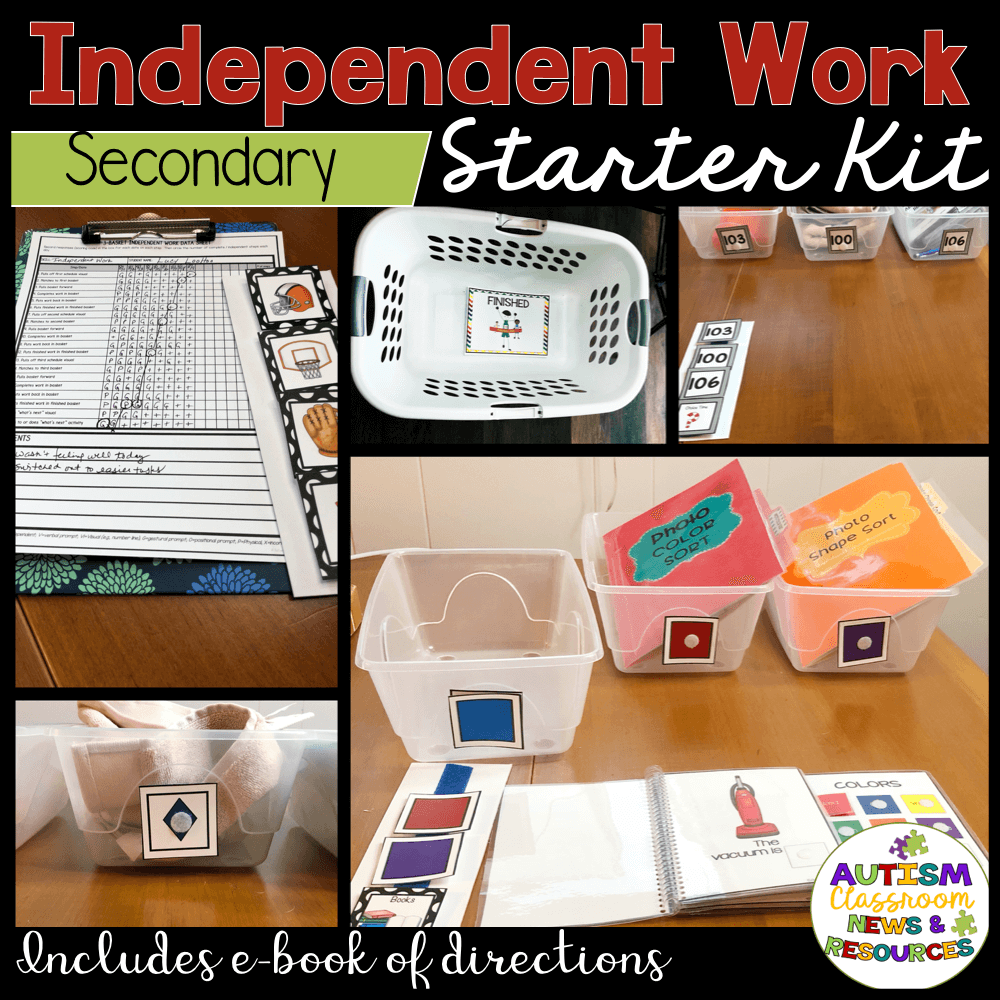
GET ALL THE VISUALS AND ORGANIZATIONAL TOOLS YOU NEED to start independent work in your classroom.
These kits include an e-book with directions on setting up independent work systems and using the materials included, data sheets for tracking progress, visuals for the special education work boxes and schedules, what’s next visuals, and mastery sheets to keep track of which students have mastered which task.
![Independent Work-3 Ways It can Become Your Best Classroom Management Tool [A sorting task in a shoebox to sort nouns from verbs on popsicle sticks into plastic cups]](https://autismclassroomresources.com/wp-content/uploads/2023/06/BLOG-22208-3-Ways-Task-Boxes-and-IW-Help-Classroom-Management-2-768x644.jpg)
