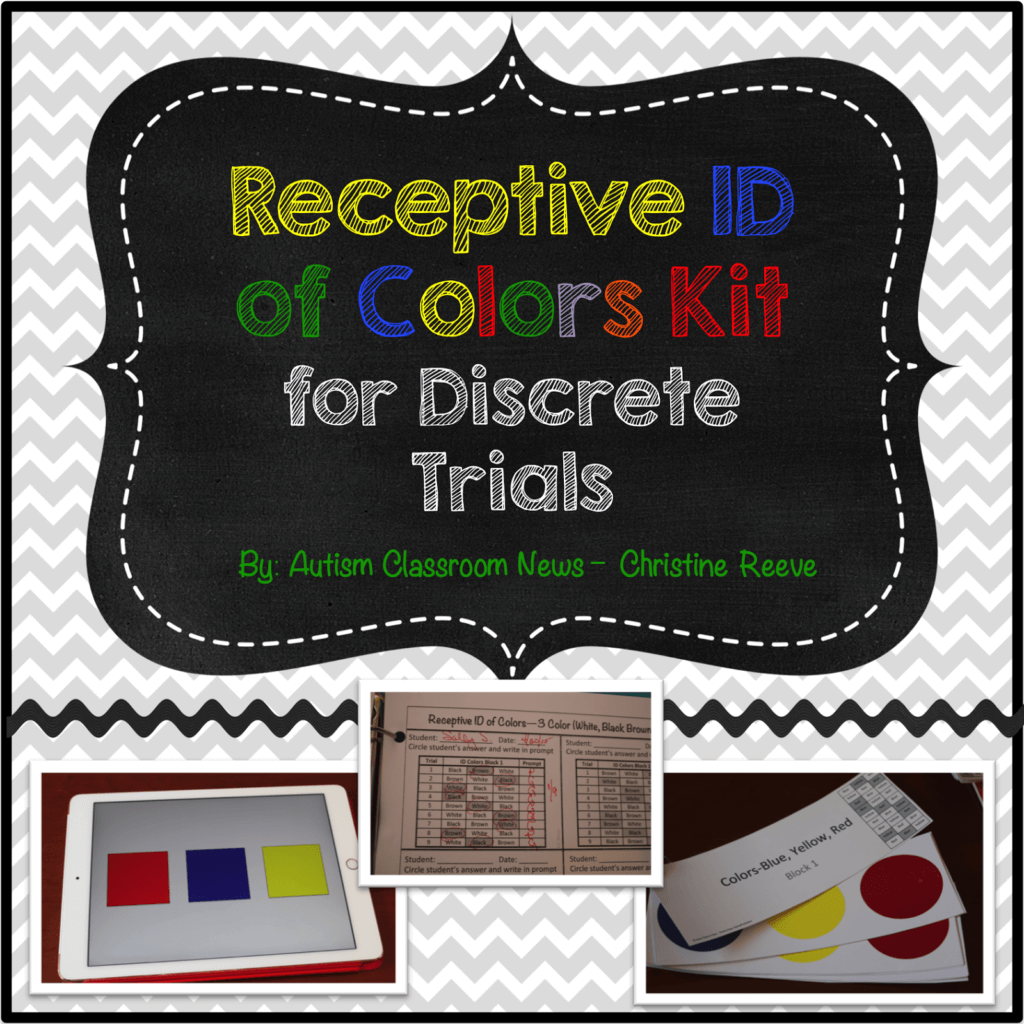
I feel like I should write a social story for myself about not getting a blog post out when I’m involved with other things (and maybe for you as well, although you seem to handle my delinquent blogging better than I do). I actually wrote a social story in my head during the last two days (I call that self-regulation). It’s amazing how things just consume me–my newest product for discrete trials is what overran my schedule for the last couple of days. But the good news is, it’s done and posted and I’ll refer to it during this post (which was my excuse for not writing it). Enough….on with it.
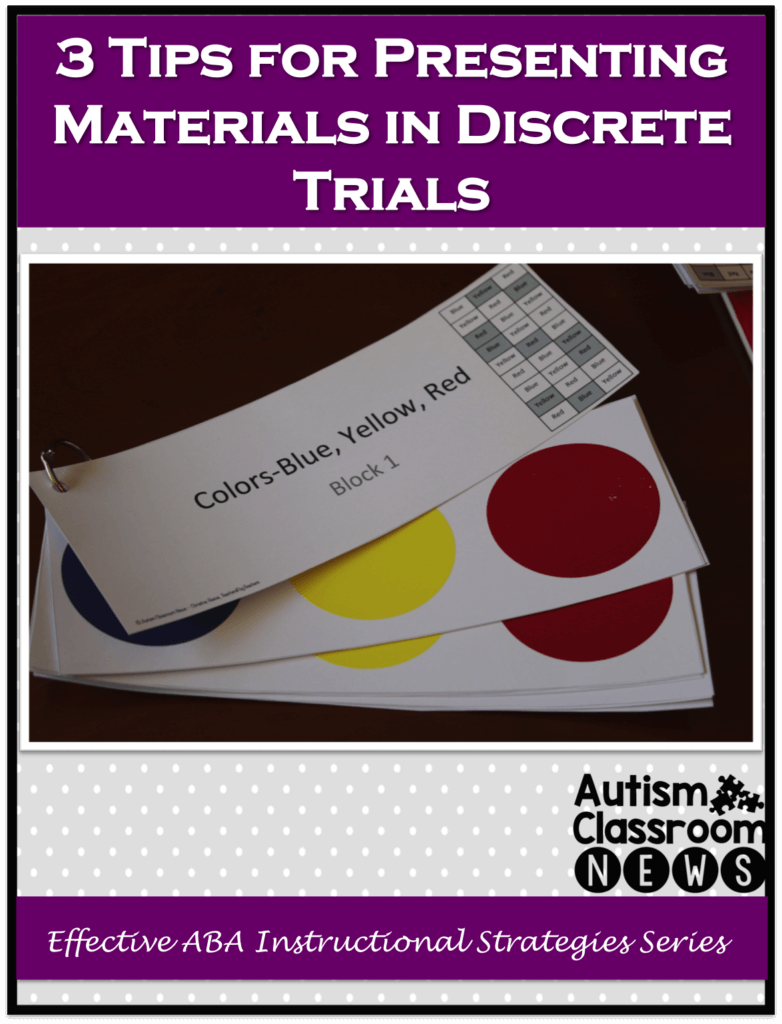
In my last post, I talked about characteristics of the materials you use in discrete trials and elements that need careful consideration to assure that we are teaching the skills we intend to teach and not letting our students be led astray by irrelevant distractions. Today, I want to talk about how we present those materials to the student so that our instruction is the most efficient and we assure they are learning what they are supposed to be being taught.
Many DTT programs have been traditionally written with the following steps (for teaching receptive ID of colors):
1. Present a card with a blue square by itself; ask the learner to touch blue
2. Present a card with a red square by itself; ask the learner to touch red
3. Present the 2 cards (red and blue) on the table together and randomly ask him to touch red or touch blue.
If you have done this, you may have had a student (or 10) who immediately identified red and blue in isolation but completely bombed when we presented them in an array of 2. Ok, they didn’t completely bomb because they have a 50/50 shot of getting it right, but their performance nosedived from 100% to much lower. Then it took a long time to climb out of that hole.
We thought we were teaching him to identify the color blue and then the color red in steps 1 and 2. What we really taught him in Step 1 was touch the card in front of you. When we presented the red card in isolation, he still learned touch the card in front of you. So when we presented Step 3, he was flummoxed–now he had two cards in front of him….so he guessed. He may have even learned to ignore the other card. For many of our learners Step 3 takes forever because essentially we have to unteach the response the student learned–we have to unteach the response of touch the card in front of you response and teach the actual discrimination of red from blue, which was the original point of the whole exercise.
We all have done / still do this. Over time, I rewrote my programs so that at least we didn’t teach Steps 1 and 2 for 30 trials at 100% and changed it to correct independent responses to 3 consecutive trials. He touches blue (the only card in front him) 3 times in a row independently and we move on. This helped a little because we didn’t get stuck on step 3 as badly, but some students still really struggled.
However, our more current research (Gutierrez et al., 2009) suggests that the isolation steps are not really necessary. Not only are they taking up time in our programs, but we are having to spend time unteaching those steps and often get problem behaviors because we are throwing the kids a curve ball. So we are creating errors for our learners…and that is not effective teaching.
So, what does the research tell us we should do?
1. Use an array of stimuli (materials for the target skill)
Research (Green, 2001; Grow & Leblanc, 2013) suggests that we should start with an array of at least 3 items. Some students can handle larger arrays of 4 or 5, but 3 is the minimum because you drop the possibility of accidentally getting the right answer to 33% instead of 50% if you have an array of 2. Research has indicated that for many learners, those isolated steps just confuse them and teach them the wrong thing that we then have to unteach. Similarly, the researchers have found that we can get better learning in a shorter period of time by mixing the stimuli from the start. However, we have to mix them in a systematic way, which I’ll get to next.
 So, if you are teaching a student to follow one-step directions, instead of teaching him/her to jump up and down by itself, instead you would teach him to follow at least 3 directions simultaneously in a block of trials. So you might choose, “jump,” “clap hands,” and “raise arms” and you would present them in a pre-defined sequence. This way the student masters all of those one-step directions together.
Similarly, if you are teaching him to receptively identify colors, you would start with an array of three colors. From our last post I talked about how we need to choose targets that are significant different from each other (don’t share overlapping features), so with colors it would be blue, red, and yellow as the primary colors with no blending.
 2. Vary positions and counterbalance the order of the materials
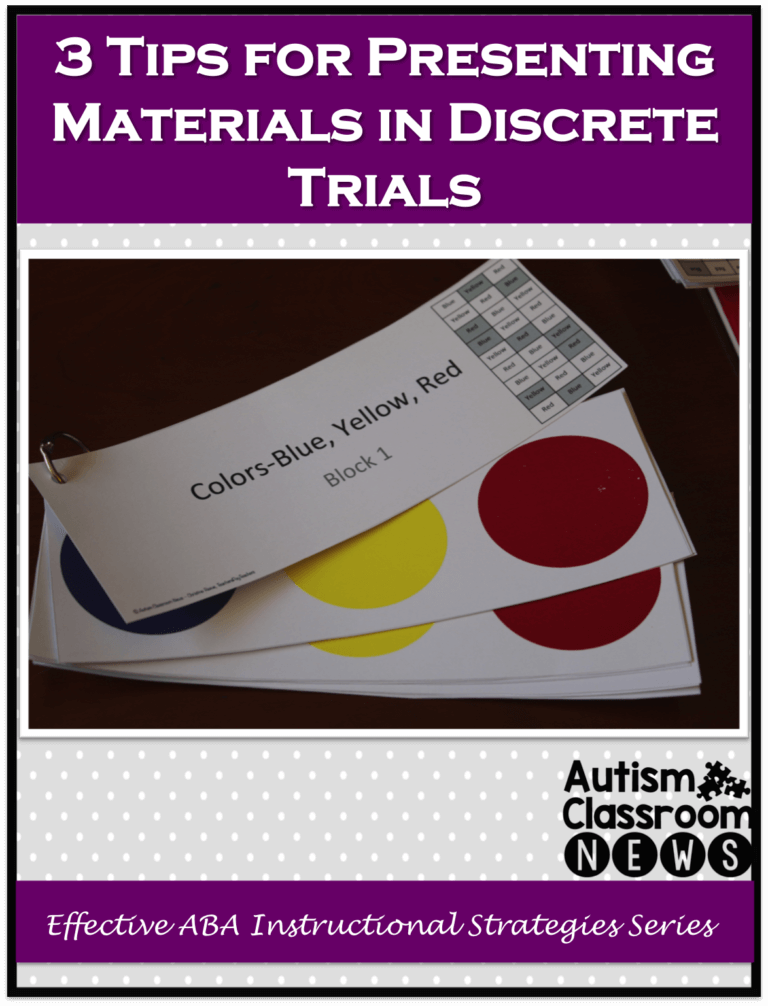
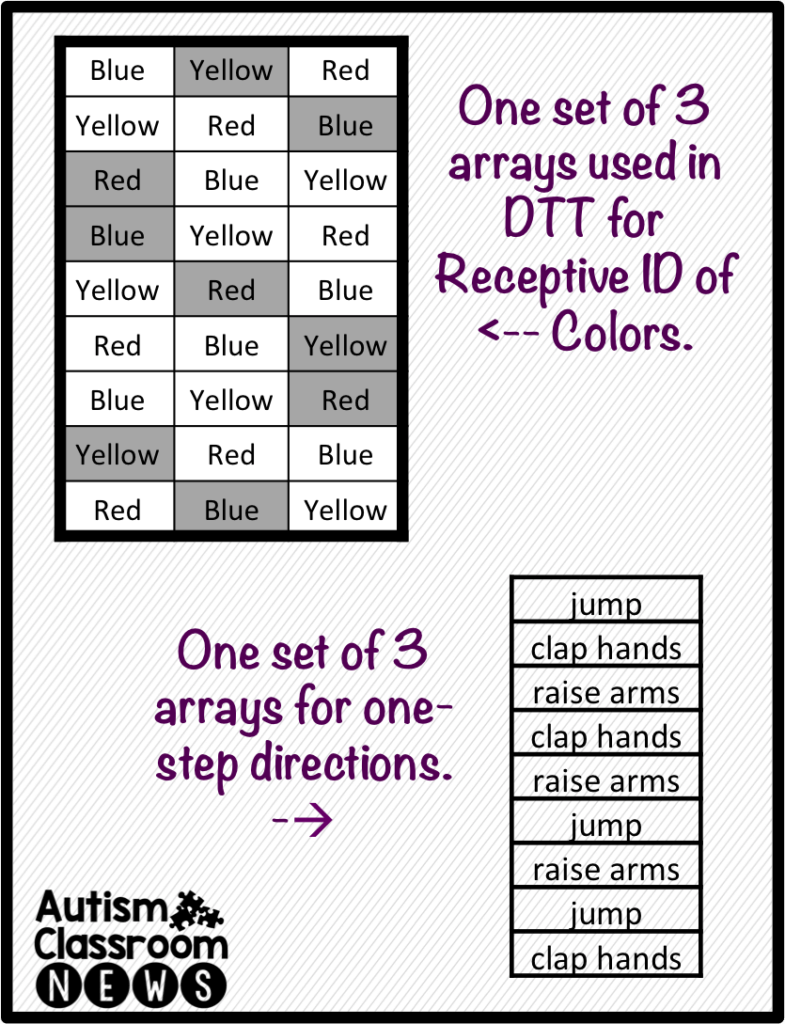
Because our students will often learn the position of the right answer instead of the relevant information, like color, you want to make sure that you have varied where the right answer is as well as making sure that you are balancing out which one shows up in what position. As an example, look at the array to the right from my DTT Kit for Receptive ID of Colors. The rows are placed out in front of the student for each trial (e.g., blue, yellow, red) and the student is asked to identify (e.g., point to) yellow. Yellow, red and blue all appear once on the right, once in the middle and once on the left. Two positions don’t repeat for more than 2 trials. For the one-step directions, they are counterbalanced so they don’t go in any order. So instead of jump, clap hands, raise arms, jump, clap hands, raise arms, they are counterbalanced so they won’t be presented in a predictable order. Then, I set up the kit so that there are 3 sets of arrays, all counterbalanced based on Grow & Leblanc (2013). All the materials and order should be set up in advance to reduce the need to think about that while also trying to engage the student and take data at the same time.
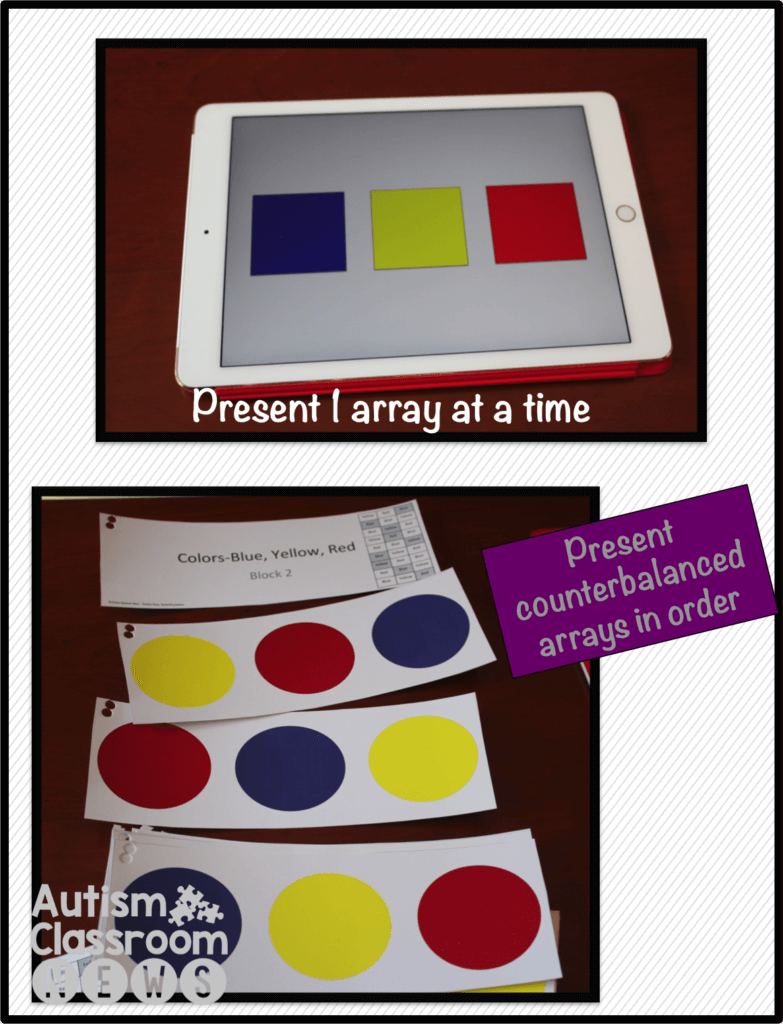
3. Prepare the set of material on a board or tray and present it all at once
When presenting the materials, you want to present the whole set at one time. This is done to avoid having the order of how you put out the materials or some other cue of you placing the items from giving the student a cue that becomes part of the learning rather than the stimuli themselves. It also means that you can plan the instruction ahead of time and everyone can present it in the exact same way. This was the part that made the light bulb in my head go off when I was attending Dr. Leblanc’s talk. This means we can prepare the materials ahead of time and avoid having to manage the materials at the same time we are trying to teach. It means that the materials when we are doing matching and receptive identification can be 1 page instead of 9 different cards that I have to decide where to put each trial. Shazaam!

So I created the DTT Kit to address these 3 issues (among others). I started with colors and will be adding more to the store over time. It includes data collection tools and other things, but I’ll talk more about that in the next post. In the meantime, there is a free version that gives you the beginning to see if this type of organization works for you. It focuses on red-blue-yellow in arrays of 3 and has all the materials, data collection sheets, and probe materials you need to begin trying these strategies out. You can find out more about it HERE or by clicking on the cover. I’ll be back in my next post to talk about everything that is contained in the kit.
Until next time,