

Back to School: Setting up Classrooms for Students with Autism #3-Design the Physical Space Part 1

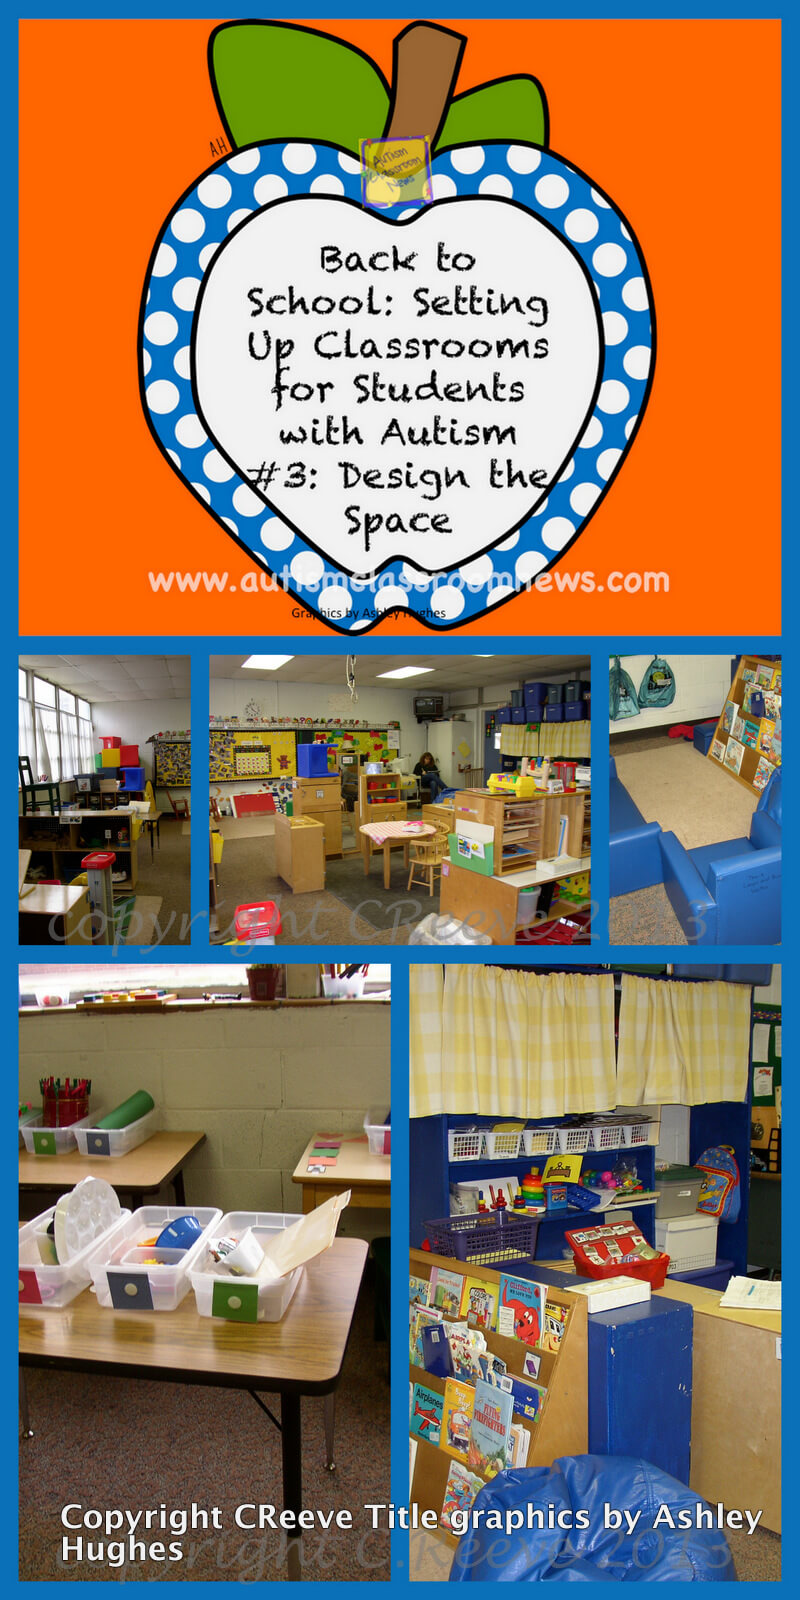
A collage titled Back to School: Setting Up Classrooms for Students with Autism #3: Design the Space, showing organized classroom areas with desks, bins, shelves, books, and learning materials.
Picture of Christine Reeve

Christine Reeve

Christine Reeve, PhD, BCBA-D, has spent more than 30 years in and around special education classrooms — as a teacher, a consultant, and a behavior analyst. She directed autism and ABA graduate programs at Nova Southeastern University for 14 years and has written books on classroom setup, data collection, and independent work systems. She founded Autism Classroom Resources and the Special Educator Academy.

Back to School: Setting Up Classrooms Step #3 Design the Space Part 1

To check out other posts in this series, click here.
So now we are going to move onto physical space.  This part of the series will be a little shorter because I’ve already written a book about this part, however, you can’t talk about setting up a classroom without talking about the physical space.  The physical space depends on the schedule which depends on the students in the classroom.  Hence, the physical space may change greatly or very little depending on whether the students are similar or different from year to year.  In my last post of the series, I talked about a preschool schedule so today I want to show you the pictures of the classroom itself.  Bear in mind it’s a bit messy.  When we set up classrooms for a demonstration classroom, we do it in a week while the kids are attending school in most cases.  This leads to a bit of a mess and we don’t have a lot of time for “the pretty committee” as a colleague of mine calls it.  That comes later–we address the bear bones of the class.  However, as an aside, I have noticed that if you are setting up a classroom for students on the spectrum, your theme is usually chosen for you….I’ll call it Visual Town!  Typically there are so many visual supports and communication materials on the walls that there is little opportunity for “decorating.”  So I think about the design of the classroom more than the decorations.

Oh, and I should also tell you that the week before we worked in this classroom, I tore a ligament in my knee falling on black ice. We didn’t think I was going to be able to go, but we autism people are tough!  And I thought Sue would kill me if I didn’t.  So I went with my leg in a brace the whole time to run a PRESCHOOL classroom!  Those of you who teach young ones will understand.  Anyone know how hard it is to sit on the floor when you can’t bend your knee?  And they still made me run circle!!

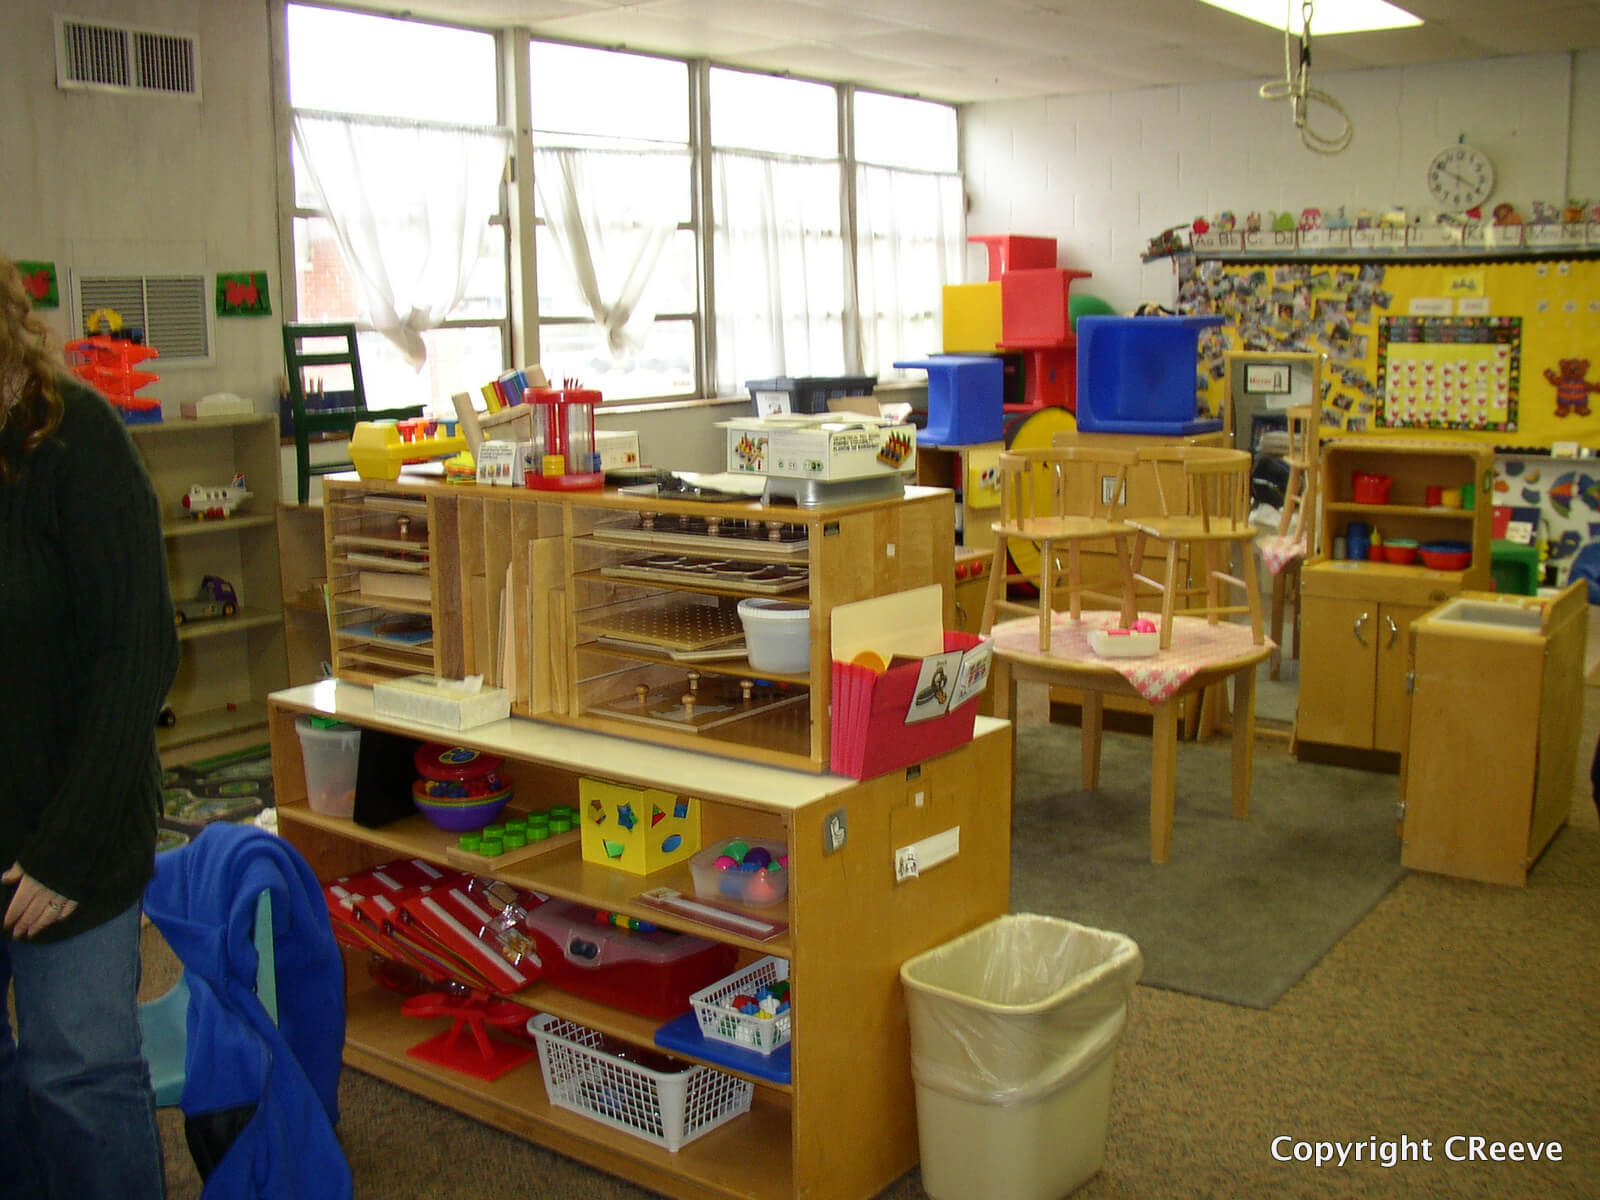
OK, so here’s the tour.  This was a classroom that was somewhat long and had lots of space with shelves along most of the walls.  We needed to break up the space to prevent running, so we put the kitchen / housekeeping area in the center of the room and used that furniture to block it off.

A colorful, organized preschool classroom with shelves of toys, books, and art supplies. Small tables and chairs are arranged in the center, and a teacher sits in the back corner reading or writing.
Here you can see the housekeeping area with the table in the middle of the room.
A brightly lit classroom with shelves filled with toys, games, and art supplies. Small tables and chairs are arranged for children, and colorful bins and educational posters decorate the space.
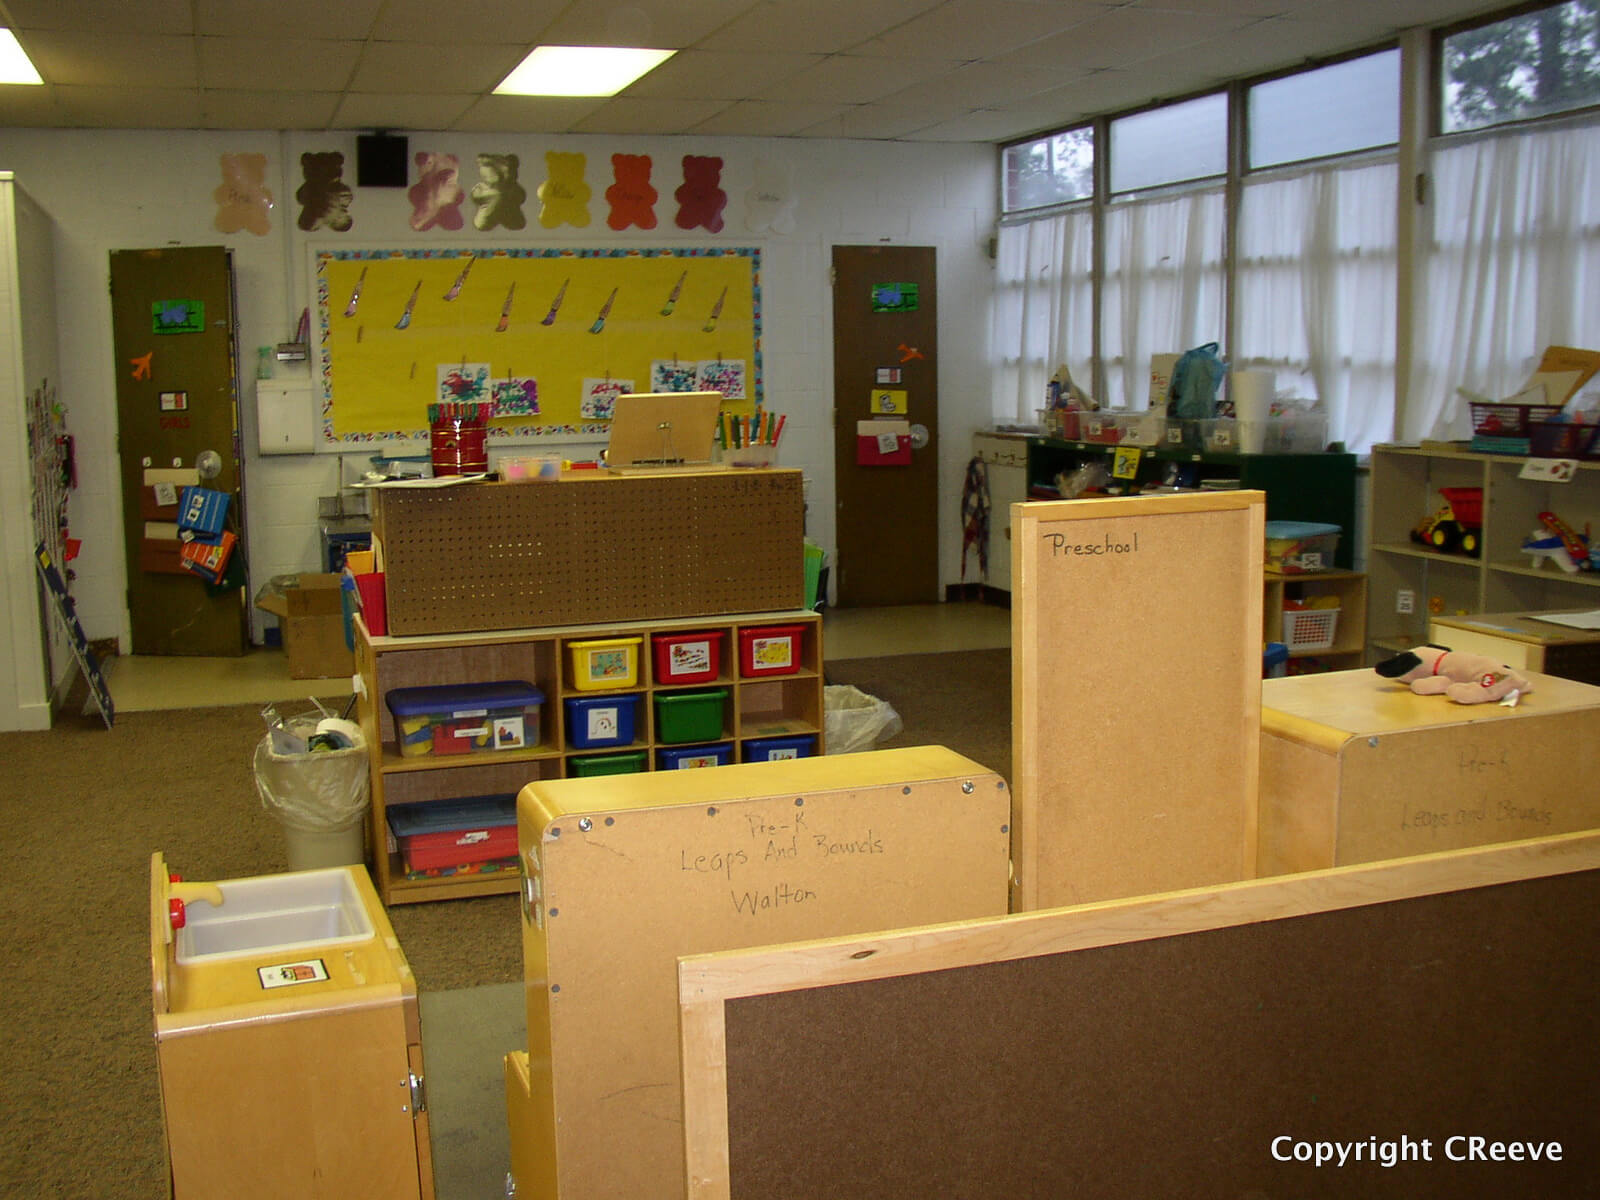
This is the other side of the housekeeping area.
A classroom with organized shelves of colorful bins, child-sized furniture, and educational materials. Large windows let in natural light, and a bulletin board with art supplies decorates the back wall.
And this is the back of the housekeeping area so you can see how it blocked off the room.

On the side of the room, we used cubbies to block off space for a reading area and the direct instruction area.  This put a quiet place next to the work area.
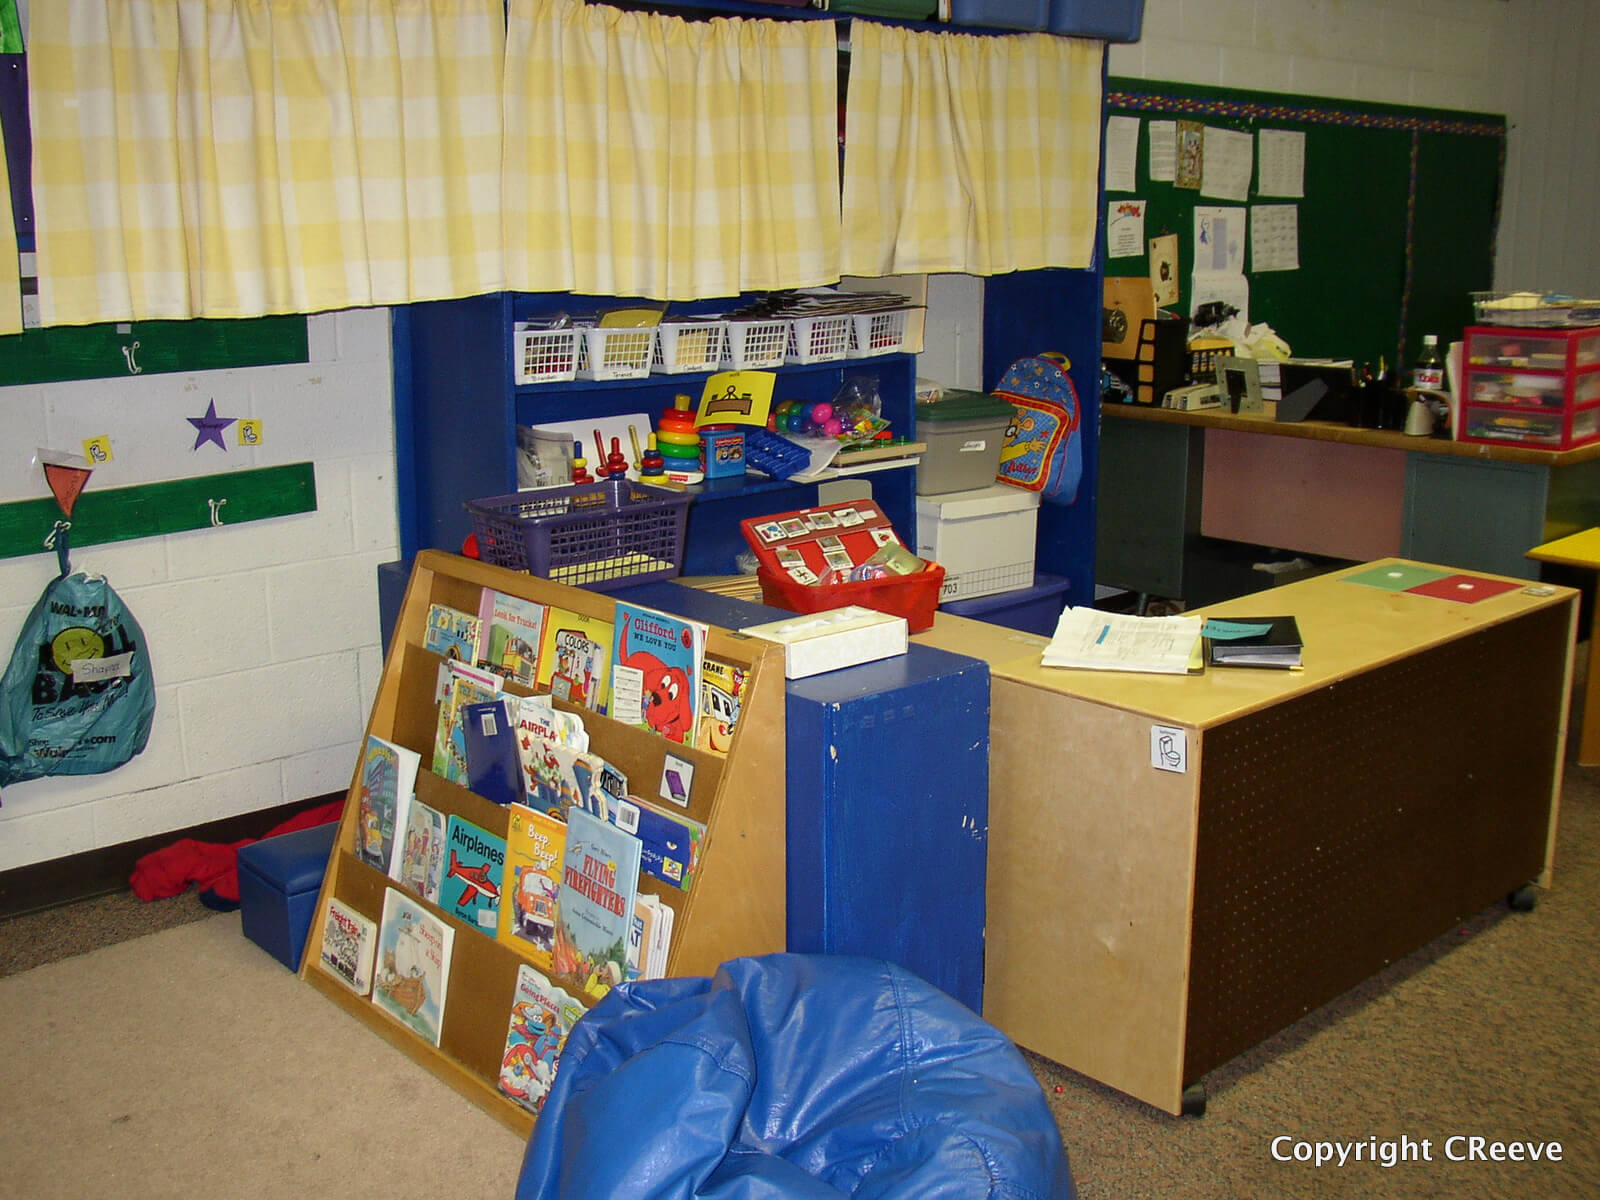
Classroom reading corner with a wooden book display, blue bean bag, shelves with baskets, and a teachers desk. Yellow curtains hang above the area, and colorful decorations are on the walls.
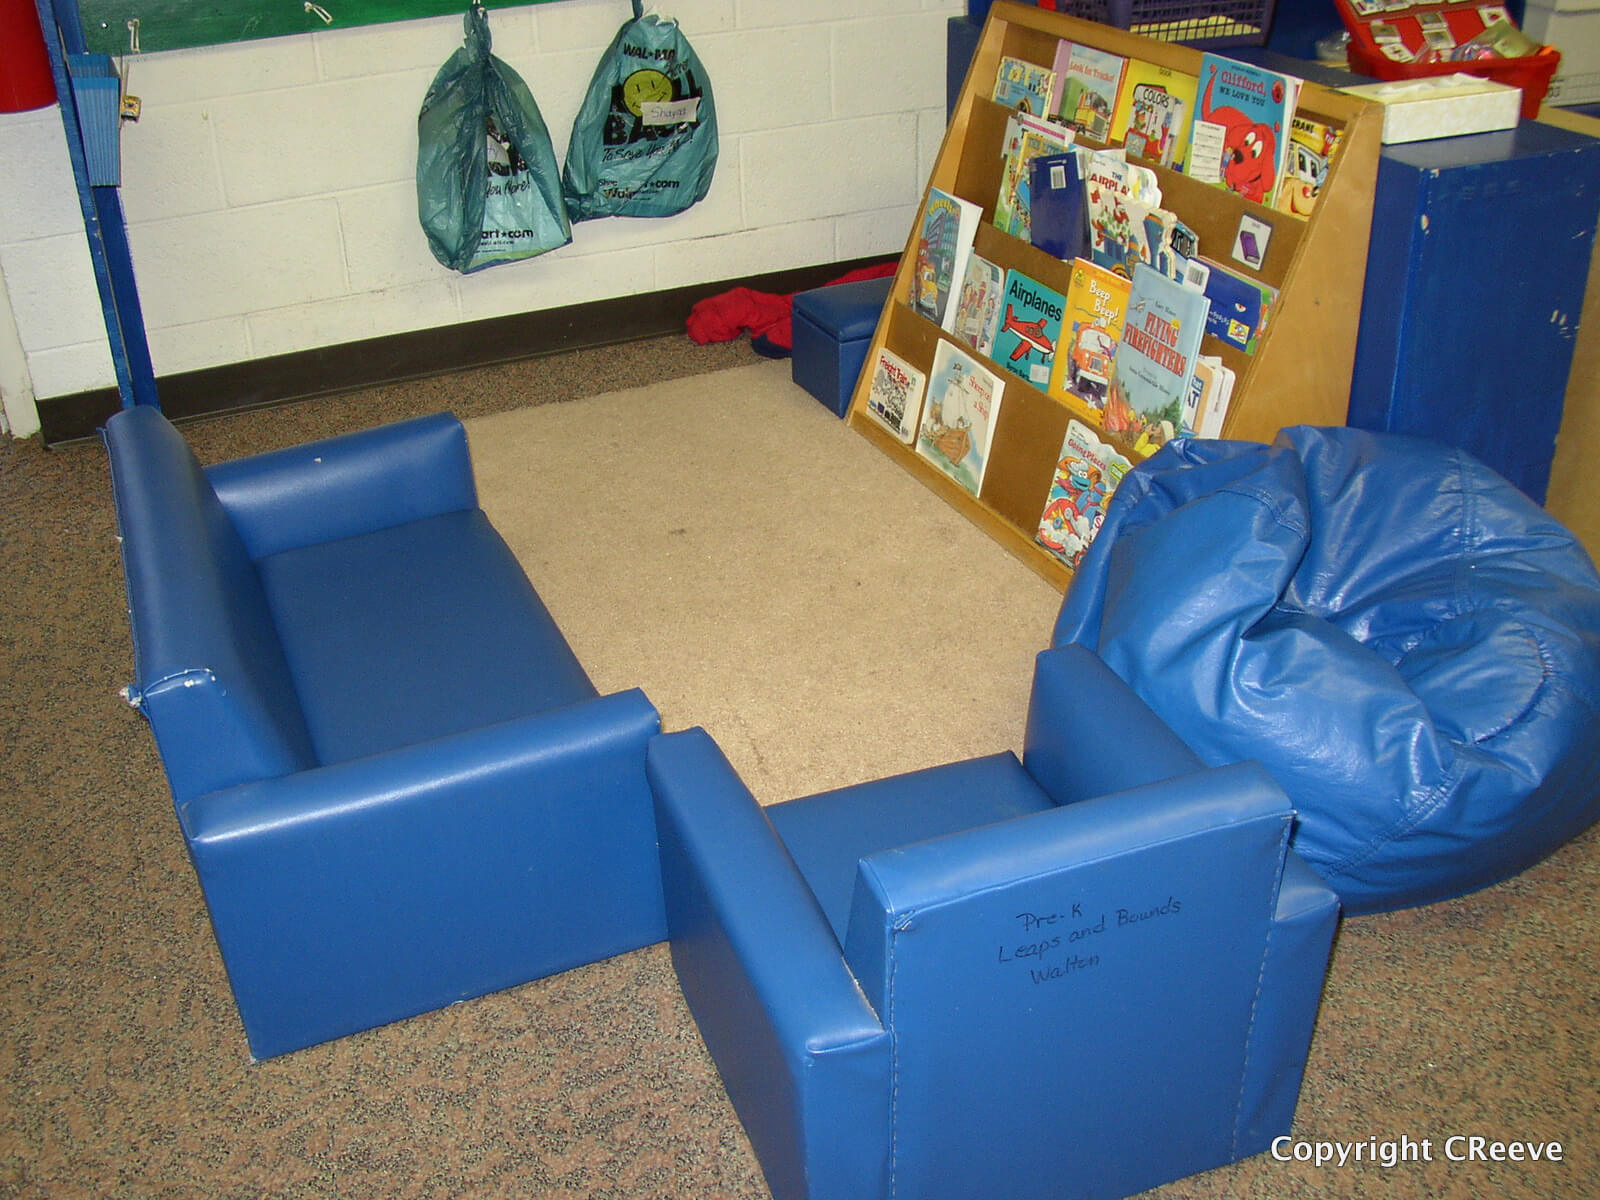
Direct instruction area is the area under the curtains and  behind the bookshelf


A cozy reading corner with blue foam seats and a blue bean bag arranged around a small carpet, next to a low bookshelf displaying colorful childrens books. Two backpacks hang on the wall nearby.
This is the library / reading area


Three classroom tables with green chairs are arranged with plastic bins containing various school supplies like crayons, paper, and glue. Color-coded name tags are placed on each table. The room has a carpeted floor and a window.
This is our independent work system area.  Note that the desks face the wall to decrease distractions and can maintain 3 students at a time in the center rotation.
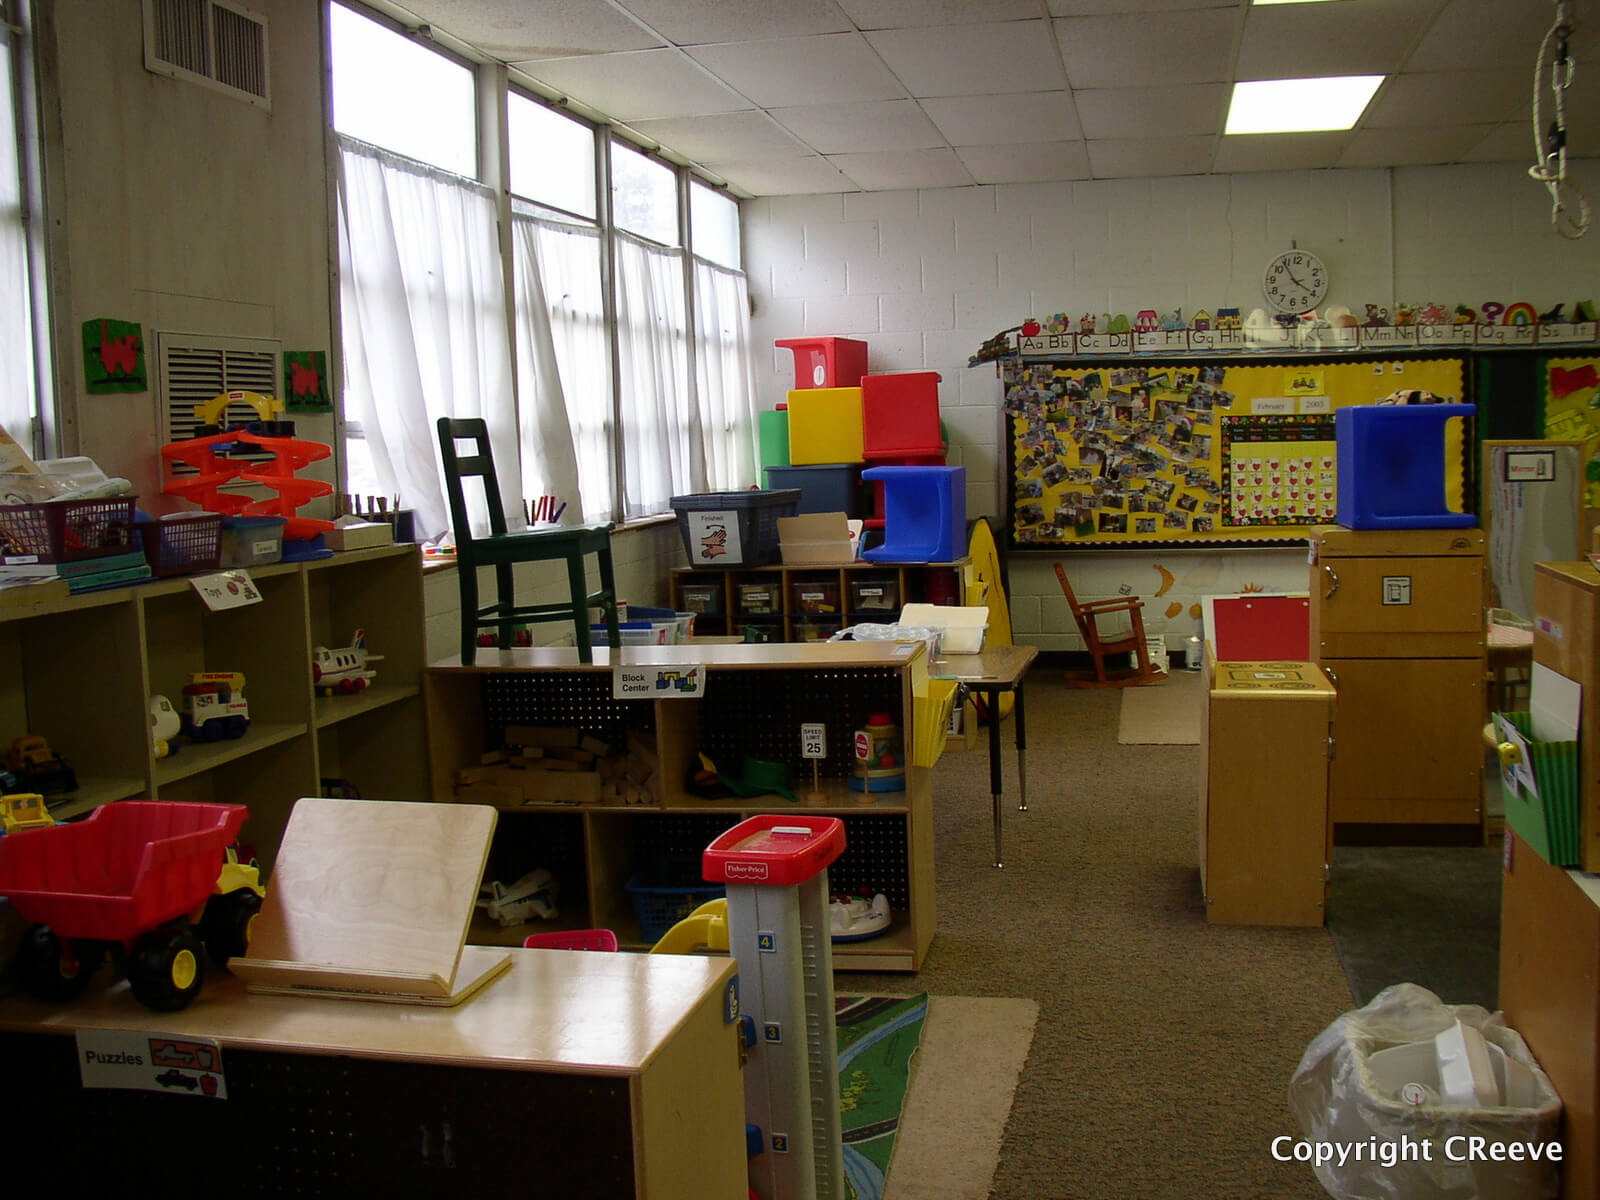
A classroom with shelves of toys, colorful bins, and chairs stacked on tables. Sunlight streams through large windows, and a bulletin board decorated with various items is on the back wall.
This shows the other side of the room from the library.  The first area inside the cubbies on the left is the play area and then the independent work area is just beyond that.

And below you can see the schedule areas.  We had one or two students on an object schedule and one on a first-then schedule.  The rest used a full-day schedule with center strips that traveled with them when they rotated through the center
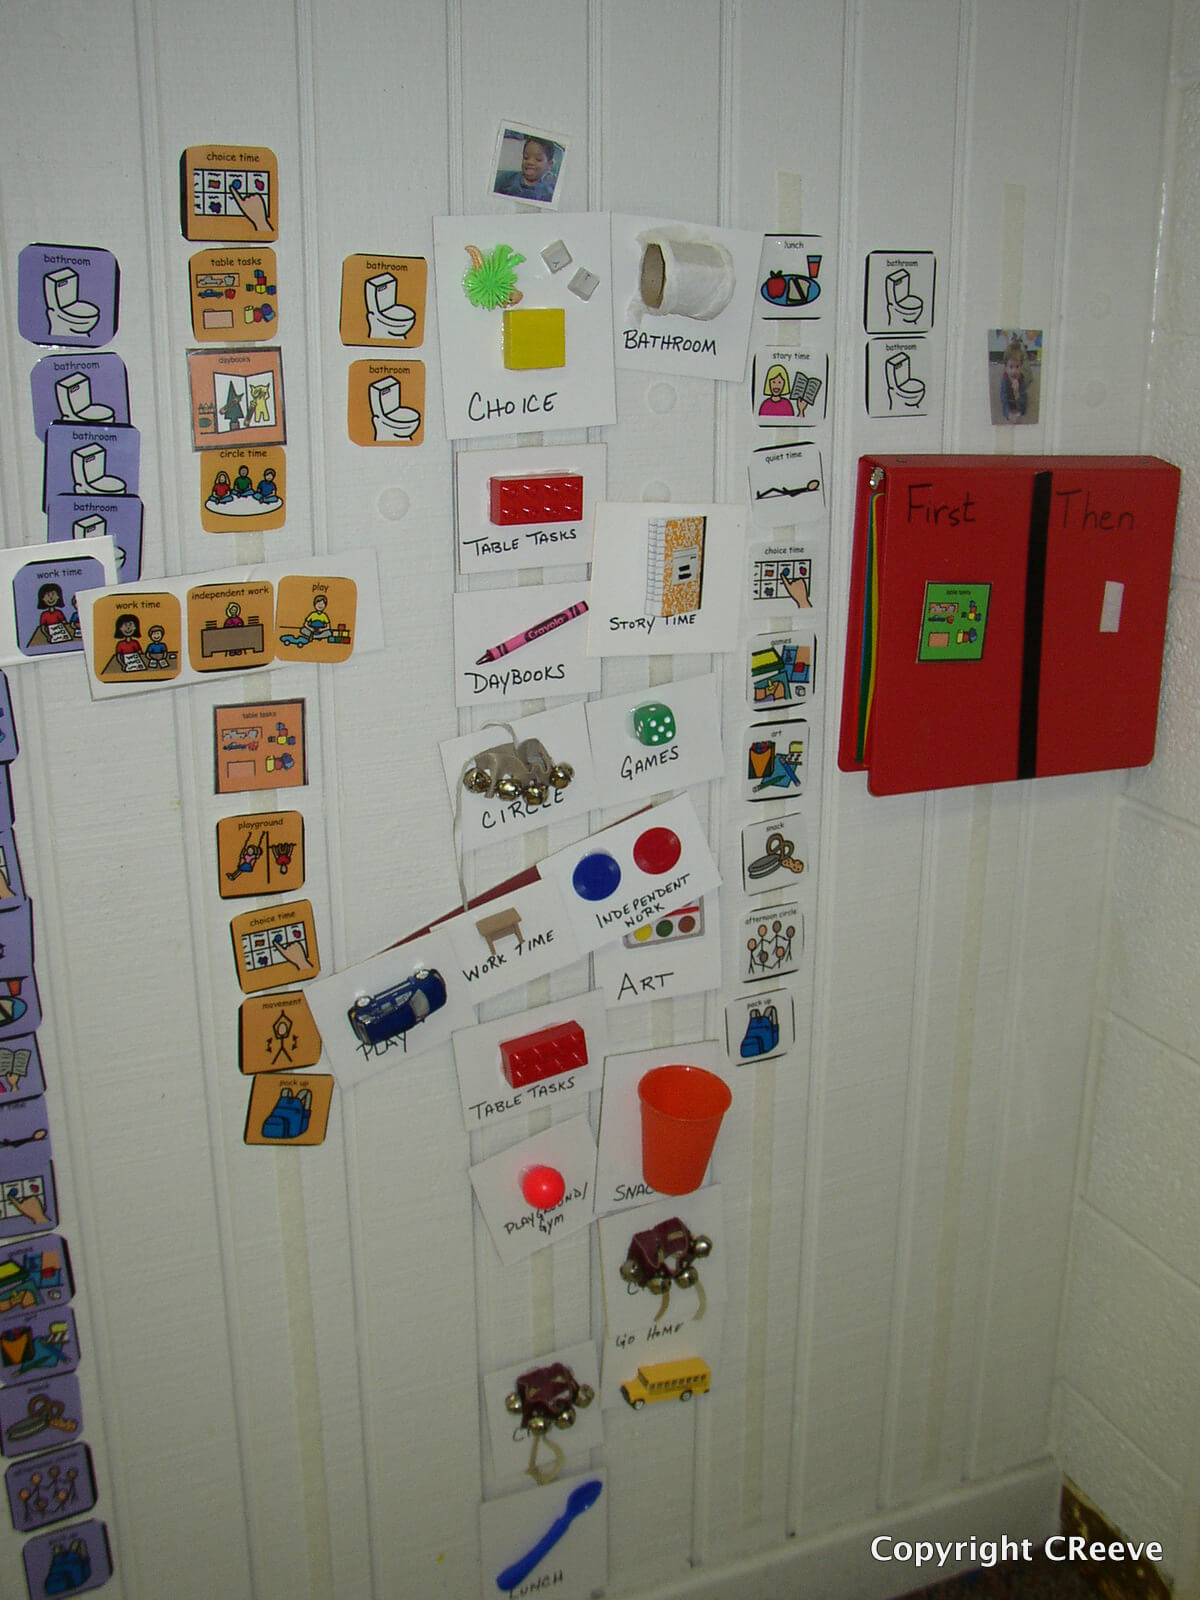
A visual schedule board with picture cards and objects depicting daily activities is attached to a white wall. Nearby are choice cards, a red first-then book, and more visual cards for communication or routines.
Somewhere I have a picture of the teacher’s mini-refrigerator that had all her visuals velcroed to it in rows according to category, but I can’t seem to find it.  It was a useful storage system and was positioned near the food, which the students were most interested in requesting.  I also can’t find a picture of the circle area, but it was across from the library / reading area.  If I can find those pictures I’ll share them at another time.

In the next post, I will share some floor plans of before and after of an elementary classroom.  If you are interested in the physical design of a secondary classroom, check out my post on A Special Sparkle that has floor plans.
To learn more about things to think about in designing the physical space with more pictures and examples, check out my book below-click the book photo.  [Amazon affiliate link–same price for you and I only link to things I love and think will help you.]
 

What are the things you think about in designing the physical space of your room? Or what questions do you have for the blogosphere to help you with?  Drop me a line in the comments and we’ll discuss!

Until next time,

Cartoon of a smiling person with short blond hair, wearing a purple shirt and black pants, holding a laptop. A briefcase is on the ground. The name Chris is written in script beside them.


Share it:

Email
Facebook
Pinterest
Twitter

Unlock Unlimited Access to Our FREE Resource Library!

Welcome to an exclusive collection designed just for you!

Our library is packed with carefully curated printable resources and videos tailored to make your journey as a special educator or homeschooling family smoother and more productive.

Free Resource Library