Clip art credit to Ashley Hughes
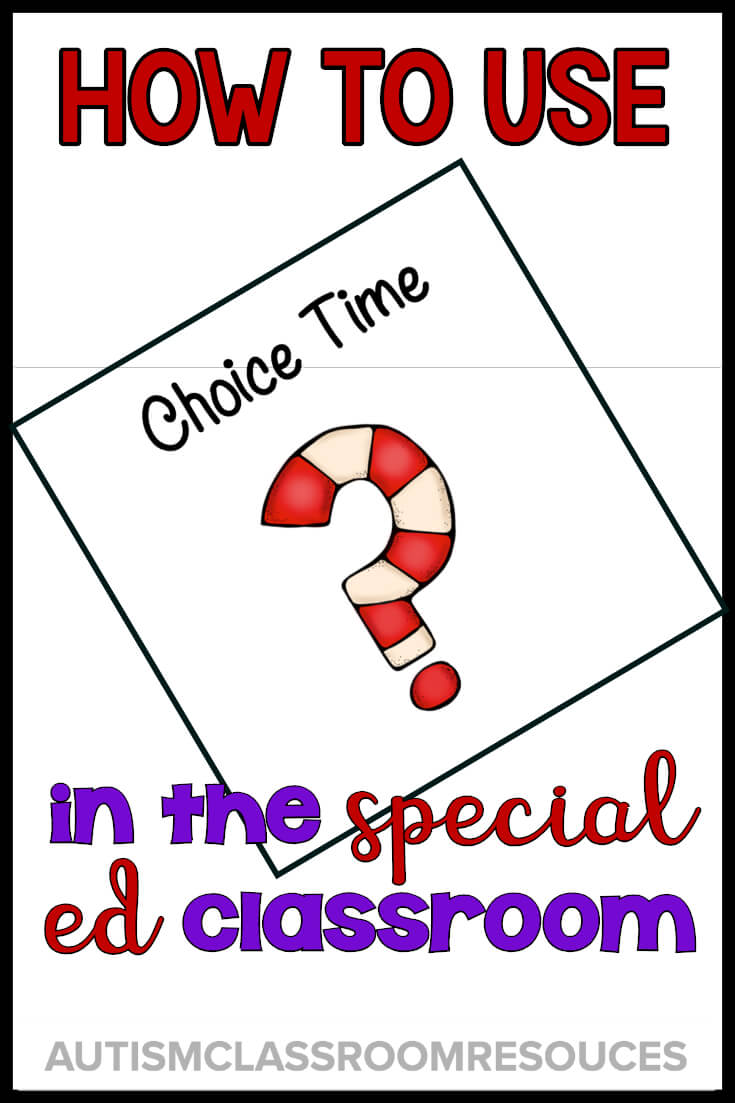
So in my last post I talked about WHY you should schedule choice time in the classroom. As promised, now I’ll talk about HOW it can be included. Well, really there are tons of ways to include choice time in the classroom from making choices within activities to having the class vote and choose reinforcers or activities.
Today I’m going to focus on how to include a Choice Time in your classroom schedule. I use visual supports to manage it and let students know the expectations. So let’s dive in.
Steps for Including Choice Time in Your Special Ed. Classroom Schedule
DETERMINE YOUR GOALS
As with most things in the classroom, you want to be clear on what your goals are for the activity. For instance, are you trying to create an opportunity for the students to learn to choose from a menu? Or are you trying to teach a student or students to accept when something isn’t a choice?
Chances are it’s a combination. I touched on this in the last post, but some goals you might address include:
- Learning to make a choice between desired activities
- Exposure to a variety of leisure or play activities
- Accepting when something is not a choice
- Making a different choice than the same one made every day
DECIDE ON A TIME FRAME
Decide how long the students need choice time to last. It should last only as long as the students can remain engaged. So, if most of your students can only do a 10-minute activity without getting antsy, make choice time 10 minutes AT MOST. You may want to make it less because you want them to be be semi-independent at it.
Sometimes you may need choice time to be a little longer to give staff breaks. In that case you might have students make 2 choices. Just know you will need more staff available to support that.
TO ALLOW SWITCHING, OR NOT
Decide ahead of time whether you are going to allow students to move between choice opportunities. And then make sure your staff knows that decision.
Why allow switching?
- Some students can’t stay engaged for a long enough time in one activity, so switching helps them stay engaged in the choice time activities.
- Students also get more opportunities to practice making choices using switching.
- When a student has difficulty accepting that a choice is not available, he might get to choose it again that same day.
Why not allow switching?
- It gets complicated with students moving around to make sure they are always coming back and checking the board.
- Students don’t stay engaged as long with leisure activities, which might be one of your goals.
- There might not realistically be enough time during the choice time for more than one choice.
4
INDIVIDUAL OR GROUP CHOICES?
It could be group choices or it could be individual choices.
INDIVIDUAL CHOICES:
I use individual choices when the activities are pretty separate or always available. So if my choice activities are things like reading, scrapbooking, and playing cards, there might be no time when the activity is “full.” So students can choose any of the choices each day.
Choices can also be individualized. I can make a catalog or menu of activities for each student based on his/her preferences. I can also base the menu on what I want the student to focus on. So, it could be that one student needs primarily instructional choices for choice time (e.g., math games, instructional computer games). But another might need more leisure-related choices
GROUP CHOICES:
However, there are times when choices need to be spread out across the group. For instance, if computer is one of my choices but I only have 2 computers, then I use group choices. This way I can depict when a choice is full, helping students understand better why they can’t choose it this time. You can see examples of that below.
I may choose to have group choices at times because it allows students to learn when something is not available because it’s full or taken.
CHOOSE YOUR VISUALS
You can present choice time in a number of different ways. If you have individual choices, then each student might have a menu. I did this once with a catalog kind of theme. Unfortunately I can’t find a picture of it at the moment. But essentially it was just a 2-page booklet of pictures of the student’s choices. In their case, the choices stayed fairly stable, but we would cross them off with a dry erase marker if something wasn’t available.

‘If you have all the students checking in on the same choice board, you might have one that looks like the one above. In this case, the students had a visual on their individual schedules for choice time. Then each one would check in to the choice board and put his/her visual in the area they wanted to spend their time. When the spots for that area were full, students had to make another choice. This particular choice board allowed us to change up the choices regularly by just swapping out the visuals as well.

In this example, you can see how the teacher used Xs over the choices that were not available. And students used clothespins to check in. If there were limits in how many students could be in a choice at one time, you could just add marks where the clothespins can be put.
Critical Elements of Visuals for Choice Time
- Use visuals that are comparable to the ones they use on their schedule. For instance, if they have a written schedule, you could use a written choice board.
- If students struggle with situations when they don’t get what they want, make sure that it is visually clear when a choice is full. This really does help them understand WHY they can’t go there and often cuts back on problems.
- If you allow switching of choices in the choice time, have students come back to the choice board and move their icon, clothespin, or whatever.
So those are just some thoughts about providing choice time. I hope they provided you with some thoughts about how you can implement it in your classroom.
In the meantime, if you found this to be a useful topic of discussion, you may enjoy our discussions in the community of the Special Educator Academy.
Until next time,


