Organizing classroom materials in special education….why oh why did I say I would write about this topic? Really, I’ve been dreading it. I know the principles of organizing. I can set up classrooms. However, my version of organization does not look like the beautiful Pinterest classrooms. But it gets the job done.
I like to think my brain is organized. And because of that…I don’t need to have materials all in the perfect place. I’m a pretty visual person. So I tend to make piles…but I know just what is in those piles.
So, if you are like me and you don’t have the prettiest organized cabinets, but your organization is functional…stick with me and I’ll show you some examples of my way of organizing.
First Step of Organizing Classroom Materials
 Clear out the clutter. Seriously. Look around…haven’t used it in a few years…get rid of it. Easy. Peasy. Yeah right….can’t clear out your own clutter? As one of your team to help you. I’m great at this in other people’s classrooms….not so much in my house. Nuf said.
However, after you clean out the clutter you don’t need, you may still have stuff that is taking up table or desk space or sitting in piles. If so, try doing one of three things.
- Put in a cabinet or a bin.
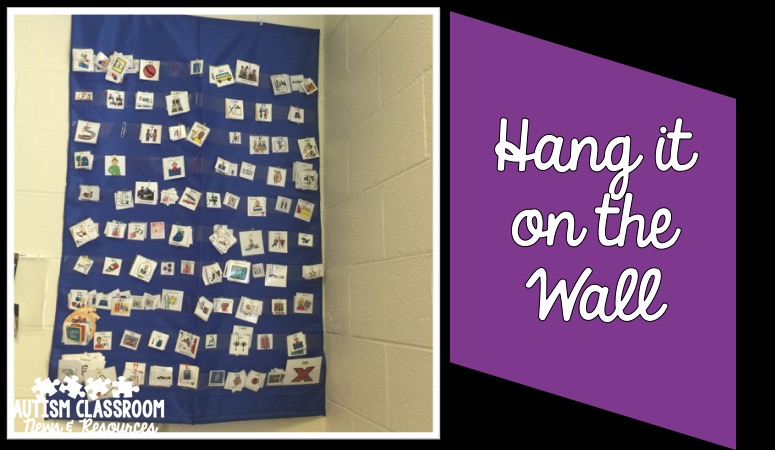
- Hang it on a wall…I’m a big fan of this one.
- Put a curtain around it or over it so others don’t see it.
Second Principle of Organizing Classroom Materials
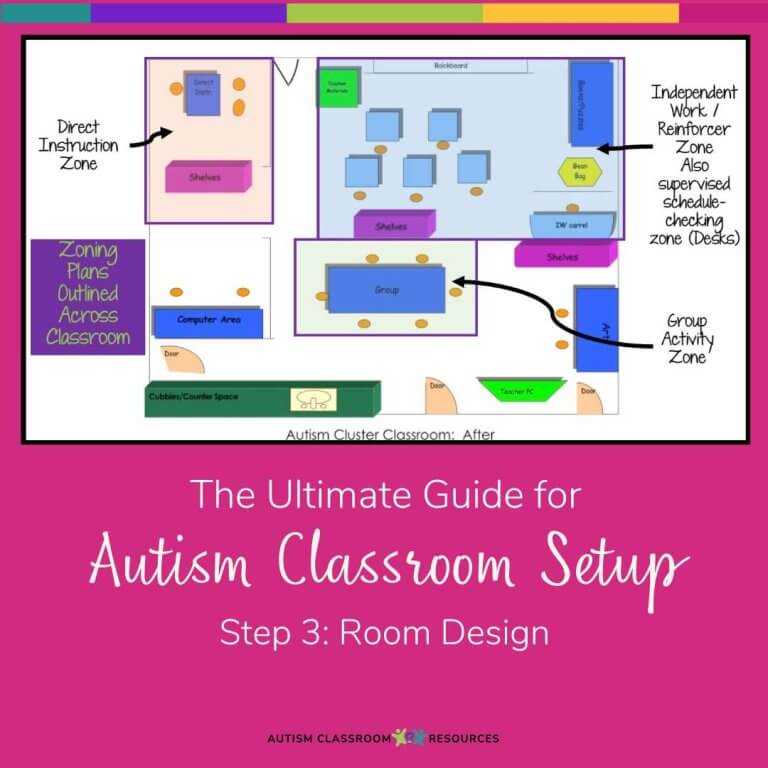
 After you have set up the different areas of your classroom, stand in each area of the room and think about the materials you need for each activity that happens there. If it’s not close at hand, you have to figure out how to make it easily accessible. If you don’t have cabinets nearby, here are some ideas that might help:
- Use a basket that stays in the area
- Give a student a daily job of bringing a bin with needed materials to the area
- Use a plastic rolling cart.
Third Principle of Organizing Classroom Materials

Make them easy to access and find what you need. Here are some strategies that have worked for me.
- Organize small group activities in bins by group or by students.
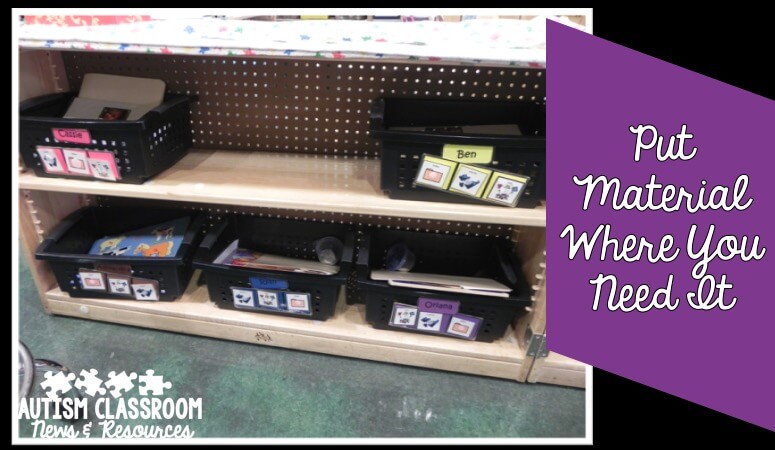
- Have each student’s materials in a bin. If you can’t store it at the table, have each student bring his or her bin to the table during the transition. This allows them to stay engaged while you get reset for the next student or group.
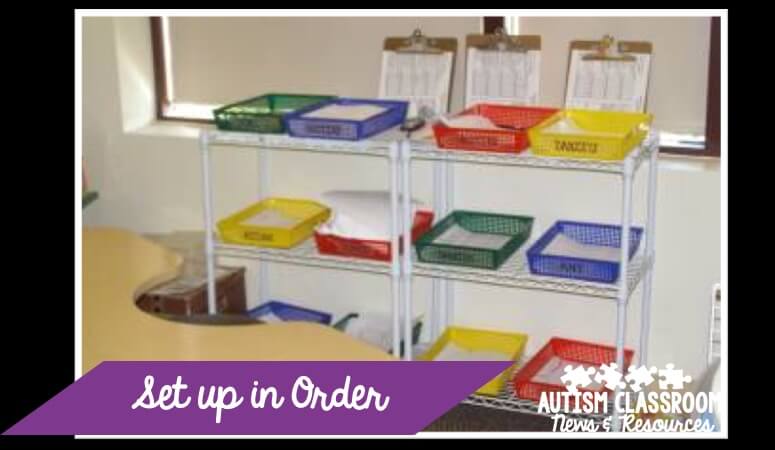
- Line up your materials and/or data sheets in order of the students who come to your center or area. That helps you have everything you need as each student or group comes up to you.
Fourth Principle of Organizing Classroom Materials

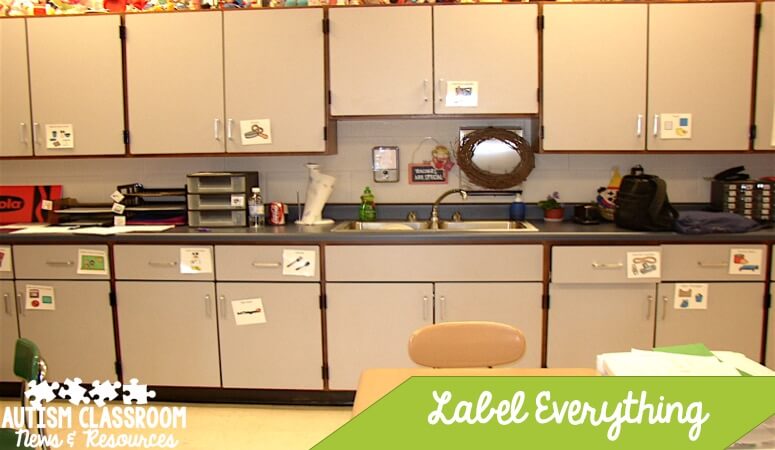
Once you have organized materials, label them with words and some with pictures. Remember that you are not the only person who has to find the materials quickly in the room. Labeling the cabinets with their contents allows other staff members and substitutes (and possibly students) to find what they need.
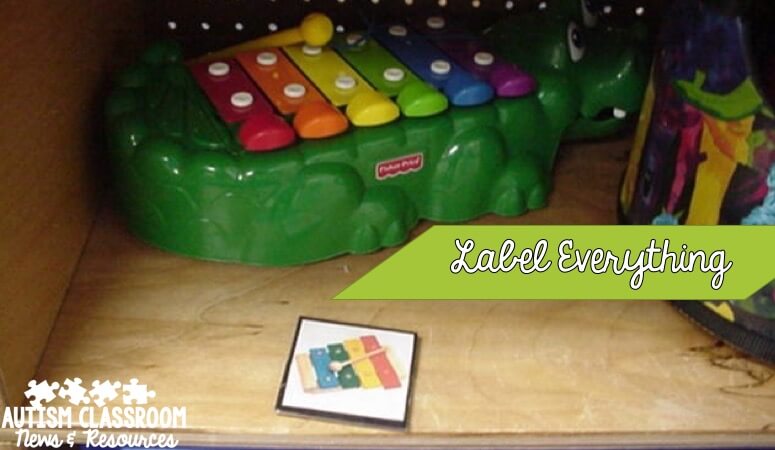
Labeling cabinets and shelves with pictures (or words if your students are readers) allows the students to put things away where they belong, as well as find them. That makes it much easier for them to clean up independently.
Fifth Principle of Organizing Classroom Materials
 Finally, problem solving is the most important principle of any part of setting up classrooms. As the first weeks go on, keep a list and make notes of things that aren’t where you need them. If you find yourself having to leave an area to get something during an activity, write it down. Look it over each afternoon and move at least one thing to where it needs to be. Over time, you will develop an organized classroom, engaging students as soon as they enter an activity.
Looking for more tips for setting u
Organizing Classroom Materials in Special Education: When Really You Are a Hot Mess

Organizing classroom materials in special education….why oh why did I say I would write about this topic? Really, I’ve been dreading it. I know the principles of organizing. I can set up classrooms. However, my version of great classroom organization does not look like the beautiful Pinterest classrooms. But it gets the job done.
I like to think my brain is organized. And because of that…I don’t need to have the school supplies and materials in all the perfect places. I’m a pretty visual person. So I tend to make piles…but I know just what is in those piles.
So, if you are like me and you don’t have the prettiest organized cabinets, but your organization is functional…stick with me and I’ll show you some examples and new ideas of how to organize.
First Step for Organizing Classroom Materials
A great way to start is to clear out the clutter. Seriously. Look around…haven’t used it in a few years…get rid of it. Easy. Peasy. Yeah right….can’t clear out your own clutter? As one of your team to help you. I’m great at this in other people’s classrooms….not so much in my house. Nuf said. Clearing clutter is a great idea and one of the best classroom organization hacks.
However, after you clean out the clutter you don’t need, you may still have stuff that is taking up table or desk space or sitting in piles. If so, try doing one of three little things.
Easy tips include:
- Put in a cabinet or a bin.
- Hang it on a wall…I’m a big fan of this one.
- Put a curtain around it or over it so others don’t see it.
These organizational classroom hacks make classroom management much easier.
Second Principle of Organizing Classroom Materials
After you have set up the different areas of your classroom, stand in each area of the room and think about the materials and table supplies you need for each activity that happens there. If it’s not close at hand, you have to figure out how to make it easily accessible. If you don’t have plastic containers or cabinets nearby, here are some of the good ideas and organization tips that might help you have a great system:
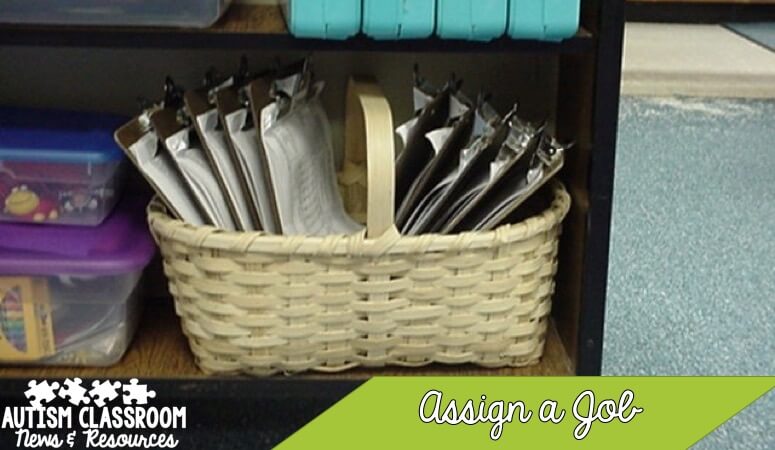
There was no place to put the data sheets in the direct instruction area of this sped classroom, so we put the clipboards in a basket. Then we assigned a student job to bring them to the table at the beginning of centers.
- Use a basket that stays in the area
- Give an individual student a daily job of bringing a bin with needed materials to the area
- Use a plastic rolling cart.
Third Principle of Organizing Classroom Materials
Make them easy to access and find what you need. Here are some of the best ideas that have worked for me.
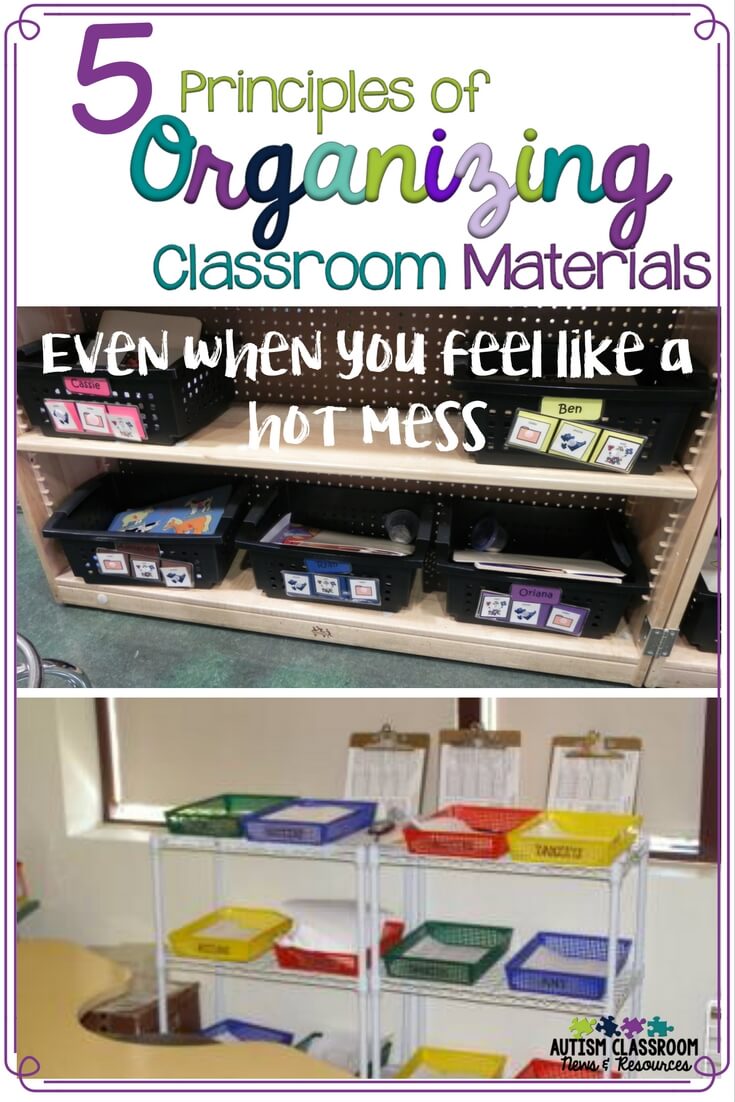
This shelf was for small groups of students. All of the students have plastic bins. Each shelf was for a group. And each clipboard (left to right) was for a group. We ordered them in the order they came to us, so they were easy to access.
- Organize small group activities in bins by group or by student names.
- Have each student’s materials and small items in a bin. If you can’t store it at the table, have each student bring his or her bin to the table during the transition. This allows them to stay engaged while you get reset for the next student or group.
- Line up your materials and/or data sheets in order of the students who come to your center or area. That helps you have everything you need as each student or group comes up to you.
The schedules on the outside of the bins are the order of tasks the students will do in small group, so they can engage independently. Then all their needed work material is contained in the bin.
Fourth Principle of Organizing Classroom Materials
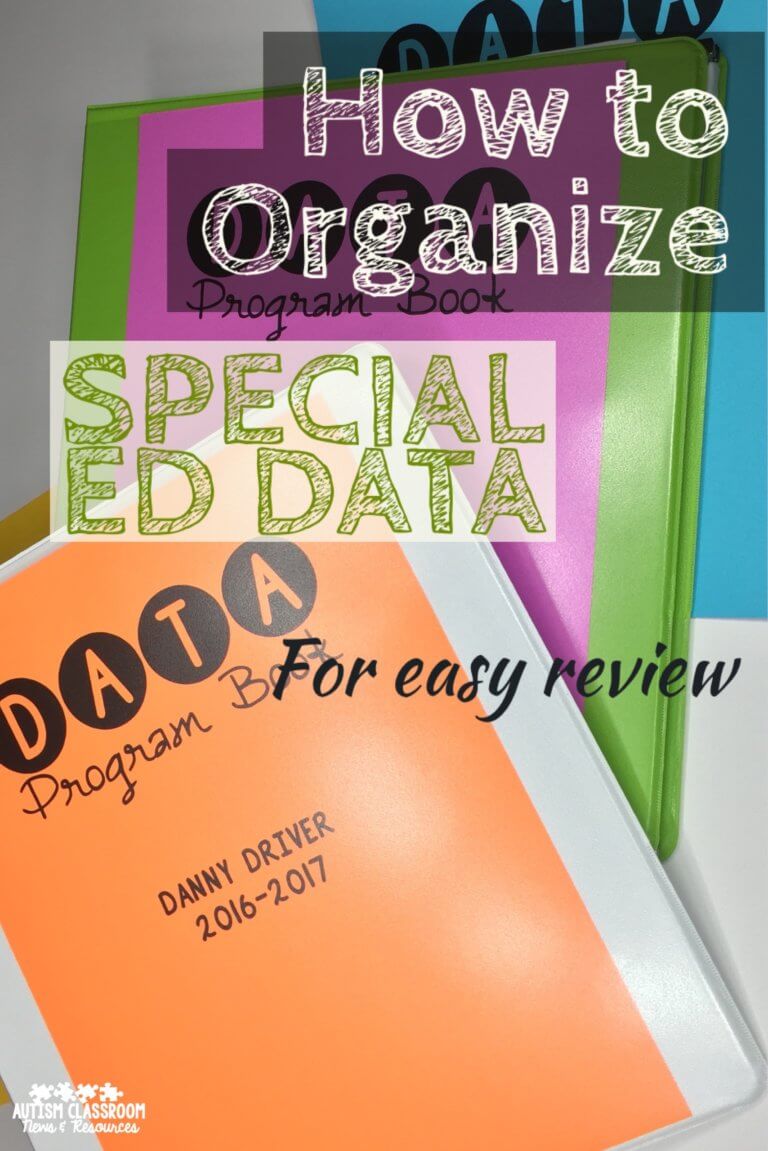
Once you have organized materials, label them with words and some with pictures. Remember that you are not the only person who has to find the materials quickly in the room. Labeling the cabinets with their contents allows other staff members and substitutes (and possibly students) to find what they need. That is why labeling is one of my favorite ways to organize and is a huge time saver.
It might seem silly to label everything in your cabinets…until you are absent. Or a paraprofessional needs something. Or you want to send a student. Labeling the cabinets allows everyone to find what they need independently.
Labeling cabinets and shelves with pictures (or words if your students are readers) allows the students to put things away where they belong, as well as find them. That makes it much easier for them to clean up independently.
Labeling cabinets or shelves with the picture helps even younger students put their own things away.
Fifth Principle of Organizing Classroom Materials
Finally, problem solving is the most important principle of any part of setting up classrooms. As the first weeks go on, keep a list and make notes of things that aren’t where you need them. If you find yourself having to leave an area to get something during an activity, write it down. Look it over each afternoon and move at least one thing to where it needs to be. Over time, you will develop an organized classroom, engaging students as soon as they enter an activity.