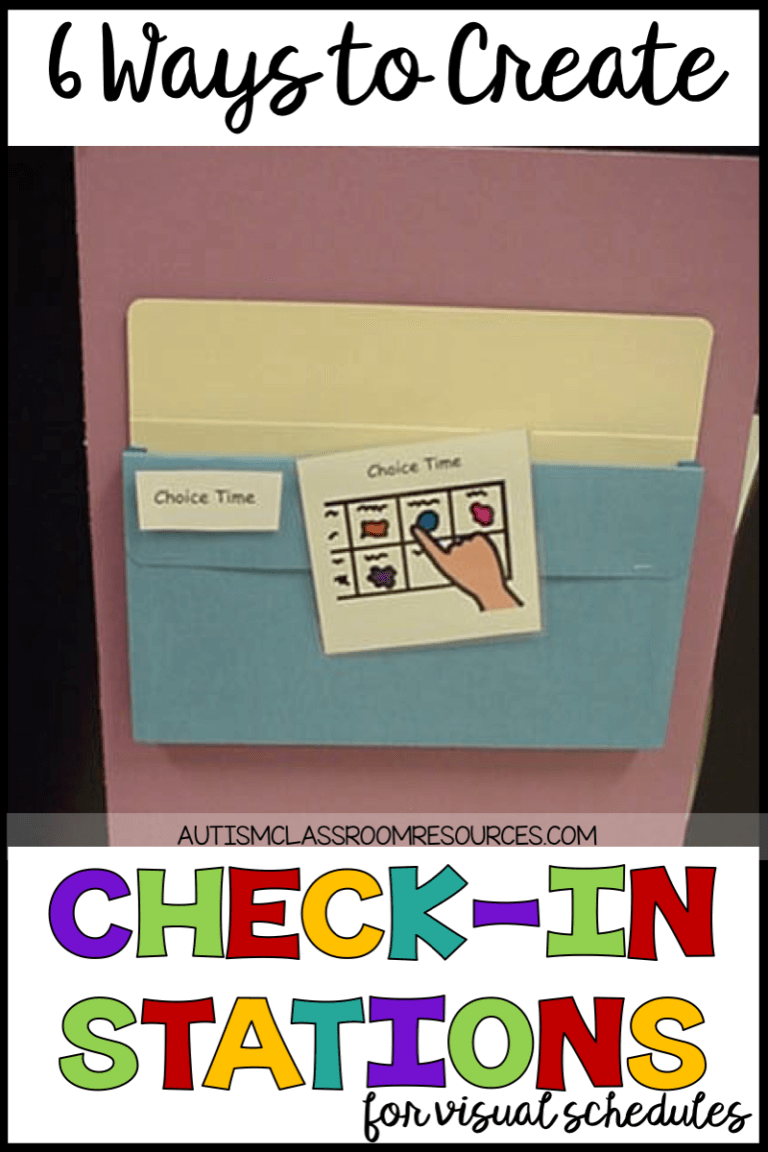
I talk a lot about visual schedules on the blog among other visual supports. And some of you may have heard me talk about the importance of visual schedule check-in stations. In short, I think they are a critical part of how we teach students to use schedules. The students need to do more than just take the visual off and put in a finished envelope if they are just learning how the schedule works. They need to have something to match the visual (or object or word) to. You want the visual schedule pieces on the check-in stations to be larger so a student can scan the room and see the matching visual. That helps him learn that the schedule tells him where to go.
Recently I had someone ask about cheap options for check-in station envelopes. So I thought I would share some ways I’ve done them in the past to give you options. I’ll also talk about pros and cons of each.
This post contains affiliate links for purchases. I only recommend resources I use myself. The price is the same to you, but it gives me a small commission to keep finding them for you.
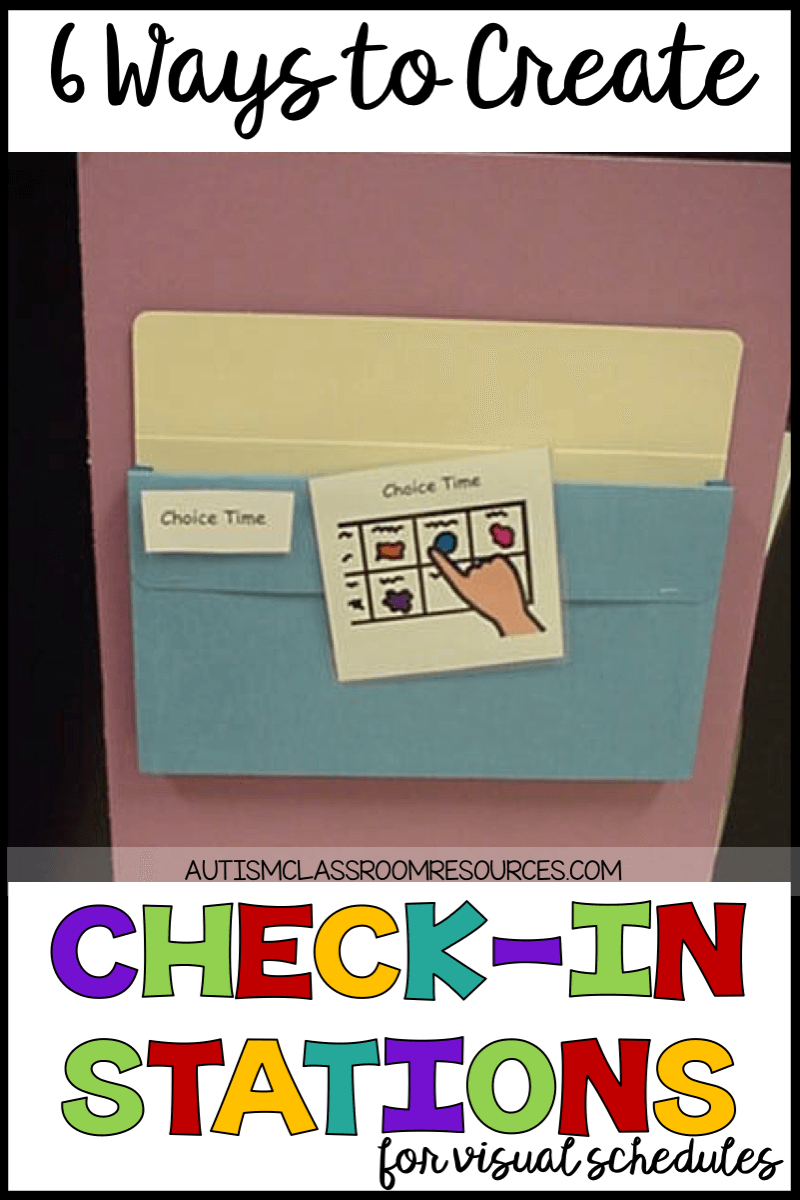
1. Large Expandable Envelopes
I use the big expandable envelopes used for storing files. However, I will say they aren’t cheap. But they do last for several years in most cases. The vinyl ones are great but sometimes they tear more easily. The cardboard ones actually hold up a bit better. They also come in colors.
2. Brown Postal Envelopes

You can use the brown postal envelopes and laminate them to help them last. If I use them, I try to cut a square out in the front so you aren’t always reaching deep down into the envelope which tends to tear it. To give you an idea of what they look like, here’s an example.
3. Boards
You can use a sturdy board with Velcro strips that students put the visulas on. You can use a piece of matte board that you use to frame things. Or a heavy piece of cardboard or foam board. Then the students just place their visual right on a row of velcro.

However, if you use boards instead of envelopes and need to use the same board for another activity, you need to zone in someone to go and take off the previous visuals to make room for the next ones.
4. Laminate Regular Envelopes
You could laminate regular envelopes and use them but they will have to be replaced pretty frequently. Laminate them and cut a slit in the top.
5. Containers or Boxes
You can use a little container or box like a deli container or a coffee can. I like to attach them to the wall or table so that they are stable. But if you used something heavier like a coffee can, it usually will stay put. I don’t like them to move much because otherwise they wander and they aren’t there when you need them.
6. Pencil Bags
And finally, you could also use those cloth pencil bags that you can sometimes find at the dollar tree or other places for $1 a piece or cheaper. They could easily be velcroed to a surface, have a visual velcroed to them, and be very durable since they are cloth. I’m thinking of the ones like this picture, but you can usually find them cheaper than this.
I’m sure there are lots of other ways to create visual schedule check-in places. I’ve come to prefer envelopes or some kind of container because it’s easy to take the envelope off the wall (since I fasten everything with Velcro) and over to the schedule. Then we dump them out and reset the schedules.
I’d love to know what you have used for visual schedule check-in stations in the comments or on Facebook! In the meantime, if you are looking for visual schedules with check-in visuals, check out the ones below.
Looking for visual supports?
I’ve got themed visual bundles including picture-symbol schedules (with words), written card schedules, visual cueing rings, group schedules, classroom rules and classroom job sets. All in sets for preschool / elementary and secondary students.
Click the images below to check them out in my store!
Until next time,


