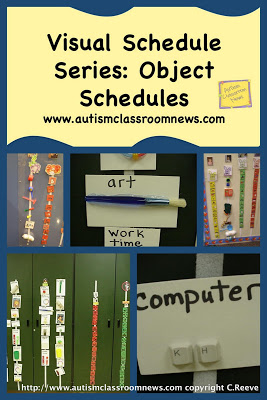

In this series, I have talked about a lot of different types of schedules, how to use them and why to use them. As we wind up, I wanted to make sure that I touched on the use of object schedules. In general, unless vision is an issue, we typically start students with picture schedules of some kind. If the picture schedules are not successful, then we might consider using an object schedule. An object schedule is simply what it sounds like: a schedule made up of objects. Deciding when to use an object schedule is something that is best decided in collaboration with the teacher, parent, and a speech pathologist and sometimes with an OT. If there are vision issues involved, then you would also want to include a vision specialist, if the teacher’s background is not in vision impairment. I leave suggestions about how to best determine the type of object schedule to the individual team but can refer you to Praactical AAC which is a great resource for all things augmentative in communication. I’m going to focus initially on students who have difficulty with symbolic thinking but whose vision is in tact. Then I have a couple of tips to share for students with autism and visual impairment.
First, object schedules can be created in a number of different ways with different types of objects. The objects could be representative of the activity. In the picture below, you see a schedule with a diaper for bathroom, a chewy for sensory time, a miniature book for story time, a cup for snack, and a musical instrument for music time. These objects represent the activity that the student is transitioning to and may make the transition a bit more concrete in that they can touch and feel the item. This list could also include a toy bus for arrival or departure, a backpack keychain for unpacking, and a small table for work time. However, it is important to note that understanding these symbols still require an individual to understand that the objects represent something. For some students this may still be a stretch in understanding.
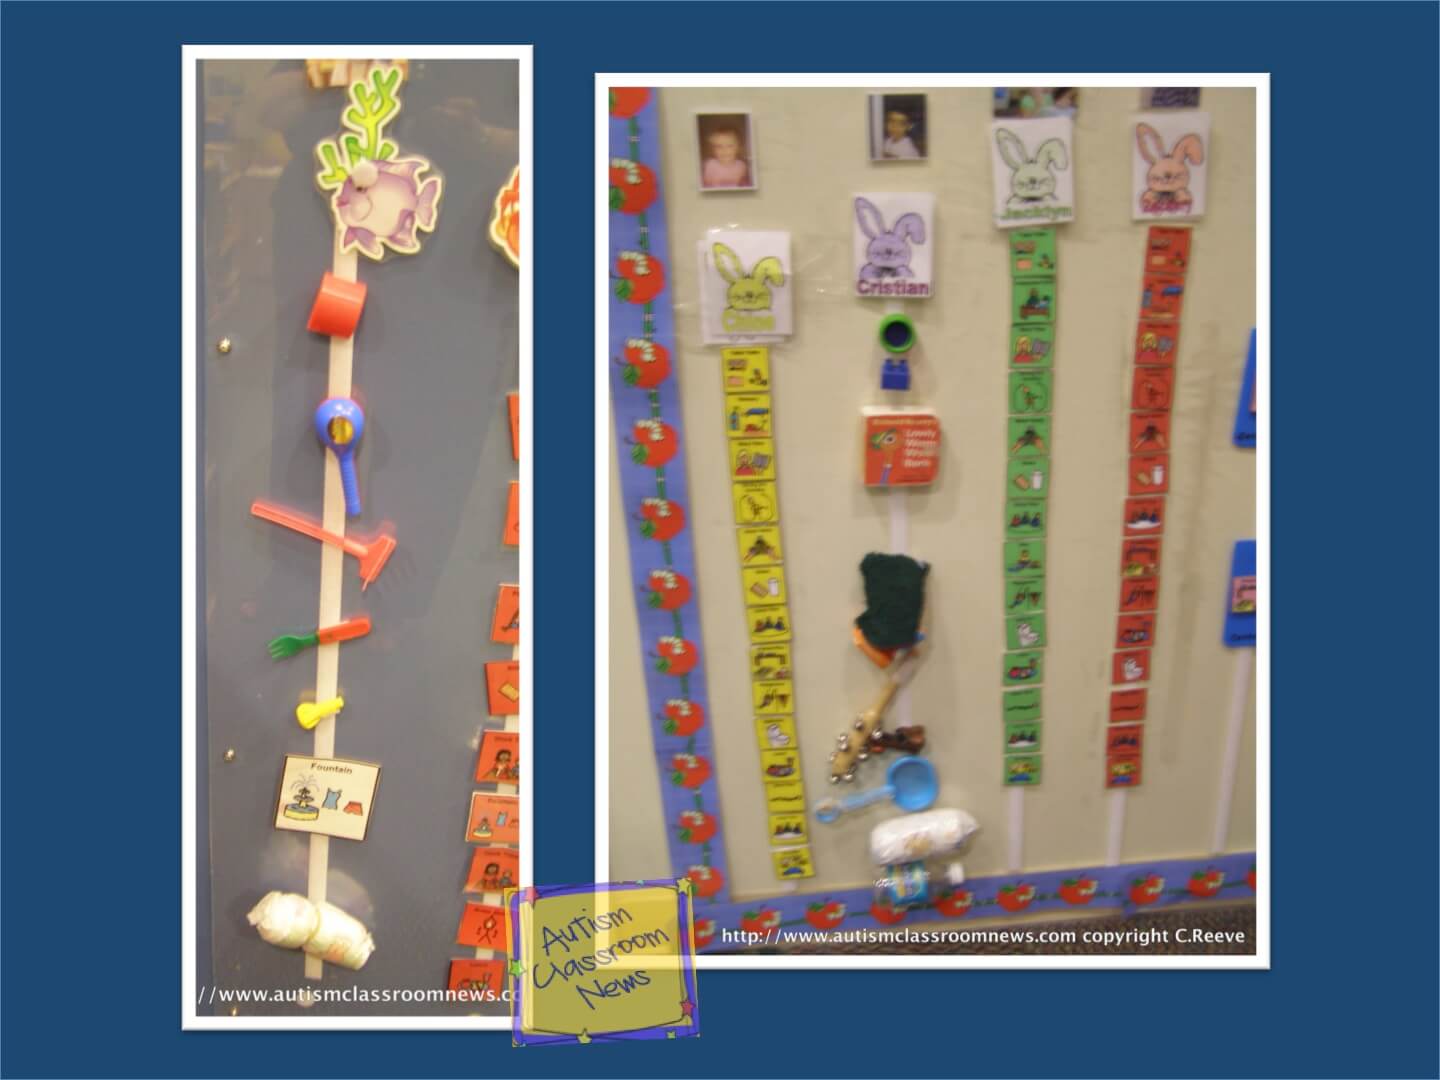
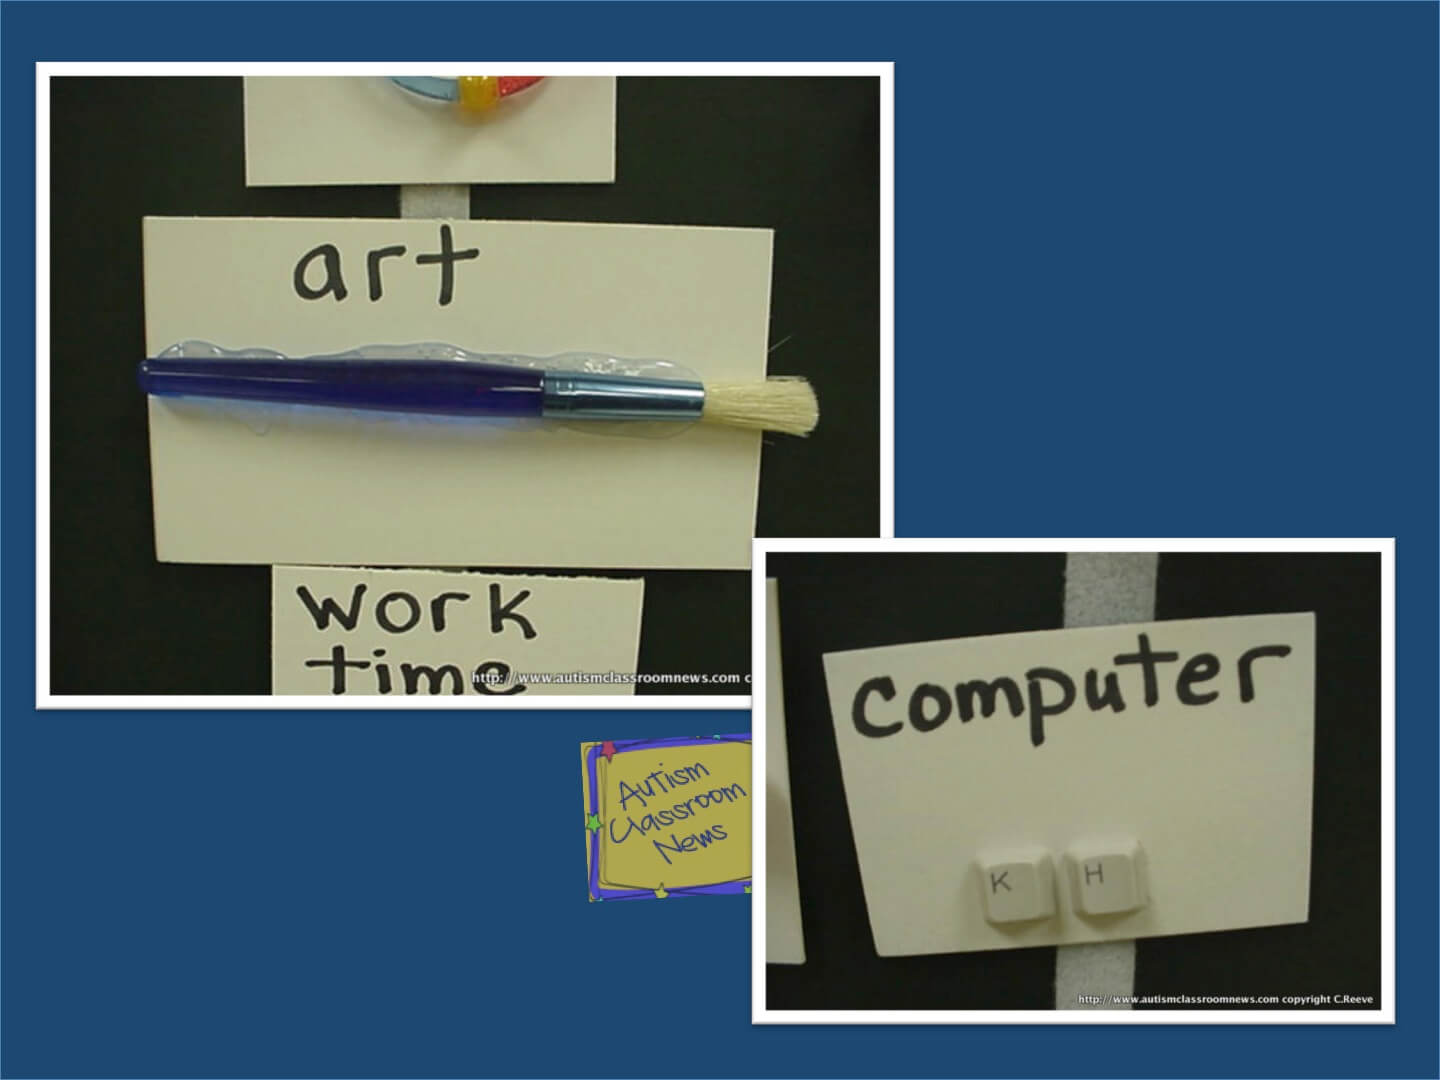
- Have a key or write the name of the activity somewhere on the object. The picture above has the objects hot glued on a piece of matte board with the name of the activity written on it. In the picture with the diaper, the objects didn’t have a background so there was nothing to write the activity on. In that case, have a key (e.g., paintbrush = art) by the schedule for the adults to refer to. This is critical because you may all agree that spoon will be used for lunch and cup will be used for snack, but at the end of a long hard day when you are setting up the schedule, this is much more difficult to remember that it seems.
- Look for objects that the student will hold and feel and use in the next activity. A doll house table for work time will not work for a student who has trouble with representative thought. For one student we had a brilliant augmentative communication specialist who suggested we look for things that felt like and were perceived as the student perceived the objects of the activity. So, he sat in a blue plastic chair with a rough feel to it during work time. So we used a piece of blue plastic with the same texture on his schedule. For snack he sat at a table with fake wood grain laminate so we used a similar piece of laminate (I think we found it as a sample at the hardware store) for snack.
- Coming up with these items is hard work. The more people you have involved in thinking about it, the better solutions you will find. It also helps if everyone keeps an eye out for ideas as they are shopping for specific types of items that you need to replicate.
- If you don’t have extensive experience in augmentative communication, make sure you have someone on your team who is. It may be the speech therapist, but it could also be the OT or often the teacher has extensive experience. You need this person so beg, borrow and steal if you have to in order to get some of that expertise to help the team.
- Remember to have your check-in stations set up with the object being used for the schedule so it matches up. If the student immediately uses the object this is less critical, but if he transitions with it and it isn’t used in the activity, remember to put a matching object on the check-in station.
So, have you ever used object schedules in your classroom? What tips or questions do you have about them?