Essentially there are 7 steps in teaching a student to use scripts.
1. Assess the situation to determine the most appropriate script type
Does he or she need a written or audio script? If he is a reader and is fluent, then a written script should work. If he is not a  fluent reader, then an audio script on a speech generating device might be a better choice. I’ll talk more next time about the types of scripts. Whatever the form of the script, you also have to determine if it meets the needs of the environment. If he is doing a vocational task and his hands are full, then holding a script in his hand is going to be complicated so we may want to post it on the wall where it is needed. If he is hanging out with his friends in high school, we might want to opt for a more “cool” form of a text script that can be read on a tablet instead of a cue card.
2. Determine the appropriate content
Remember that often scripts are used in a, well, scripted manner, meaning that students just repeat what is written. This means that the content we put in the script is exactly what is going to be said. Sometimes instead of a full script we might use a partial script the student fills in or a choice of scripts that the student can use to comment on something. We also want to make sure that the script fits the situation, has all the required sections of the conversation, and is written in a tone and with language that makes sense for the situation. For instance, the way that a kid would talk to the cashier at the grocery store will probably sound more formal than the way he would talk to his friends. Consequently, script for talking to his friends may greet the other person by saying, “Hey, Dude!” but this is probably not how the cashier at the grocery store would expect to be greeted.
3. Introduce the script to the student and review
You can’t just give the student a script and expect him to be able to use it. Review it with him or her by reading through it and it may even get some editing based on how that first read through goes.
4. Practice the script with “confederates” like staff or designated peer setting up the environment
This might include creating situations in which the person needs to make requests (e.g., putting things out of reach, deliberately giving him or her a broken stapler so there is a need to ask for assistance). It might also be setting him up with a peer confederate (or an adult to start) to practice the conversational script. I really liked this video from PeerBuddies.com as the first time a student goest through the script.
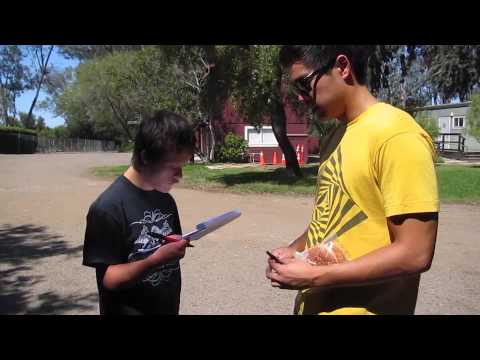
You want to make sure you reinforce reading the script AND looking at the communicative partner. Practice until the student is familiar enough with the script to be able to read it and look at their partner when using it. And as always make sure to use strong reinforcers–the social interaction itself is probably not very reinforcing and is in fact probably pretty difficult.
5. Use the script in real-life situations and reinforce
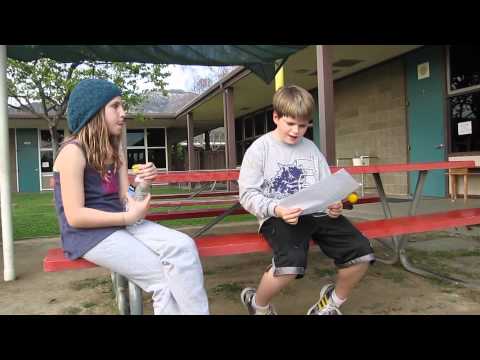
When the student is comfortable with the script, have them use it in real-life environments. This may mean sabotaging the environment or cueing them to use it when the situation naturally arises. Typically, in a school, it means moving out of the SLP or resource room and using the skills in other settings like PE or recess. Again, take those reinforcers with you because this is hard work and the success of interaction may not be evident or reinforcing for the student. Here’s another good example of peer buddy interaction using a script in a more natural environment.
6. Generalize it to multiple environments
It’s important to make sure you practice script in a variety of environments and with different partners so that the ability to initiate, interact or whatever the focus is for the use of the script can be used more independently in different situations. Also, as always, when you move to the first few new environments, reinforce the student for the communication or interaction.
7. Fade the script
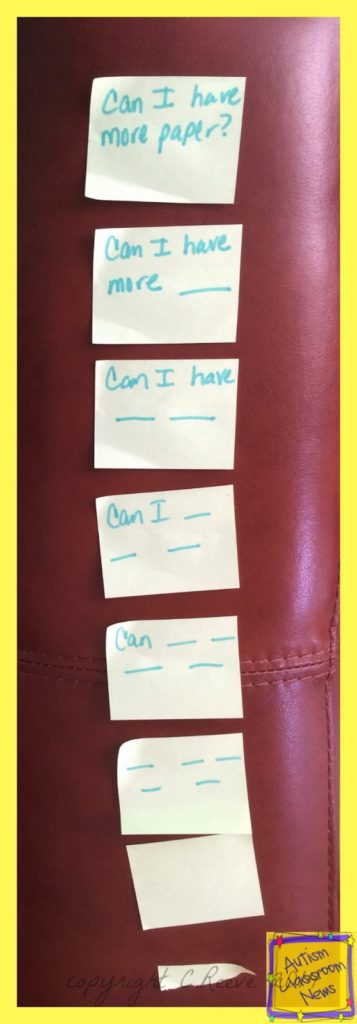
Finally, it’s important to make sure that we fade out the use of the script. The advantage of using a script is that you can fade it out more easily than say a verbal prompt. This picture shows scripts on post-it-notes where the fading first takes place by dropping words from the scripted statement and then finally, makes the post-it smaller to fade out the piece of paper. Clearly you would present these one at a time and move down the row to less words and less paper as the student is successful. If you are using an audio script, drop a word off the end of the script each time the students masters a level and then move the switch farther away from the student to fade out the script. it’s important to remember that scripts are something we want to fade out if we can, but if they facilitate interaction and we lose the interaction with others when we fade them, we faded them too quickly.
So, how do you use scripts in your classroom environment? Sound off in the comments!
I found the Peer Buddies program through a search on You Tube. If you are interested in seeing more of their videos check here and you can learn more about their program here. I’m not familiar with them so I can’t talk about the quality of their program but their videos look great.
Until next time,


