Welcome to the Autism Classroom Resources Podcast, the podcast for special educators who are looking for personal and professional development.
I’m your host, Dr. Christine Reeve. For more than 20 years, I’ve worn lots of hats in special education but my real love is helping special educators like you. This podcast will give you tips and ways to implement research-based practices in a practical way in your classroom to make your job easier and more effective.
Welcome back to the Autism Classroom Resources Podcast. I’m Christine Reeve and I’m your host. I’m super excited that you’re here. We are talking about setting up systems within the classroom as you design your classroom for the school year or you may be designing or redesigning your classroom mid-year, depending on when you’re listening to this. Today, I’m going to talk all about visuals, which is going to be interesting always, always to do that in a podcast. But I want to focus specifically today on visuals and prioritizing which visuals you need because frankly, you really can never have too many visuals. I know people think you can but you can’t. We all need more visuals. There’s always more visuals that you could use. It gets a little overwhelming when you start to think about putting a classroom together.
One of the things that I have done in my career is gotten pretty good at setting up classrooms. I once started the first day of school in 11 different school districts. I started school on the first day of school, 11 different times. I probably set up about 25 classrooms in one school year. We developed a model over time when I worked at the Autism Consortium. At the University, we have a model that we can set up a classroom in a week. We actually set it up in about three days, then we run the classroom on the fourth day and we use that as a model. We’ve gotten pretty good at these systems and that’s where all these systems really come from, is those experiences. We’ve gotten pretty good at prioritizing which things we absolutely have to have, so I’m going to focus on those today.
I’ve got a free download for you of just a mini-schedule for you to add to your section. I’ll talk a little bit about mini-schedules today in the Free Resource Library. It’s linked in the blog post, so you’ll find that today at autismclassroomresources.com/episode84. You’ll also find lots of links on that post to other posts with tons of pictures of different kinds of schedules and ways to make decisions about what types of schedules are best for your students, what types of visuals are the most appropriate for their learning style and their understanding. You’ll find all of that at that link.
Today, I’m going to talk about how we make decisions about where we start, so that you’re not overwhelmed as you’re prepping for your classroom. Let’s go ahead and let’s get started.
As I noted, I’ve talked a lot about visuals. I’m a very strong believer in visuals. If you’re not necessarily sold on the importance of visuals for students with autism, but also across the spectrum of special ed—I use visuals with everybody. I think if there’s one thing that the pandemic really taught us is that we all use visuals because you certainly saw a lot of them pop up when suddenly, we needed to be six feet apart from people—you could actually go, if you’re curious, and find out about 5 Myths about Visual Schedules in Episode 74 where I talked about some of the common things that I hear people say about visuals.
But let’s face it, you could spend your entire year just making visuals. That could be like a full-time job. In fact, I knew districts that hired people that I swear, that is their full-time job. We don’t want that to be your full-time job because you need to teach the kids. I want to narrow down for you, how you make decisions about where you’re going to start. As you’re prepping by the pool, if you’re listening to this during the summer or whether you are trying to decide at the last minute, “What is it that I can do and what can I put off?” this is the list for you.
The first thing that you need to start with, not surprisingly, is go through all of your IEPs and find out what the individual visuals that are required. If you have students whose IEPs say they have to have an individual schedule, make sure they have an individual schedule. If you have students whose IEP states that they have to have specific behavioral visuals, they need to have specific individual visuals. Now, I’m not specifically talking about communication systems today because I’m talking more about visuals that cue students rather than visuals they use to communicate but definitely, if it says that they have a communication system, make sure you know where it is, make sure you have that available. Those are definitely your first priority. Those are the things that you need to make first.
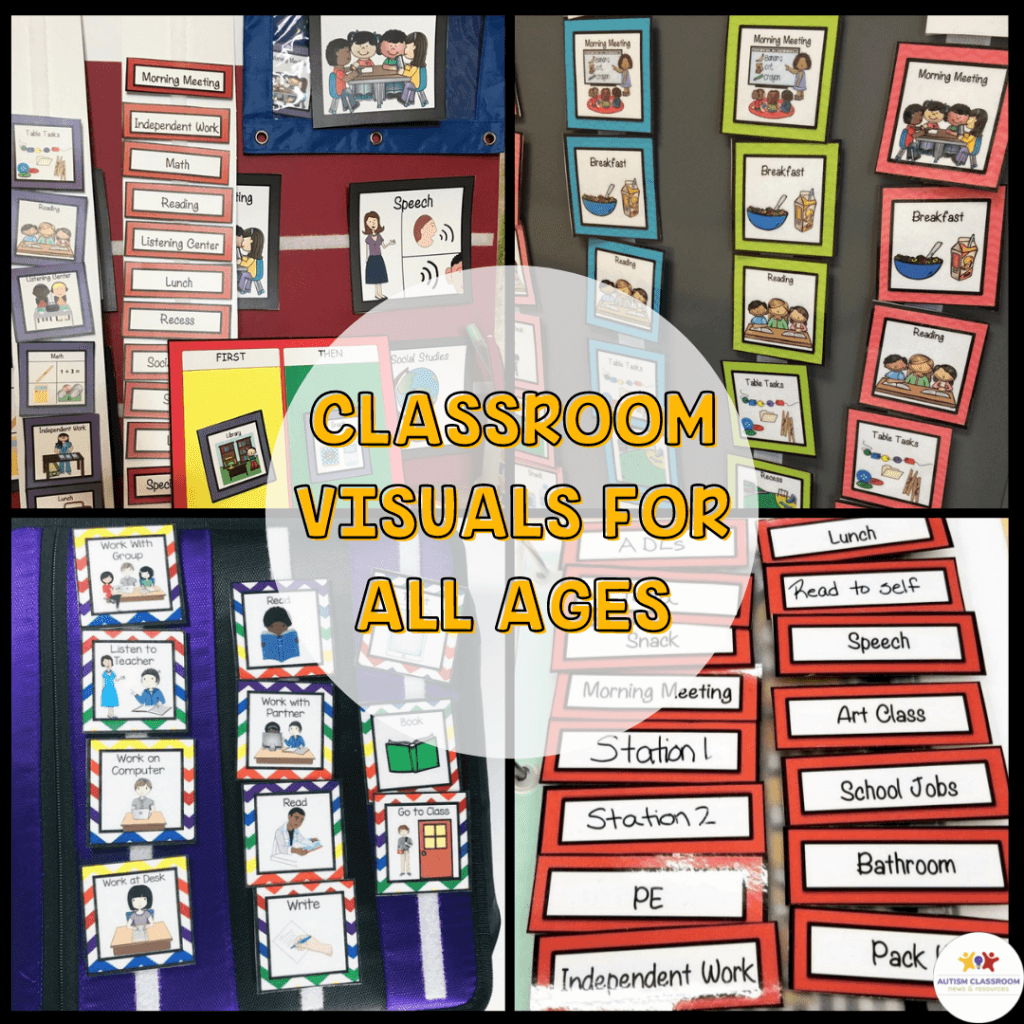
The next thing that I would say is the priority is the individual schedules. Now, for many of our students, those might be our picture-symbol schedules. Those are the schedules that we use every day to navigate our day. Now, for us, that might be my planner or my to-do list or my calendar. Any of those might serve that function for me. For your students, it might be a picture schedule that shows them the activities of their day. For some of your students, it might be pictures. For some of your students, it might be a written list. But most of them in a special ed class or even some of our students that are supported in general ed are going to be more independent if they have some type of schedule.
Now, obviously, if our students are able to use a planner, a calendar, a to-do list, or a written list, it’s going to be much easier. We’re not going to have to create visuals for them. But even some of our students that are readers, sometimes do better if they have a manipulative card that they take to an activity with a written word on it. Those are still going to need to be made. Whether you’re using pictures or objects—which are a whole different thing and I’ve got a link in the blog post to making decisions about object schedules, picture schedules, symbols, photos, all that kind of stuff, that’s a whole other topic for a different day—the individual schedules are some of the most important things. That is one thing I like to have in place before the students walk in the door. I will generally start them, so if I don’t know what they need, I start them with symbols. I start them with clip art, picture schedules, boardmaker. I use clipart in my schedule packages that you’ll find a link too on the blog in my store. I use those because they’re easy to transfer between environments. I don’t have to worry about whether the photograph looks like the actual place like you do with photos sometimes if they’re just easy to use. That’s where I start.
Along with that, I also want to make sure that I’ve got check-in boards, envelopes, landing pages, or docking stations—we’ve called them a lot of different things in different places—that’s the place where those schedule manipulatives get placed. They have a matching visual in the area that they are traveling to and they check in there with it. I think those are critical if your students are not completely independent with their schedules because that gives their schedule meaning. That’s how they know, “This visual takes me to this place because it has a matching picture, that’s where I need to go.” Those have to be in place to make the individual schedules work. Those are the two most important pieces.
The next piece of visuals that I think are important to have in place are independent work systems. Those are our independent work schedules, our finished baskets or our finished signs on our finished areas. I’ll put some links to those if you’re not familiar with them but they teach independent work systems. I believe that every special ed classroom should have a time of day where students learn to work independently. They’re used to having so many staff around them providing support to them, that having a time where they’re expected to work on stuff that they’ve already mastered but they’re practicing to maintain it is a really important skill. I’ll leave you a link where you can get more information about that.
Another type of thing that I think is important to have early on and have on hand are things like stop signs and finish signs. Now, if you have an independent work system, you probably have finish signs because we use them for the finished area but it’s really important just to have these for those students that don’t want to leave something alone. Sometimes, it’s really helpful to have a real quick finish sign or stop sign that you can put on the door that says “Stop”, that you can put on the computer that says, “Stop” or “Finished,” that means, “This is off limits now.” Those can be really handy to be able to pull out really quickly to let them know this is not an option. Those are really helpful to be able to pull out.
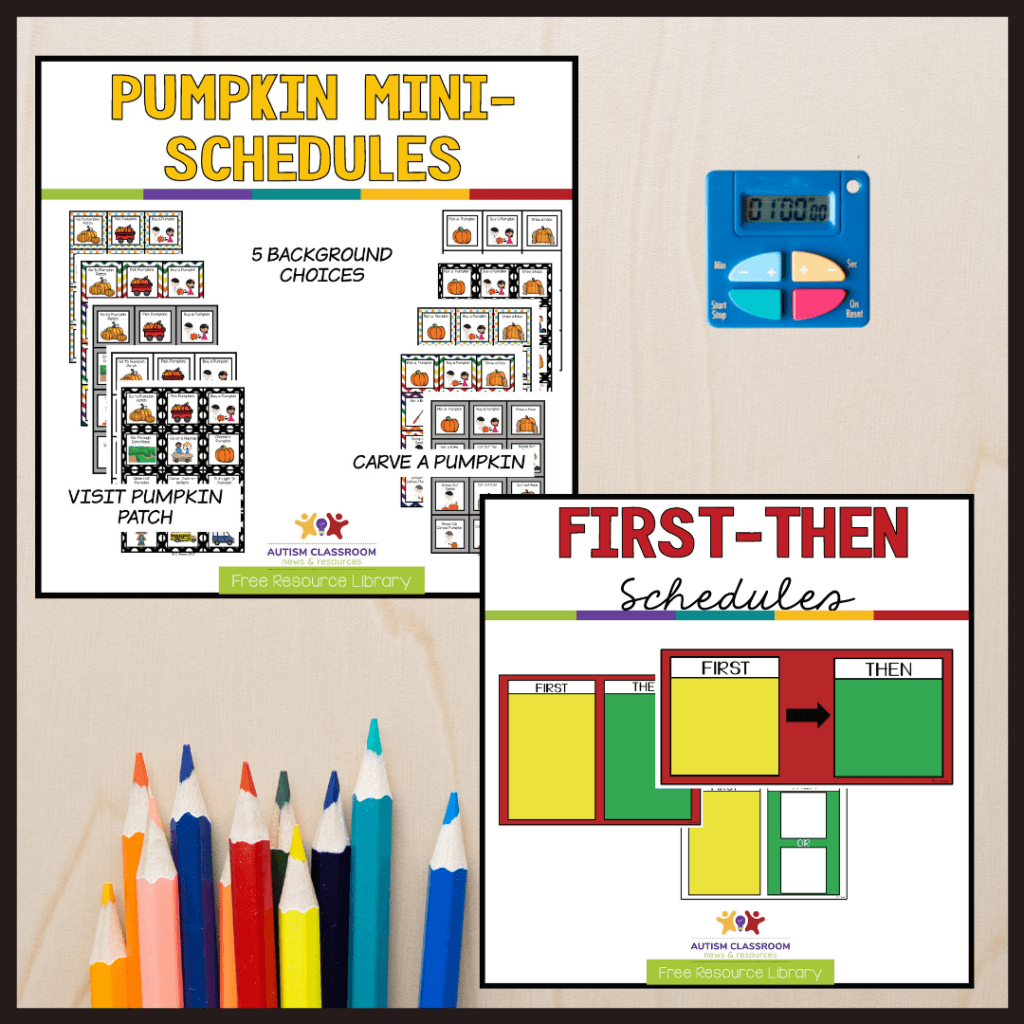
Along those lines, I think the next thing that’s helpful is to have some first-then boards. They’re really easy to make. I’ve got some free ones available to you in the Resource Library. If you go to autismclassroomresources.com/episode84, you can click the link, sign up for the Resource Library if you’re not already a member, and grab a whole bunch of different kinds of first-then boards. They’re easy to make. There’s directions on how to use them. They’re very handy to have on board for students for whom the whole schedule is overwhelming at a time that they’re in crisis. There’s simply a way to help break down, “First, you do what I want you to do, then you get to do something that you like to do.” It’s a good way to get a student who’s having a hard time complying, maybe back on track. Those are really good to be able to pull out of your pocket.
After that, I start thinking about some of the things that maybe aren’t my first-day kinds of things that I need to have. Then I start looking at my common mini-schedules. Mini-schedules are where we’re taking a part of the day and breaking it up into smaller components. There are task analysis schedules: things like the arrival routine, the departure routine, maybe our morning meeting or circle routine, the things where we’re breaking up a piece of the day into smaller steps, our hand washing routine, those are all the things that if I know I have common times like that and I have students that need those things to be independent, those are the kinds of things I might put in place next. But those may not be the things I put in place on the first day.
In the Resource Library, if you take field trips, one of the things that I often will use are just mini task analyses for field trips: get on the bus, go to the pumpkin patch—I’ve got a pumpkin patch mini task analysis for you in the Resource Library. It’s fall, that’s a great activity to have if you do that field trip.
Another one that I really like to have—and I do like to have this one at the beginning but if I don’t, I don’t sweat it—is a group schedule. I really like to have a schedule that shows what the whole class is doing. When the class is doing different things, some kids are in direct instruction, some kids are in independent work when we’re doing a center rotation or kids aren’t all doing the same thing, I have a center’s visual on the group schedule. I use it as a way that when we all come back together, we review what we did. It’s a way to work on sequencing in our group activity. It’s a way to review what we’ve done today. It’s a way to prepare them for what we’re going to do in the next part of the day. I really do like to have a group schedule to show them what we’re doing during the day, what we did, and we review it. All those kinds of skills go into that. But if I don’t have it on day one, it’s not going to be the end of the world, it is something I can add later.
The next thing that I would make sure we have—and if you know that you’re going to have an issue with redirection, maybe you bump this up a little bit—is a lanyard with visuals. I always like to make sure, and I didn’t put this on the list, that we have classroom rules with visuals and that probably should be farther up the list. Probably with our finished and stop signs, we should have classroom rules. My lanyard usually lines up with my classroom rules, so it’s something that the staff can wear around their necks with their ID badge. Sometimes, I put it on a belt loop and it’s a way to show students what you want them to do: “Stand up,” “Quiet mouth,” “Listen with your ears,” “Listen to the teacher.” It usually matches up with our positively stated classroom rules. Many of you will be familiar with them. Again, I like to have it at the beginning of the year but if I don’t, it’s not going to be the end of the world.
Next up are my other visuals that tell my students where to sit, where to stand, feet on the floor, for lining up, places that tell them where to sit. Again, I like to have it at the beginning of the year, but if I don’t, I’m not going to sweat it. Usually, I end up starting a class without my feet on the floor, then when they’re all over each other in line, I remember that I should have had that, so then I put it up back to the first day. I cut squares out of construction paper and tape it to the floor. It does not have to be fancy.
Finally, the last thing that I really make sure I put in place—because I discover what I need as we go through the first days of school—are my visual cues for staff. Those are the notes that I read on the board, the things I tape to the table, the schedules that I make smaller as I get them finalized and put on the back of people’s ID badges so they can see what the schedule looks like, the reminders not to talk in independent work, all those kinds of schedules—the targets that we have for different activities, so they remember what we’re teaching—all those kinds of visual cues because visual cues are important for the staff, not just for our students. We all depend on the visual cues in our classroom. If you don’t believe me, just mess up the kids’ schedule and find out which staff aren’t in the right place, not just the kids.
Those are my order of thinking through the visual supports. You can find more about these at the links in this blog post, just go to autismclassroomresources.com/episode84 and you will find links to all different blog posts about what these different things are. If you’re not familiar with them, with pictures, you’ll also find links to most of these I have in my store, including my whole classroom bundle of visuals that have most of the things that you need for the basic classroom visuals in the classroom, as well as a set of adult visuals, as well as a whole set of different kinds of mini visuals. I’ll make sure that those links are all in this blog post for you.
I would love to hear what you think are the most important visuals that you need in your classroom, so hop over to our free Facebook group if you’re a special educator at specialeducatorsconnection.com and answer the three questions, if you’re not already a member, and we will definitely get you in, and share your thoughts there. Thank you for tuning in. I hope to get to see you again next week. Until then, I’ll just be sitting here cutting and laminating because I can never have too many visuals.