As part of this ongoing series on visual schedules, we have talked about why we use schedules, the importance of schedules, individual schedules, first-then schedules, group schedules, and mini-schedules for teaching tasks. As I noted in the first post about mini-schedules, I have broken them down into two different functions. In the last two posts I talked about mini-schedules for tasks–essentially picture task analyses. In this post and the next I’m going to talk about mini-schedules for activities.
Many students benefit from having the larger activities of their scheduled day (e.g., reading) broken down into smaller components. We use this strategy frequently for students with behavioral issues to help them understand what is expected before they earn reinforcement or a break. For some students mini schedules help ease the anxiety they might feel about what is going to happen next so they can focus on what is happening now. For others, it helps them see the end of tunnel of doing what you want them to do instead of what they want to do. For some it helps them to navigate the larger activity independently. In this post I want to focus on the type of mini-schedule we often use for activities to help students who struggle with challenging behavior to be able to manage in the activity successfully. Mini-schedules also help to keep students engaged in activities, whether they are structured activities or free time activities like recess. So I wanted to share some examples of ways you can use schedules to help students stay engaged in activities and prevent challenging behavior and then offer a freebie that I think can be useful to families at home over the summer, in particular, as well as to school staff.
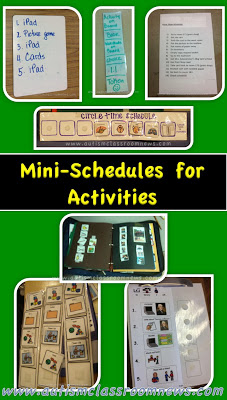
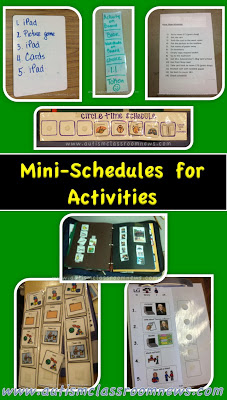
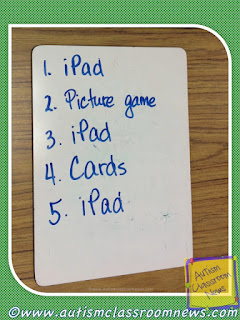
This type of schedule is probably the easiest to make, the quickest to pull out and one of the more basic schedules. It’s a dry erase board for a student who is using a work-break routine. This student doesn’t have great skills at staying engaged in working without a strong motivator to keep him going. So, to help structure his time for him and let him see when he gets the iPad, the teacher pulled out a whiteboard and simply wrote, iPad, activity, iPad, activity, etc. So, if he completes the picture game, he gets the iPad. When he finishes the iPad, he sees that he has to play cards and then he will get the iPad again. This really helped to engage him in the schedule, successfully participate in what the teacher wanted him to do and prevented a meltdown when it was time to put the iPad away. This type of schedule is great for a student who can read, but pictures are often needed for some students to help with comprehension, so make sure that the student truly comprehends the schedule and isn’t just following a routine before you use just written cues.
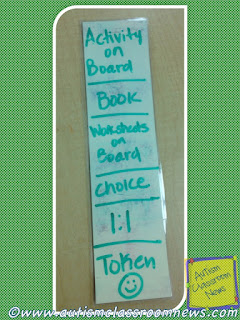
This schedule (on the right) was to help a student get through a work time. The activities on the schedule are alternating with things that he likes (like the one above). He really likes to write on the interactive whiteboard, so the teacher set it up so some of his reading time would be done using that. So he starts with an activity on the board, then reads a book, then does the worksheets on the whiteboard, then has a choice of activities, has 1-1 instruction with the teacher When he gets to the end of the schedule successfully, he earns a token that spells out a larger reinforcer he is working for. Again this is a student who can read. The schedule is just a laminated strip of card stock that can be written on with a dry erase marker and then erased. Some students can even help to make their schedule by writing it out this way.
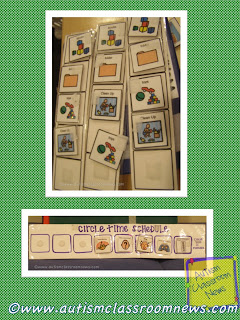 On the left is a set of schedules to help structure time in a preschool classroom. The top picture is a center schedule that shows the students playing with blocks, doing a file folder game, and then playing with toys followed by cleaning up. This helps them to go through the centers independently and engage in appropriate tasks. The bottom picture on the left is a circle time schedule. The teacher broke her circle time routine down into steps and used a group mini-schedule to show the students what activities they will complete and in what order. As they complete each activity (e.g., weather, singing, story), she takes the picture off the schedule so they can see what is happening next. This helps students who have a difficult time staying engaged in the activity to know when activities are happening and when they will be finished.
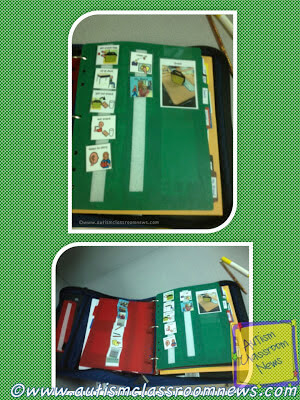
The team working with the student on the right has created a masterpiece of teamwork with mini-schedules for every activity for a student’s day. The top picture shows his snack time in the general education classroom broken down by steps he has to follow like getting his lunchbox, unpacking it, eating, throwing away the trash, and then listening to the story. The bottom picture shows the notebook that holds his set of mini-schedules for each activity of his day. Each divider represents an activity and on the right side of the notebook is the schedule (green divider) and on the left side (the red divider in the picture) are extra pictures the staff might need to support communication or make changes to the schedule. The binder also holds a timer, sentence strips for communication and data sheets. It zips up so that it holds all the materials inside the folder so the staff has what they need handy to support the student in different environments.
Now, you will notice there are some pictures I haven’t talked about in the main picture at the top of the post. Stay tuned and in the next post I’m going to talk about the need to use mini-schedules within activities outside the student’s regular classroom and then the next post will talk about how schedules can be used on the job and in students transitioning to community environments.
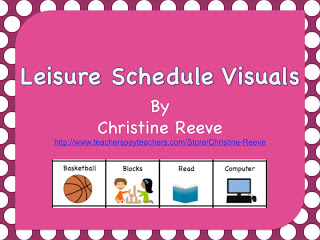
And that brings me to our freebie!! Below is a link to a set of visuals you can download to make a mini-schedule. They can be used to help structure free time at home during the long summer days. At school, many of the visuals will work well for structuring recess. Just cut them apart, laminate them or cover them in contact paper, and then put them in the order of the activities you want your child or student to complete. I tried to include some fun ones like iPad and computer so you could show him/her when he would get those activities. There are 24 visuals in all and you can always supplement them with digital pictures. Click the picture below to download the freebie through my TPT store! Don’t have a TPT account, sign up for free and access lots of freebies, including these from my store.

