Welcome to the Autism Classroom Resources Podcast, the podcast for special educators who are looking for personal and professional development.
Christine Reeve: I’m your host, Dr. Christine Reeve. For more than 20 years, I’ve worn lots of hats in special education but my real love is helping special educators like you. This podcast will give you tips and ways to implement research-based practices in a practical way in your classroom to make your job easier and more effective.
Welcome back to the Autism Classroom Resources Podcast. I am Christine Reeve, and I’m your host. I want to share a little something about me. I hate things that are all black and brown. I don’t want to live in a world that is robbed of color. If you’re wondering why I’m throwing my little tantrum at the beginning of this episode, it’s because I want to start today with a story specifically about this little internal tantrum that I had that sparked one of my life skills products. I was working with the transition classroom, and in this case, transition means that the students were transitioning out of school at age 22 to adulthood. They were essentially adults with developmental disabilities; they typically had skills at a developmental level of early elementary level, sometimes preschool, very limited reading, many of them working on matching skills in this particular case.
When I first walked into the classroom, it was so depressing. I can’t even tell you. There’s almost nothing on the wall including no visuals. Most of the classroom materials were broken or mismatched and almost everything in that classroom was black, gray, or brown. My immediate thought when I walked in was, “I’m spending the whole day here?” It was that depressing. But I want to emphasize to you it was not depressing because of the students, the students weren’t even there yet. I hadn’t even met them. In fact, when they arrived, they were delightful, they were engaging, they were interested. They wanted to work. They were incredible students. They were just lacking skills. Sometimes there were behavioral issues. Sometimes those behavioral issues were significant. But the students were amazing. It was the classroom and the materials that were depressing.
So today I want to talk about materials in a life skills classroom and what we should look for when we buy them, make them, or find them. I’m going to tell you the end of that little story and the product that came out of it, but I’ll also share with you some ideas and resources for making your own materials that are functional and engaging for students while being age respectful and not costing you, in most cases, a penny. Because one of the great things about a life skills curricula is that they shouldn’t require any fancy kinds of materials. I’ve already pulled some of these together for you so I’ll have some free resources that you can download from the Resource Library that I’ll share a little later as well.
If you’re looking for tons of teacher ideas for life skills classrooms and how to set them up, we have a number of workshops and 15-minute quick wins that are set up specifically for these kinds of classrooms in the Special Educator Academy. The academy is a great place to learn effective teaching strategies, tools, and ideas to help make your job easier every day, and it doesn’t require a big time commitment to make a change in your day either, so come check out a seven-day free trial at specialeducatoracademy.com. Now, let’s get started.
Those of you who know me know that while, as I said, I like color and I like things to look interesting—and I can go down a rabbit hole looking for the right clip art font or color with the best of them—I’m not a terribly cutesy person. I’m not a person who wants everything so cute that it overrides the function of everything. Things have to work. Pretty scripty fonts are my jam but not on things that students have to read. But that doesn’t mean that students who are adults have to have materials that are old, dirty, bland, boring, or dull, and yet I have to tell you that this classroom that I’m talking about today is by far not the exception to the many that I visited over my 30-year career—yes, I’m owning my 30-year career these days.
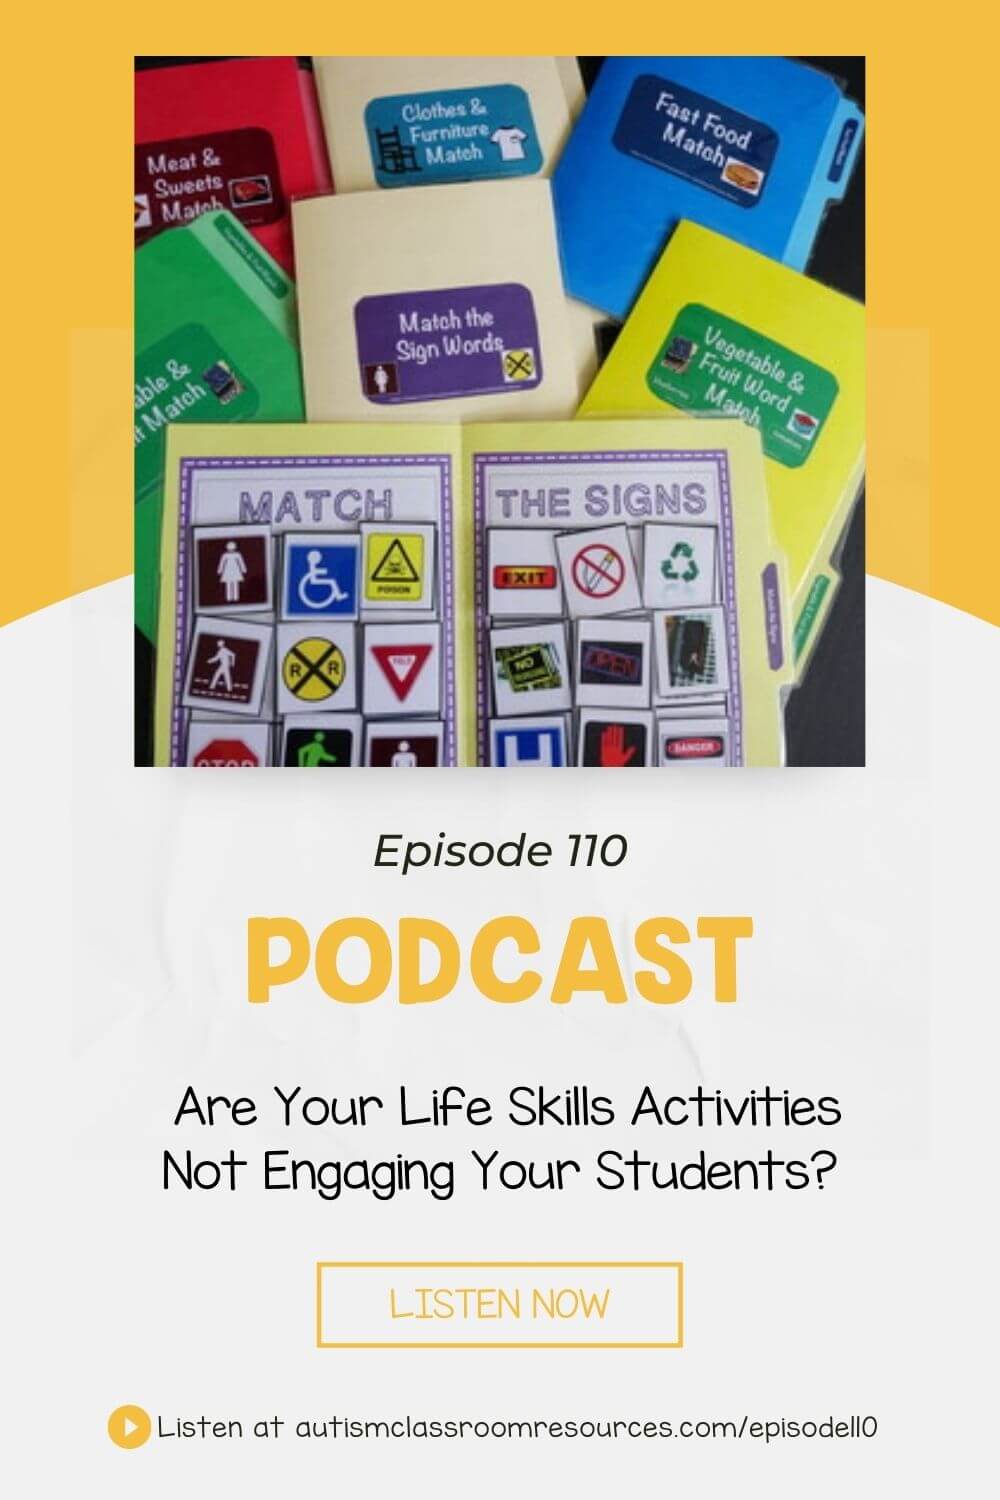
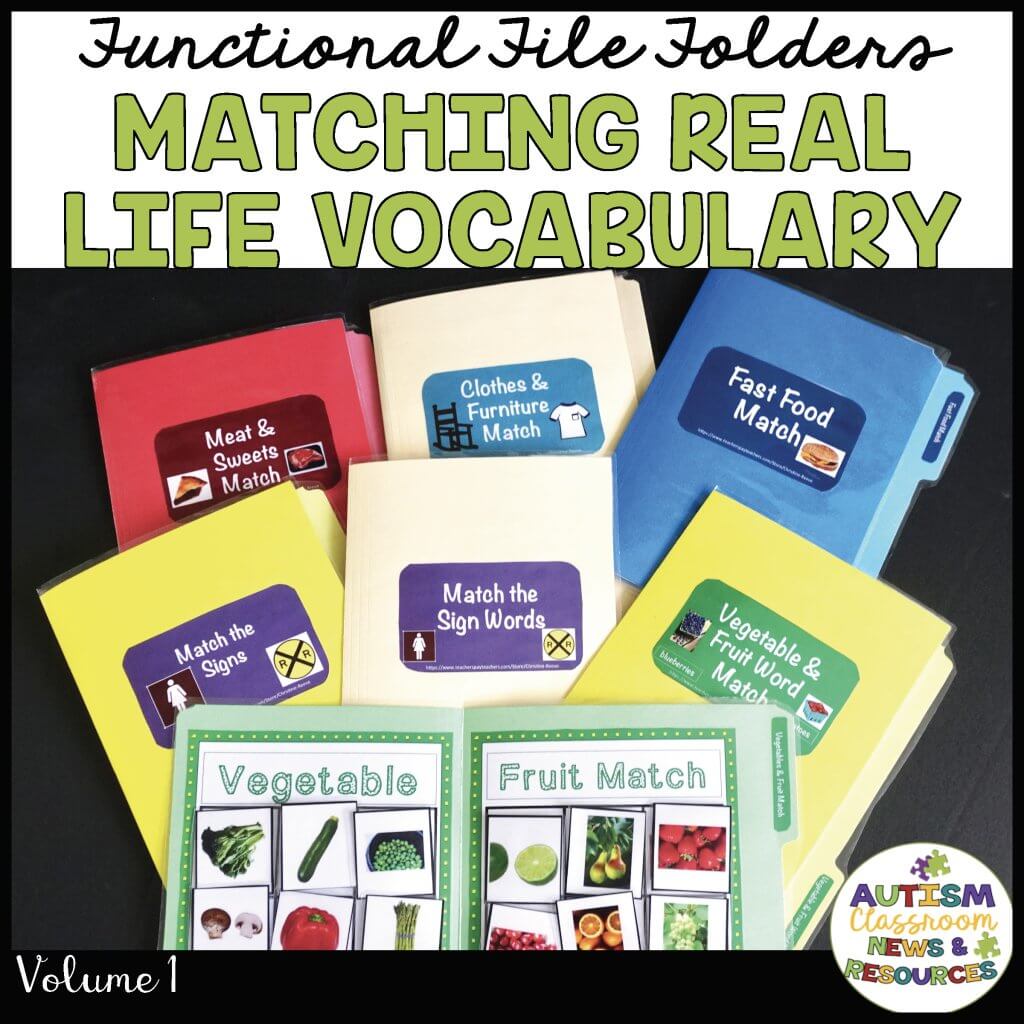
I am not blaming the teacher. He was doing the best he could with what he had been given as all of the teachers I’ve met have. Many of these classrooms for these older students aren’t given anything. It’s like nobody knows what to give them because the students are older. What it made me realize was that we just don’t have enough materials that are age respectful for our students with significant disabilities while being developmentally appropriate for them at the same time, and that too many sets of classroom materials sacrifice engaging and interesting for the sake of looking grown up and adult like. Well, I’m an adult and I like color. I like things that look visually engaging. That’s why I created my Real Life Photo Matching File Folder Tasks because that was the stage of learning that this particular class was at and using real-life pictures in color made them engaging but functional for the kind of vocabulary that they needed to work on, which was matching clothing and food. I’ll put a link to them in the blog post for this at autismclassroomresources.com/episode110, and you can see what I mean, and the kids loved them.
The real photo matching file folders just take regular photos of common everyday objects like food, furniture, and clothes. It also has some clip art because if you look at grocery flyers and you look at books, we have illustrations, not everything is a real photo, so using clip art makes sense in some senses as well. Students match them to the same picture for the basic level. They’re matching picture to picture. The next level up is to match the pictures to the written words, and then the written word to the written word. That allows the students to progress through some pretty simple steps but to use real life imagery that adds interest and color. If you can’t print the pictures in color because there is no color ink, I get it. Just use colored file folders and you’ve got color.
Another great way though to make these types of file folders without having to print, go to your local grocery store, grab some free grocery flyers, cut out the pictures of the items that are just in the flyer, use them as your pictures in the file folders. Most of those flyers are in color and you don’t have to use any color ink. Then make index cards, or any other kind of cards, with the written words for the students to match to them. Get two flyers and you’ve got two pictures of each item. While you’re at the grocery store—because you haven’t left the grocery store yet, right? Grab a few extra of them or just grab the ones that come in your mailbox. If you found a way to stop them from coming in your mailbox, could you drop me a comment and let me know? Because that’s mostly what comes in my mailbox. Cut out the coupons and have the students match those to pictures of the items or just have them match coupon to coupon, or have them match them to a picture in the sale flyer.
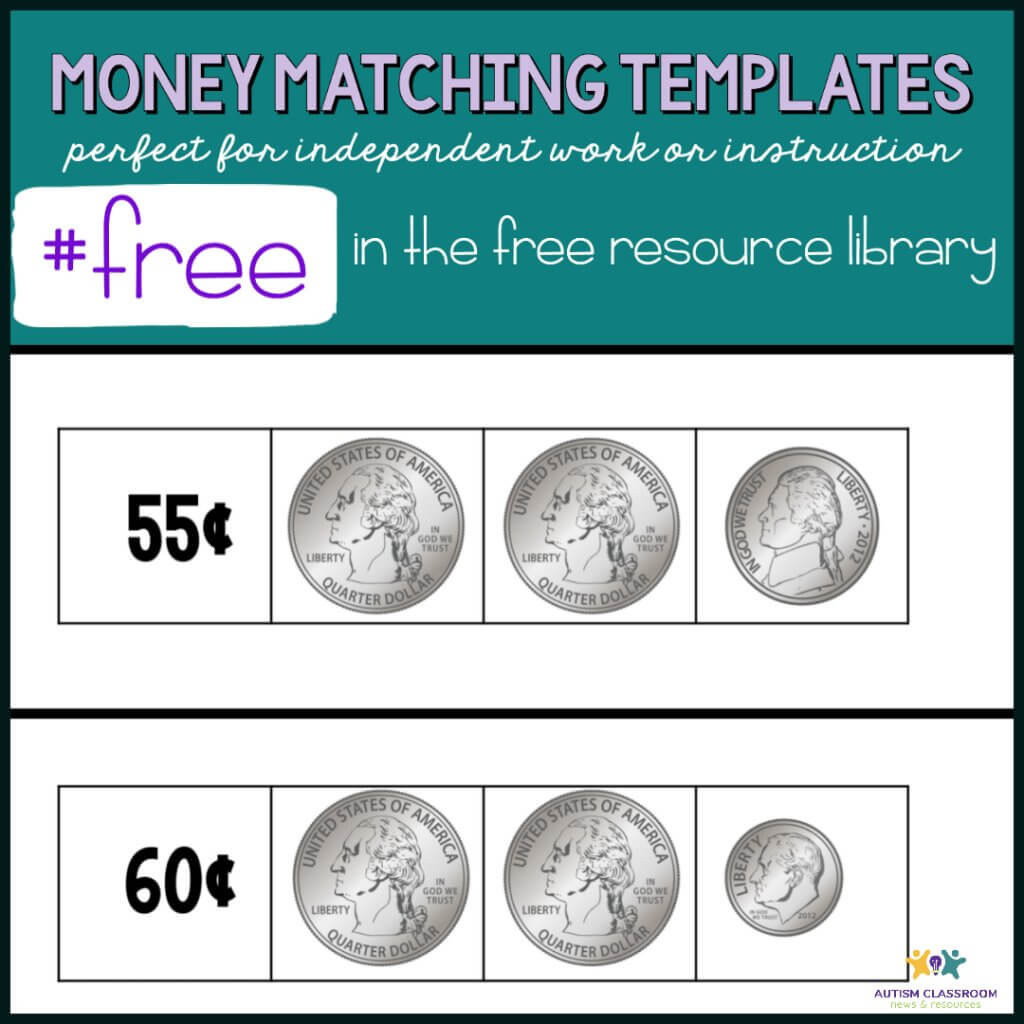
If your students are working on math, have them match the price amounts on the coupon to the coin amount or dollar amount during their math instruction. Have them count out the coins to match the amount on the coupon. I have commercial items that you can use in my store and I’ll put a link to that in the blog post that you can print similar tasks that save you the time of gathering up all these materials. It has flyers and coupons and check writing. They circle the number of dollars that they would use. It’s just a matter of whether or not you have time and ink. No time and ink or no ink and more time. You have to balance. It’s a matter of what resources you have available.
But similarly, you can take grocery store flyers and create math tests out of them. Simply make the students a grocery list and have them find the items in the grocery flyer, so they have a list and they have to find those things in the flyer, then they write the item prices down on your list. Then you could have them add the prices of the items together, and then you could—depending on their skills—have them add up the money and decide if they have enough money of the money that you’ve given them to make a purchase. If they’re working on making change, they could make change of the amount that you’ve given them. There are varying levels that you can put that up.
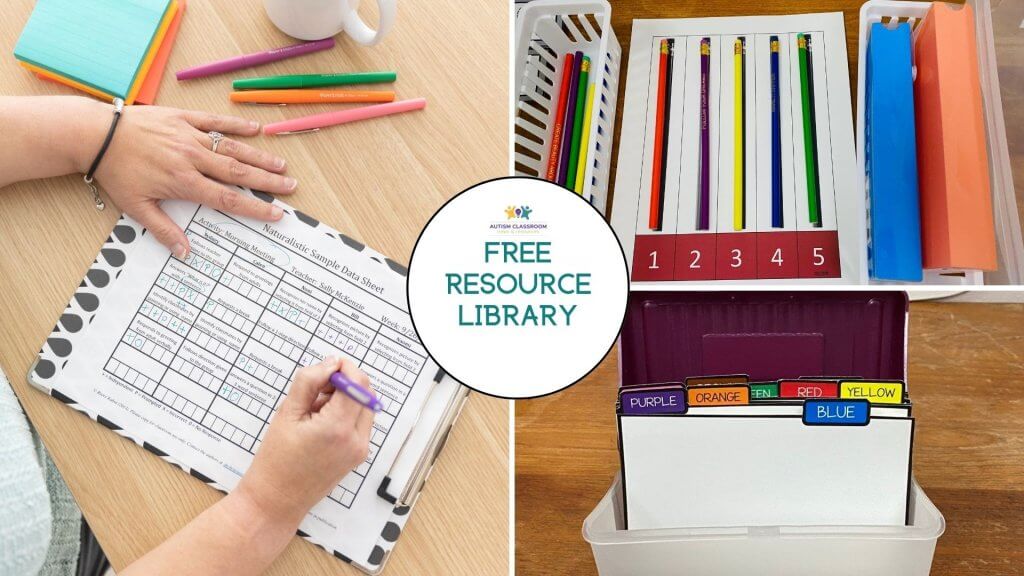
Another thing that you can do is put materials on a copy machine and scan them or make copies of them for students to match to them. You can also do it by just putting them on a flat surface with a neutral background and take pictures of them, then you will have to print them. I’ve done this with silverware to make templates for students to match. I’ve also done it with coins, and I’ve saved you the time of having to do that. If you have the ability to print them, download them at the Free Resource Library. I’ll put those links in the blog post and you can find all of the links at autismclassroomresources.com/episode110. That way, you can work on matching coin amounts with templates.
For instance, if a soda is 75 cents, they match the three quarters to the template. Take that 75 cents and go buy a soda. You can also have students match numbers of utensils to count out silverwares at the table. I created the templates in the Resource Library for a middle school student who was still learning to count to five, and that was an item that had been on his IEP for a long time. The team really wanted to keep counting on his IEP but we really wanted to work on one-to-one correspondence even though he wasn’t mastering it. But we really wanted it to be a functional skill for him. There were five people in his family. If you learned to count out five pieces of each piece of silverware to the template and use the template to count them out, then we could fade that template and he would have the items to go set the table so he could begin to learn to set the table independently even if he never learned to actually count to five. At least we were also working on a functional skill while working on an independent skill at the same time.
In addition, I have some videos that I’ll link in the blog post for this episode for you that show how these tests work to give you some ideas to start; some of the coupon and the grocery flyer tasks I’ve done some videos of. So when you’re looking for materials for older students in life skills classes, we just want to make sure that the skills match their level of skill and that they represent them at the chronological age that they are at. I hate the idea of finding second grade activities designed for second graders to give to a 20 year old to do his math, unless the second grade materials were made age neutral. Giving a 20 year old materials to have little kids on them just doesn’t sit right with me. The student may not mind but it just doesn’t send the right message to me about being age respectful and it wouldn’t send the right message to me if other high school students were to come into the room and see the student working on that. Instead I’d rather give a second grade level task with older age neutral clip art or no pictured people. It can still be colorful, engaging, and interesting. It could be about candy and a toy store.
I like going to a candy store. I like going to a toy store, don’t you? But I wouldn’t like it if a teacher gave me an activity that looked like I was a second grader when I was 20 years old. I wouldn’t give one to a student. In short, or maybe not so short, one of the great things about life skills programs is that most of the materials we need are available in our everyday environment. Sometimes it’s useful to buy them because the worksheets, answer keys, and work putting it together is already done and it saves us time, but sometimes it pays just to grab a flyer from the grocery store and put it together on your own. Unfortunately, this is one of the reasons why my house looks like it does because I see a task in almost everything I own. Every box is a task box. Every container is an organizer for a task, and almost every grocery flyer—well, I do throw them away—but I have quite a few that I’ve used to create example tasks.
I hope that that gives you some jump starts on thinking about colorful and interesting materials for life school students in your classroom. I’ll make sure there are links in the blog post for this episode for things I’ve already assembled for you, like the utensils, money matching, and the videos. That’s at autismclassroomresources.com/episode110. I hope you’ll come back next week for another episode on life skills. If you’re enjoying the podcast, I’d love for you to leave a review and a comment on your favorite platform. Until next week, have an amazing functional week.
