


I have written several posts earlier on the Unique Learning System. The first post was an overview of the curriculum and the second contained additional resources. This post will focus on how to organize the materials that you create from the ULS.
First, ULS offers such a myriad of materials that you can decide what you is appropriate for your students to print and make. Some, like the books, could be used on tools like the iPad or can be read on the computer using the PowerPoint supplementary files or the audio book tool in the curriculum itself. However, even if using technology to implement the curriculum, you will still have a large amount of materials to print, create/laminate, and organize. You will also want to organize the materials so that you can use them later in the year for maintenance and generalization of the skills taught as well as to use in future years.
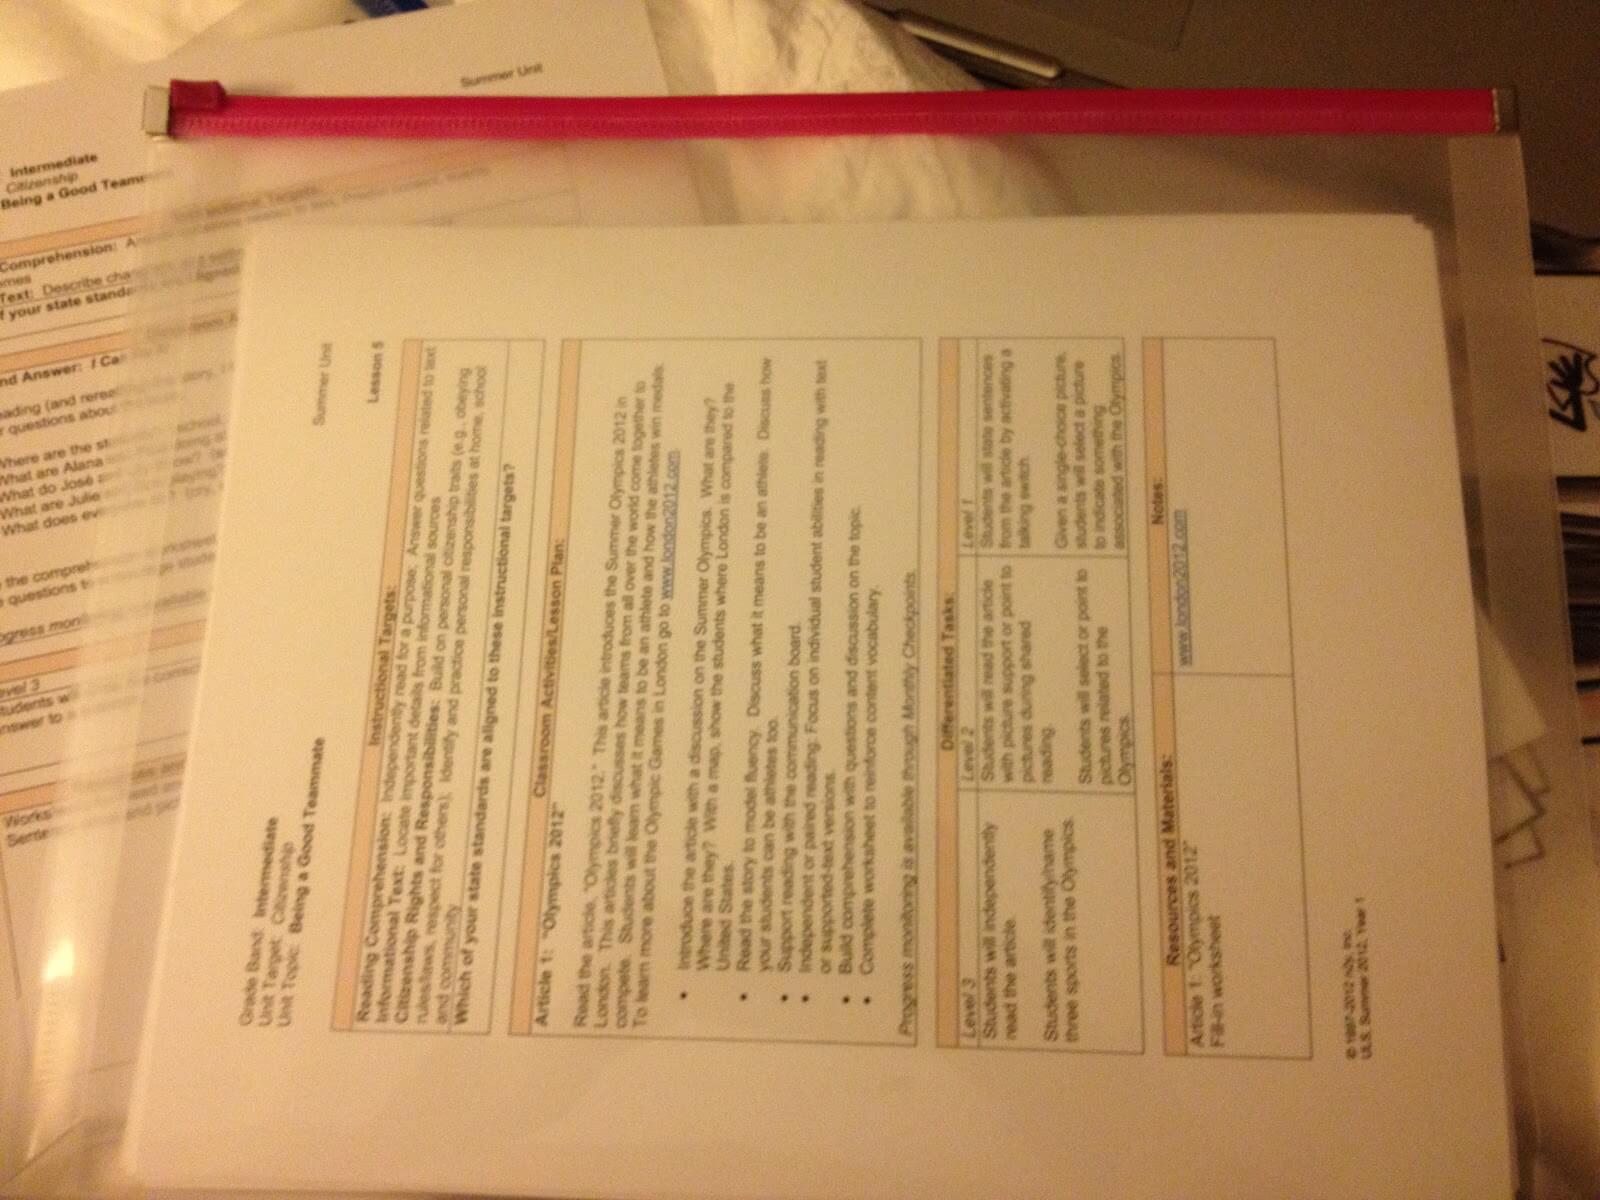
The first thing to think about as you make the materials is that many of the pictures for an activity look just like the pictures for the another activity in the same unit. I struggled with this the first time I assembled a unit because I had to go back to the online version to find which activity pieces fit with after I laminated them. Needless to say this added time to an already time-extensive activity of making the materials. So the next time I made a unit, I added labels to all the pieces before I laminated them. This was the quickest way, I found, to add information so that when pieces got lost I could relocate them with the rest of the materials. The picture below shows the system I used. In short, I used full page labels and created a table in MS Word that would have cells smaller than the small icons. I then copied the footer at the bottom of the PDF page from the activity and pasted it in the cells to create the stickers you see below. I then put a label on the back of each piece BEFORE I laminated them. This made it MUCH easier to assemble the activities once I had cut, laminated, and then cut all the pieces out of the laminate.

So after I get them all cut out, I need to store them. I also need to store them long-term. Now in my case, I needed to transport all of my materials across the country to the classroom I was helping to set up. Consequently I needed something that closed the materials up and kept them from falling around my suitcase. As you can see below, I used plastic ziplock envelopes I got from an office supply store. I put the lesson plan and all the materials for the lesson in the envelope and then could store them in the area they were needed in the classroom for easy access and reference. I realized later that I could have used much cheaper manila envelopes, although my sister says they attract bugs, so maybe the plastic was worth the investment.
I would then assemble all the lessons, at the end of the month, into a box or file cabinet for storage for use later.
Finally, the blog Ideas from a Busy Bee offers these ideas for organizing the materials in her classroom. If you use the ULS, how do you organize your materials. Please share in the comments!!


