Welcome to the Autism Classroom Resources Podcast, the podcast for special educators who are looking for personal and professional development.
Christine Reeve: I’m your host, Dr. Christine Reeve. For more than 20 years, I’ve worn lots of hats in special education but my real love is helping special educators like you. This podcast will give you tips and ways to implement research-based practices in a practical way in your classroom to make your job easier and more effective.
Welcome back to the Autism Classroom Resources Podcast. Hello. I am Christine Reeve. We are back this week with new episodes. I hope that you enjoyed our highlights reels for the last few weeks. Hopefully, you got to hear some episodes that you might have missed in the mess of this crazy last few years.
I had a little break with the trip to some beautiful mountains that still had snow. Now I am excited to be back with new episodes this month and they’re going to be a little bit of a hodgepodge of episodes somewhat fitting for July. Because July is always interesting in our world of teaching as we try to decide how much we want to start gearing up for the new year and exactly how much we want to give up of our summer.
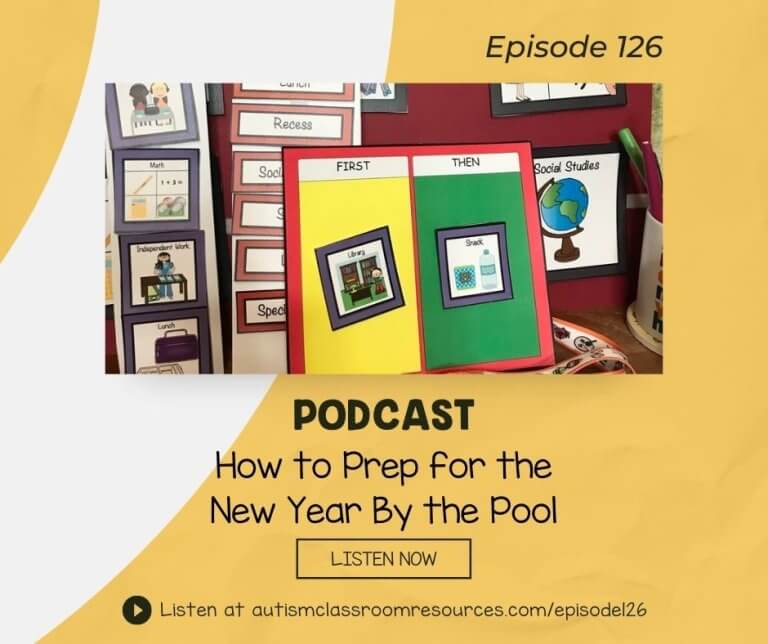
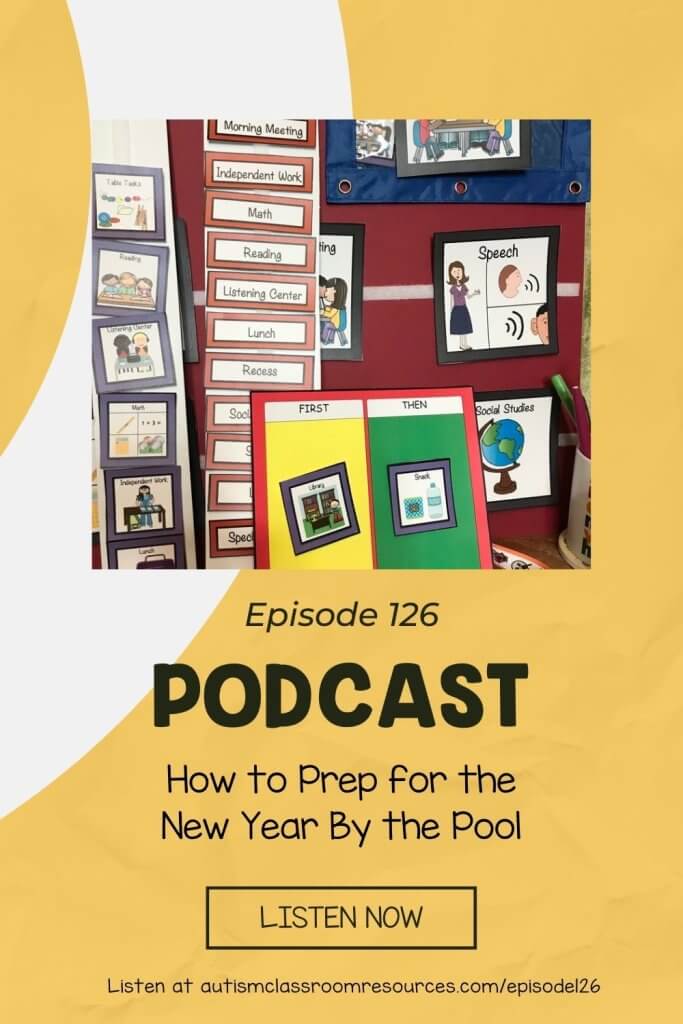
To start moving off in that direction, I thought I’d talk a little bit about what I call prep by the pool. As I start to think about getting ready for the school year or just setting up classrooms as a consultant, I start to think about all the materials that we always need to make for a classroom. Over the years, I’ve set up hundreds, and probably close to a thousand or more classrooms in my time. I used to set up classrooms for a living is how I used to explain it.
I’ve gotten pretty efficient at doing it and knowing what we need to have in place and what we can wait a bit to see what we need to make. When we would gear up for a demonstration classroom, which was a training model that we used that involved setting up a classroom from scratch and running it as a training model, we would start making materials ahead of time before we would go.
With our team, we followed the same strategies that I always recommend that you try and use with your teams, which is that there is no task that is beneath anyone. Everyone cut, laminated, created materials from the dean’s level all the way down to whatever level we had in our group at the time.
Throughout the summer, we would gear up for these classes. We would all be taking home piles of printed paper and cutting and laminating. Some of us would be prepping by the pool, some of us would be prepping in front of the TV. I’m not sure that when we were doing this in the early days, when we were actually coloring our visuals, that Netflix had actually been developed sadly but you get the picture.
Today, I thought it might be helpful to give you some idea of the materials that I would prioritize for that “mindless” work that you might start on as you’re thinking about your classroom at this time of the summer but you’re really prepping by the pool or building while you binge. In this episode, I’ve got a whole list of just what you might want to start setting yourself up for success in the fall with.
In addition to all of this, I’ve got a free tool for you today that you can download just for this episode. I’ve developed a swipe sheet that has a variety of resources from the Free Resource Library that I’ll talk about in today’s episode. I’ll have more on that later.
If you’re looking for ways to really set yourself up for success in the coming year in just 15 minutes a day, a couple days a week, come check out the Special Educator Academy. We’ve tons of tools and tips to help you help your students from workshops and trainings, to tips and templates to help you work and plan efficiently in the coming year. Most of them can be accessed in just 10 to 15 minutes at a time. You can grab your seven-day free trial at specialeducatoracademy.com. Now, let’s get started.
As I said, I’m going to be focusing on the material product piece of setting up a classroom today. These are the things that you can make to get a jump start on the materials that you need to have a classroom set up for students with autism, but also for any kind of students in special ed, but particularly, for self-contained or resource classrooms. These are the things that are worthwhile to spend some time on during your precious minutes over this summer.
I’m also going to give you a recipe of figuring out how many of each thing I would make depending on what your case load is going to be. First, hardly surprising, I would make sure that you’ve got visual schedules. If you know what your caseload is going to be next year or you have some idea of what it might be, I would make sure that you have one or two more schedules than what you would need for that number of students because you never know when you’re going to need an extra. Just trust me on that.
Also, unless you had the same kids last year and you really know them, consider making picture schedules but also make one or two written schedules that are also going to be able to be manipulated by moving the pieces. Unless you know them and you know that they can handle written schedules, I would try to make sure that you’ve got a number of manipulative schedules with pieces that move.
If you’re short on time, you can let that one go because they are a bit easier to throw together if you need them, but even if your students are readers and you expect them to be able to read, it really can be helpful to have some written schedule pieces that you can move around the classroom because some of the students still really need those pieces that move from place to place to really understand how a visual schedule works.
You also want to make sure, when you’re making your schedules, that you’re being consistent with your use of Velcro, assuming that you’ve got your Velcro at home and you’re putting that piece together. You want to make sure that you’re being consistent with Velcro on all of your visuals across the room: your communication, your schedules, make sure your Velcro is used consistently with all of them.
I would say file folders, schedules because you never know when you’re going to have to grab something from a file folder to use in a schedule or when you’re going to have to use a communication piece and a schedule in a pinch. The more that you can be consistent with that, the better. I know that you veterans know this, but to newer teachers, you can thank me later when your visuals all attach to the surfaces the way that they need to.
Now I put all of the rough or the hard Velcro on the back of the schedule pieces and I use the rhyme “hard on the card” and I put all the soft or loop Velcro on the surfaces, “soft on the surface” is my alliteration of how I remember that. I do this because I sometimes like to stick the visuals to other surfaces like my sweater. Sometimes I need to wear a visual so that a kid can get to it quickly, or I used to use them on fabric dividers a lot where I would just stick them on the fabric divider easily. The rough Velcro on the back of the schedule piece allows me to do that easily.
Other people do it differently. For instance, the people who make the PECS system do it the opposite way. The rough Velcro goes on the PECS’s book and the soft Velcro goes on the back of the visual. Now I always just thought that was wrong until in the second edition of their PECS manual they explained that they do that because it makes it easier to clean the PECS book with the rough Velcro on the book itself rather than the soft. They clean it with a brush and that makes it much easier, which is a very valid point that I frankly had never thought about. Think about how you want to use your visuals and then just make sure that you’re being consistent.
A number of people ask me about what kind of picture schedule you should use. I like to use line drawings or clip art, symbol picture schedules as my default setting. The visuals that I have in my store are a combination of clip art, line drawings. Those are the ones that I make at this time of the year unless I know that I need something different. I use them for a few different reasons as my default. They’re what I use when I don’t know what everybody needs.
I use them because I strongly believe that you should be using check-in visuals with matching visuals so that you can make those ahead of time too. They’re simply boards or envelopes with a matching picture and words at the area where the student is supposed to go. That helps them understand and make the schedule concrete for the students. They take their visual, they find the picture that matches the picture in their hand, and that’s where they go to check in.
I’ve got a work test tip for an easy independent work task you can make to actually practice schedule matching that I’ll put in the show notes. You can use check-in stations. The key is the picture so that they understand that. Photographs are more problematic because they’re going to change and I’ve got a couple blog posts that I’ll put in the show notes about using check-in visuals and some of the issues with photographs as well. I won’t take the time to go through those today, just let me say that the check-in visuals to me are what help the students understand how the schedule works and so I think they’re very important component.
While I’m making my check-in visuals, I use another one of that same size to make a group schedule visual because I like to use a group schedule so that I can share with the class throughout the day what’s coming up, what we’re going to do that day, they can practice sequencing so they can see what happened in the past, they can see what’s coming in the future.
It’s also a good way to help them know what something is going to change. I would print those out, laminate them, and I would also print out a couple of what I call change boards which I have free in my Resource Library so I’ll make sure they’re on the show notes swipe sheet. I’ll make sure that those have links to the materials to this change board. It’s just a way to show them that usually we have this but today we have this so it’s a heads up.
In addition to the schedules, you want to grab the first then schedule boards from my Free Resource Library as well, print as many of those as you have tables in your classroom or work areas in your classroom. I would do a full-size set for each table, then print the smaller versions to put on staff lanyards. That way, you will always have one available wherever you are.
Believe me, you will want to have them on hand to redirect students to remind them of where they need to be and what they’re working for. You may even want to have them sometimes just to ditch the whole full classroom schedule and use them in place of that just to break down the activities of the day because sometimes you’ll have a student that just needs just now and what’s next.
That gets you going on the schedules and you’d like to have all of those schedules in one set. You can grab them from my schedules bundles in my TPT store. I have them in solid colors, chevron backgrounds, and polka dots. I’ll make sure that links in the show notes as well. They’re set for preschool and elementary, and another set for middle and high school. They’re age respectful. They come with different things as well so you can find that there.
Now that you have the classroom visual supports for schedules and those kinds of things, I would start looking at creating materials for independent work including the task boxes or independent work tasks. First, I’d make sure that you have the visuals for the work system itself. They aren’t really time consuming to create, they can be simple. Just make the schedules by laminating post-it notes of different colors or construction paper squares of different colors for students to match for schedules.
Then make what’s next visuals with pictures of those reinforcers. Make two each of the scheduled visuals, so there’s one for the box and one for the schedule so the students match off the schedule to the bin and do the task. Or you can be more varied and you can have all different kinds of schedules, you can vary them by themes like insects or dinosaurs for young students.
I also like to make a whole set of numbers to number the tasks so I can keep an inventory about who’s independent with which tasks. You can grab a whole set of schedules, directions, data sheets, and everything you need to set up independent work in my store. I’ll link to that but I’ll also link to a blog post about how to set up work systems in the show notes. There’s a whole tutorial about how to do that.
The structure of the work system won’t take a ton of time to make, which is great, because then you can spend most of your time working on the tasks themselves. They are a great thing to work on over the summer because, one, you can never have too many tasks, and two, they’re an endless variety of things that you can create.
Work tasks are important for a number of reasons. First, they’re going to be the material that your students are going to use during their independent work tasks. Second, they’re going to be the materials that you’re going to pull out during times when you need to keep students engaged in activities. When something happens and you need a filler activity, they’re going to be your go-to tasks.
Work tasks include a wide variety of tasks depending on the needs of your students. If you’re anticipating that your students will have limited skills and independence, you might need some put in tasks that are very basic. You might have coffee cans where they’re putting beads and clothes pins in.
We could do that with something we call Shoebox Tasks. These are tasks that are self-contained within a box so the students don’t have to organize the materials, they just pull the task up and the materials are already set up in the box itself and they can sort and assemble them and put them in immediately. I’ll link to some examples of these as well.
Other tasks that work well for independent work are file folder games, and I’ve got some free file folder games from the Resource Library in the swipe sheet download. I love file folder games because they’re great to make ahead of time, they can last forever so you just keep accumulating them over time.
You can work on matching, sorting, and all kinds of other skills with them. They’re easy to store, they don’t take up a lot of space. I also like them because they’re pretty self-contained and students become familiar with how they’re used pretty quickly. I often use them in instruction before I put them in independent work.
Another kind of task that is really easy to make for independent work are task cards. I’ve got some task cards for next dollar activities that I’ll include in the swipe sheet that you can download for free. Task cards are really great for independent work if your students are able to complete them because they require almost nothing on your part for prep other than cutting them and possibly laminating them.
Students typically need to be able to circle or use a clothespin or a clip to mark their answer in some way for them to work on them, but they require very little on your part to do them. Other options for work tasks might include clothespin matching or clip cards, ice cube tray patterns, and other kinds of templates you can set up. There are examples of those that you can download from the Resource Library as well in the swipe sheet.
I have never had a situation in which I had too many work tasks. I have had many situations where I began a class and didn’t have enough and that becomes a much bigger problem. They are a great thing to fit into corners of time whenever you have the time or energy to work on them. Over time, if you’re a newer teacher, you will build up a library of them.
Those are some of the things that I would work on first over the summer to get your classroom ready and going. Following those, I might add some mini schedules or task analysis schedules for things like common routines, arrival routines, departure routines, bathroom routines, common things like morning meeting schedules. But some of those can wait until you really see what your schedule is going to look like.
Overall, if you have the visual schedule tools, the workbox material, you’re going to be well ahead of the materials to keep the students engaged in a structured environment and ready to set up your classroom and fill in the activities with the activities as they come up as they inevitably will in the first week of school.
Don’t forget to hop over and download the free swipe sheet that will take you to the resources in the Resource Library for creating some of the materials. You can find all of these links on the web at autismclassroomresources.com/episode126. I’ve tried to make it easy to use. You’ll need to register for the library, just sign up for my newsletter if you haven’t before, or if you are a member, just sign in and then you’ll be able to go directly to each of the tools from the swipe sheet.
Remember, if you’re already a member and you’re having trouble logging in, feel free to email me if you can’t remember your login or if you’re having trouble. If you try to log in multiple times, the system will lock you out just to prevent people from hacking the site. Then you’ll have to wait a bit for it to reset and let you try again. I’m always happy to help you recover your password if you’re not getting the email password sent to you.
If you’re looking at expanding your toolbox of teaching strategies to meet the needs of your diverse learners, definitely come check out the Special Educator Academy. We have tons of downloads of task boxes to make as well as quick five-minute lightning trainings and our study groups are going full speed ahead with live sessions each week this summer. Grab your seven-day free trial at specialeducatoracademy.com.
I hope you are having an amazing summer. I hope you are getting some much needed and deserved rest. I will be back next week with another new episode and until then, enjoy prepping, or not, your choice, by the pool or building while you binge. I’ll be over here trying to figure out how I can help. Have a great week.