Welcome to the Autism Classroom Resources Podcast, the podcast for special educators who are looking for personal and professional development.
Christine Reeve: I’m your host, Dr. Christine Reeve. For more than 20 years, I’ve worn lots of hats in special education but my real love is helping special educators like you. This podcast will give you tips and ways to implement research-based practices in a practical way in your classroom to make your job easier and more effective.
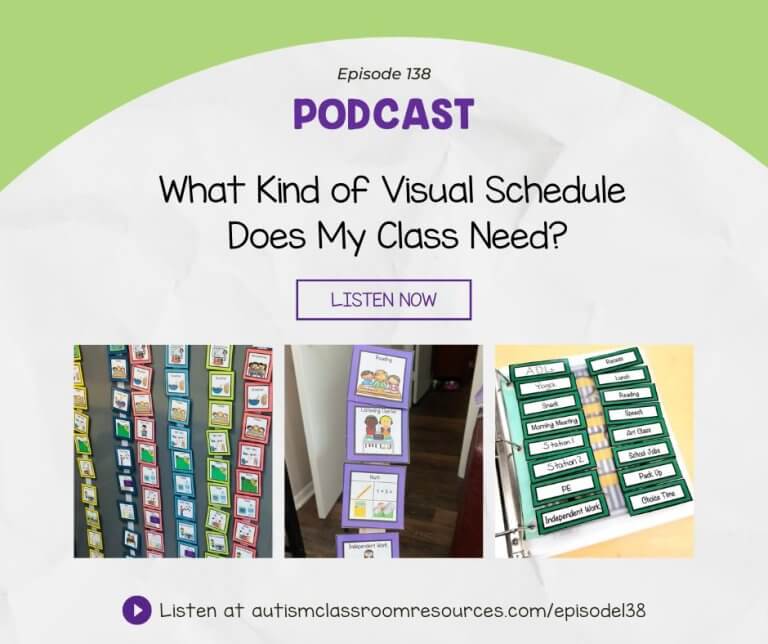
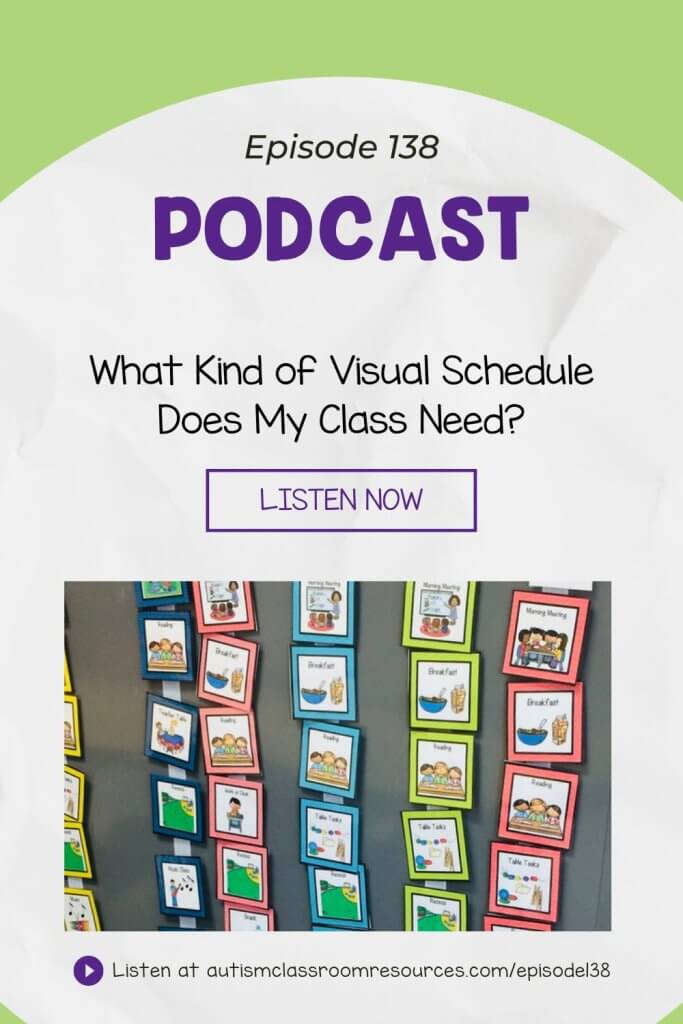
Welcome to the Autism Classroom Resources Podcast. I’m Chris Reeve and I am an absolute visual-schedule geek. Today we are actually going to talk about how you make decisions about what kind of schedule your students should be using. Last week in Episode 136, I talked about why using visual schedules is so important, particularly for students with autism but also I use them with a wide variety of students and find that they’re very useful for a variety of reasons.
Today, I want to talk about the different types of schedules that you could have from picture schedules, to object schedules, to written schedules, and all sorts of things, and how I decide what kind of schedule to start with and how I decide when maybe I need to change to a different kind of schedule. In addition, I have a free download for you of some activity schedules, so I’ll talk about them a little bit later. They will tie into this as well. Let’s get started.
If you’ve ever wondered how to decide what kind of visual schedule to use for your students, then this is the episode for you. If until this year, you didn’t know what a visual schedule was, I’ll also tell you that there are a lot of different kinds. This will also be helpful. There are different kinds.
The kind that I think most people are most familiar with are pictures schedules using what we typically call picture symbols. Usually illustrations, clipart, or Boardmaker, Smarty Symbols, SymbolStix, or LessonPix, there’s a whole host of them, and I’ll make sure there’s some links to some of the software so you can find where to go. I’ll also make sure I have a link to some schedules that are already made that you can find in my store.
Those are one type. That’s the generic default kind of schedule. But you also can have objects schedules. Now we use object schedules in two different situations. We use object schedules when a student has a visual impairment. In that case, we’re usually talking about a tactile schedule, something that feels like the place that they’re going for an activity.
On the other hand, we sometimes use objects schedules that are representative objects. For those schedules, we’re typically talking about students that have struggled to really understand, match, and discriminate pictures. We have fallen back to an easier, more concrete representation of an object.
If I need to go to the bathroom, we take a diaper. If it’s time to get dressed, there is a shirt on my schedule. If it’s time to go to work with the teacher, some work material that I use with my teacher is going to be my object. Those are obviously harder to put together but they do have a place. Then there are written schedules and there are even different kinds of written schedules.
You can have a written schedule where the student still has to take the piece off of the schedule, take it with him to another area, match it to a matching piece on a check-in board, and check in and get involved in the activity. But you could also have a written schedule that is simply a list that the student is either crossing off or checking off as they go and complete different activities.
You can have different kinds of schedules even within written. You could add pictures to that if you’re not sure that your student is getting just the words by themselves in terms of comprehension.
We don’t have a ton of guidelines about how to make decisions other than just trial and error. We don’t have any really good assessment that I can send you to that says “Here, give your kids this assessment, you’ll know what kind of schedule they need.”
Even within those four different types of pieces of the schedule, there’s a lot of different ways to present them from a first/then, which I will talk about in a couple of weeks and how we can use that, to having a schedule with pictures on a notebook that travels with you around the school, or I have my full schedule on the wall and you can even have a schedule that goes from left to right or a schedule that goes top to bottom. Top to bottom is easier than left to right. When students are first starting, we start with that.
I thought I’d share my process of some tips where I would start. If I don’t know where a student is in their learning of schedule, if he comes to me, and he’s already had some visual schedule, then I want to use what they use last year if I can apply it to my room. If their photographs are very related to their room, that would be hard to make that shift. I would have to create my own photographs.
But generally, if he comes to me with something that he’s been successful with, let’s not throw that out. Let’s use that because the schedule is designed to be a help in getting things done. It’s not supposed to be a task by itself. Although we do have to teach our students to use it, it’s a tool which they use to navigate their day, navigate time, know what to expect, get rid of anxiety, and things like that, all the things I talked about in our last episode. Because of that, we want to make sure that we’re making it easier for them, not harder.
If I don’t know where the student is coming from or what kind of schedule they’ve had, I start with picture symbols. Smarty Symbols, SymbolStix, Boardmaker, my schedules that are in my store, my visual packets, include symbols and clipart. These almost always have a picture and words because that makes it a lot easier for the adults to know exactly where they’re going, and we always want to pair that writing with that picture for them in the hopes that eventually we will get them to a text-based system.
Regardless of the specific kind that’s produced, the pictures are definitely the most common way to make schedules. Many of our students are able to use them. I will use them when I don’t know the student’s skill at recognizing her comprehending text or picture so if I don’t really know how good they are at understanding this, this is my default.
If the student can match simple pictures, like matching the scheduled visuals to the check-in board, then I will definitely use this because that’s the skill I want them to have. They’re going to take their visual with them, add a matching check-in board, match it and check in if the student recognizes common pictures, and if the student doesn’t read well enough to really comprehend what the words mean.
We’re always going to pair our words with our pictures. But those situations I would definitely start as my default being picture symbols. They are the first thing I start with if I don’t know what else to do to see where students are.
When would I use photograph schedules? Now many people feel that photo schedules are a good substitute for pictures when a student can’t read. Many of our students can use photo schedules really easily. These days, it’s really easy to make a photo schedule and there are tons of apps out there that some of your students may do well with as well. You might print them out or you might have them on a tablet.
I even have a digital schedule from the time that we were doing homeschooling or pandemic schooling in my store, so I have a digital one and I have print ones. The digital schedule that I have in my store is based on the same picture symbols I was just talking about.
For some students, photo schedules aren’t a great choice. Those are students that typically have difficulty generalizing material that they’ve seen. If the art area looks different than the picture today, then maybe he thinks it’s not the same place, or you changed your hair or you wear glasses one day, he may not know who you are because you don’t match the picture.
For these students who are focused on one or two details of the appearance of the photograph, they’re over selective in what they’re picking and they’re not picking the most-relevant elements, those are students that photos might not be a good choice for.
In addition, photos don’t really transfer well to new environments as well as picture symbols. You’re going to have to take all new photos in it for a new schedule, when staff change, the room changes, or the student transfers. I try not to start with that one for that reason because of these potential drawbacks.
The other thing is that it’s hard to get the background and all the information. It’s a very busy picture a lot of times when you take a picture of something in the classroom, and that makes it sometimes hard for kids to pull out the correct or the relevant information. Because of all of those potential drawbacks, I primarily use photo schedules when I know the student can match photos, but not illustrations.
Or sometimes I’ll use them if the student isn’t responding to picture symbols but I don’t feel like he really needs an object schedule at that point because he’s getting his matching skills in place. I might fall back on photos or I might use a combination of picture symbols and photos. There’s no reason these have to be purely one kind of schedule. I don’t use photo schedules very often, but I do sometimes put photos on their schedule. Sometimes a photo might be the best way to show them what something is.
When would I use object schedules? I use object schedules when I have a student who doesn’t respond to picture symbol schedules initially. If I’ve tried it for a few weeks, and I’ve seen that he does not have matching skills, or a solid understanding about the common pictures, I would drop back to object schedules. I would drop back to a representative object schedule because they’re more tangible for helping them understand what’s happening next.
I might use a cup for lunchtime because the student drinks from an identical cup. I might use his picture he uses to sign in to the “who’s here” board so he has a picture of himself to represent circle time or morning meeting. I would use items that he uses in the everyday activity as much as possible unless I’m doing it for a student who has a visual impairment. I’ll talk about that in just a minute.
I don’t want the student to eat them. I want to put them in a container where they’re not going to consume or use them. I don’t want him to use that cup to drink because then I’m just going to have to keep replacing that. I might put them in a container, for instance, so I might take leaves from outside and put them in a clear container to represent we’re going on a walk. Or I might use a toy bus to represent going home. I’m using those items as representations of the activity.
When I have a student with visual impairments, then I might use an object schedule with tactile kinds of cues. Instead of choosing objects that are representative of an activity, I’m going to choose objects based on how they feel. Rather than a block to represent that we’re going to work time, I might use a piece of the plastic of the texture of his plastic chair that he’s going to come and sit down on, or a piece of laminate that’s similar to the one that is the table where he sits to work.
Even when I use object schedules, it’s still important that you have a parking lot or a check-in board with a matching object just as you do in matching picture in order for them to be functional and make that connection of what the schedule is for. I’ve got a blog post about check-in schedules and why they’re important, and I’ll share those.
When do I use written schedules? I love to use written schedules. They have a ton of pros, but you want to be really careful that you don’t get misled by them. The advantages to a written schedule, they’re easy to make. Once kids get to the point where they’re on a written schedule, I can write the schedule out, erase it, and replace what changed right there on the board. It’s easy to change, I can cross it out.
It’s quick to create it on the fly. I don’t have to go find the pictures to do something different, I just write it down. If a student can use a written schedule, I can quickly grab a post-it note or a whiteboard and just write out the steps of a task. They’re very even helpful for structuring the inside of a task too, not just the daily activities to use as a mini schedule. That’s actually what I have for you as a freebie is a set of mini schedules. I’ll talk about that in a moment as well.
You can use written schedules in a lot of different ways. Some of our students will still need that piece of paper with the word on it to go to a matching place that has the same word on it. You’re going to put the word on the check-in board and their word is going to be Velcroed to their schedule.
But just because the student can read the words doesn’t mean that he understands them. A lot of times we think that a student can read, but we don’t really stop and check if he’s comprehending and knows where to go. The disadvantage of written schedules is, I want schedules to be really easy for students to use. If reading is hard, then a written schedule might be too. I want a schedule to be something that is easier than his top skill because he needs to be able to use it when he’s not in top form.
We might think a student understands and is just being non-compliant, when in actuality, he can read the word and tell you what it says but he doesn’t know what it means. We have to really check for that comprehension. Clearly, both of the disadvantages for written schedules can be addressed by making sure that the students have the skill of reading that they need.
In order for me to use a written schedule though, I want to make sure that the student clearly understands the words and can travel to the designated area independently using the schedule. If I have to prompt him or remind him about where he’s going, he probably needs at least little pictures next to the word to cue him on what that word means.
I might start a student off on a written schedule on cards where they carry the card, match it to a matching written card, just to make sure that he’s getting that function and building that comprehension about what that word means. Over time, I could fade that piece of it out and we could go to a list, but sometimes it really helps the students to manipulate the schedule rather than just checking them off.
Clearly, many of us use a combination of all of these kinds of schedules, for example, it’s hard to depict speech in some instances, it’s easier maybe to use the therapist’s picture because you don’t know what they’re going to be doing in speech.
In general, just to recap, if I don’t know the students skills, I start with pictures symbol schedules. If the student excels on picture symbol schedules, then I might have him use a group schedule, which I’ll talk about in next week or the week after. I’ll just have a schedule for the time when the class is doing different things like center, so everybody’s not in the same activity.
I might switch into a written schedule using cards that he manipulates or sometimes a notebook that he checks off if he leaves the classroom frequently and his reading skills are strong enough. If I have a student who’s struggling with picture symbols, then I might move to a photo schedule or to an object schedule, depending on what the team thinks is going to match his skills the best for matching.
I also sometimes will back up and teach matching with the schedule piece in a discrete trial format so that the student can move forward using it. If you’re a member of the Special Educator Academy, we have a whole workshop on teaching that with discrete trials and teaching matching. That might be something I build into his direct instruction.
I hope that that gives you some ideas of how to make decisions for your students. These are strategies that I use for the activities of the day. But they are also strategies that I use for breaking down a single task. That’s actually the kind of schedule that I have for you that is in our Free Resource Library.
I have some pumpkin-related schedules for activity schedule, so going to the pumpkin patch, making a jack-o-latern, and carving a pumpkin. Those two are designed to give you the steps of the task and information about where you’re going for a field trip instead of just the overall daily routine.
If you are new to using picture schedules or you’re just thinking that you need some picture symbols to get you started and you don’t want to put in the time that it takes to track down all those symbols, I have different visual bundles in my TPT store and it will have different backing, so solid colors, they’re also made for different ages so they come up with age-relevant pictures for the different age of students. I will definitely make sure that both of those things, the freebie and the link to my store are in the show notes. You can find both by going to autismclassroomresources.com/episode138.
Thank you so much for spending this time with me. If you are an avid listener of the podcast, I would love for you to share a review on Apple Podcasts and share that information, or just share the podcast with a friend. I will be back next week when I will be talking about group schedules and why they are important even if our kids have their own individual schedules. I’ll see you then.