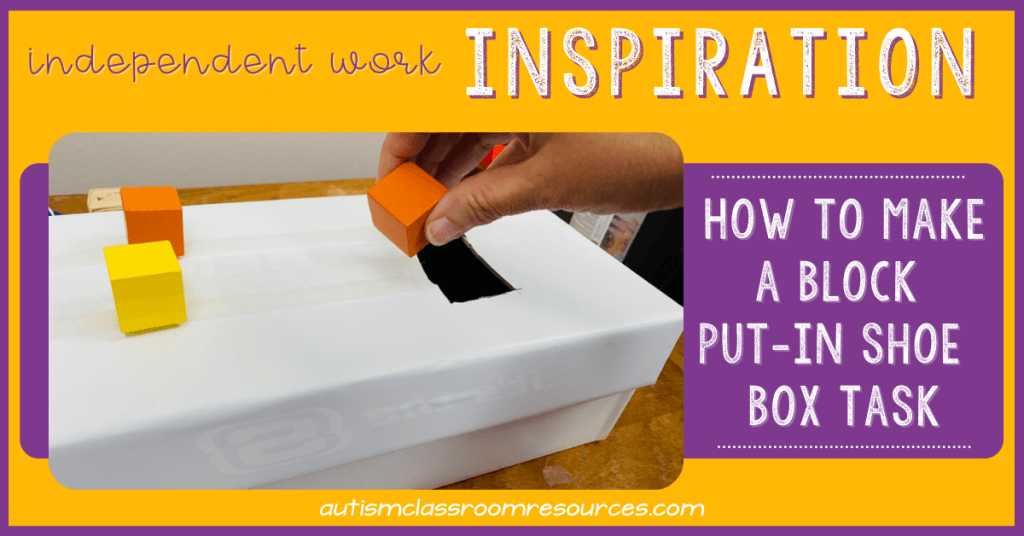
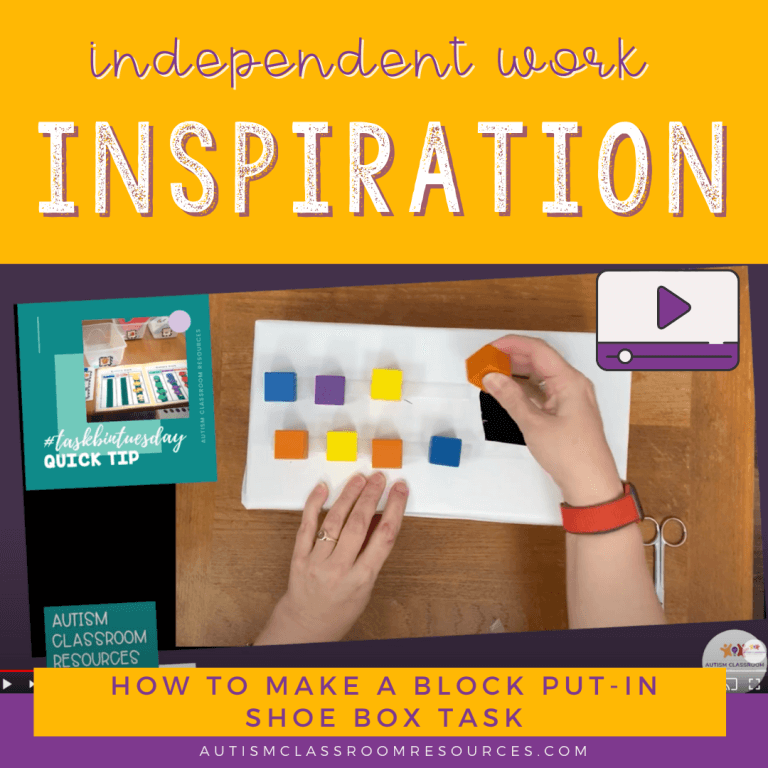
This week’s independent work inspiration is a basic shoebox task. Shoebox tasks are some of the most basic tasks for students just beginning to learn how to work independently. They remove the moving parts of working by containing them all within the box. All the student has to do is move the pieces in the box. And when the task is finished, it goes into the finished basket as a whole. Students don’t need to organize the materials. They just complete the task.
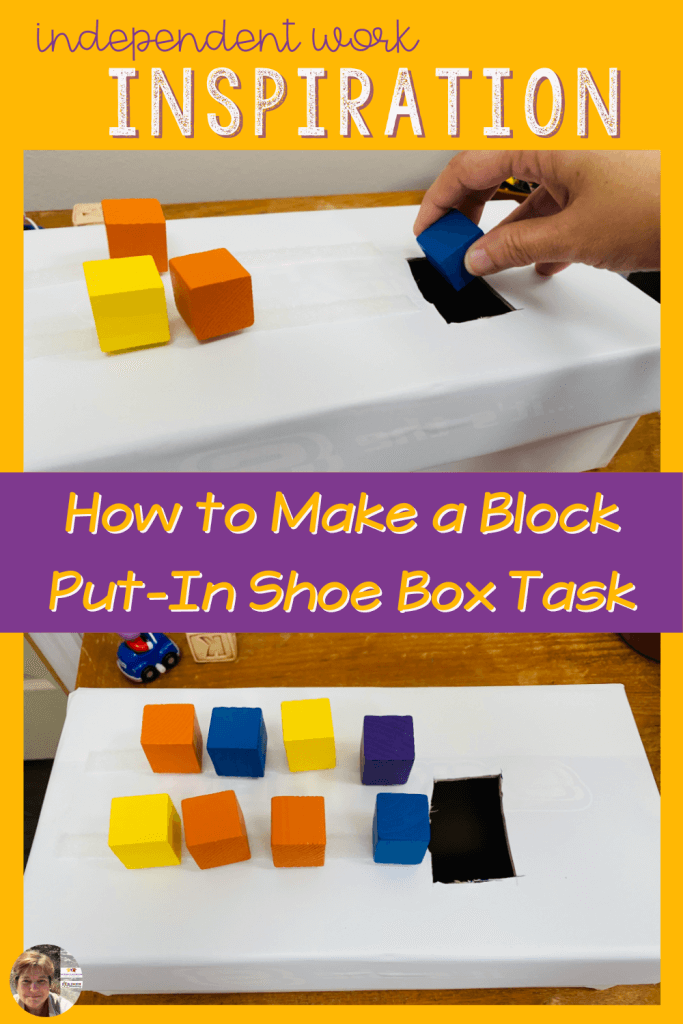
Most shoebox tasks are put-in tasks. Students just need to put materials into a container (or sometimes remove them). In this week’s case, the students remove blocks from the top of the box and put them into the box. When the blocks are all gone, the box goes into the finished box. This week’s video tutorial is a little different. In fast forward, I actually make the task from beginning to end in the video.
Basic Shoebox Task: Material List
- Shoebox. The easiest to use is cardboard because it’s easiest to cut into. But you can use plastic shoeboxes that will be more durable. But then just make sure you have strong tool to cut into the lid. And if you use a plastic shoebox, you probably want to have some tape to put over the slot to soften the edges.
- Box Cutter
- Wood or Plastic Cubes
- Velcro–2 strips and corresponding squares or Velcro dots for each block
- Contact paper – optional to cover the box
Basic Shoebox Task: Who Is It For?
Typically I would use this with younger students through elementary ages. However, if I have older students who are not able to complete tasks independently I will sometimes start with a task like this. Not having to organize or manage the materials can be an important strength for a task.
Basic Shoebox Task Video Tutorial
Tips for This Making Basic Shoebox Task
You can make this task easier or harder by adding more or fewer blocks for the student to put in. I typically start with 1-3 for students who are not independent.
I covered the box with contact paper before I started the video. You can choose to do this or not. It eliminates any distractions from print on the box and makes it look prettier. Just make sure you can still open the box to get the blocks out when the student completes the task.
Finally, you can use other types of manipulatives if you don’t want to use blocks. Just make sure it’s something that can withstand being attached and removed with the Velcro.
Have questions about simple shoebox tasks or beginning independent work in your classroom? Come ask them in our free Facebook Group. Just answer the 3 questions and we’ll get you in to join us!
Need more ideas for task boxes? Check out the resources below.
More Workbasket Wednesday Resources
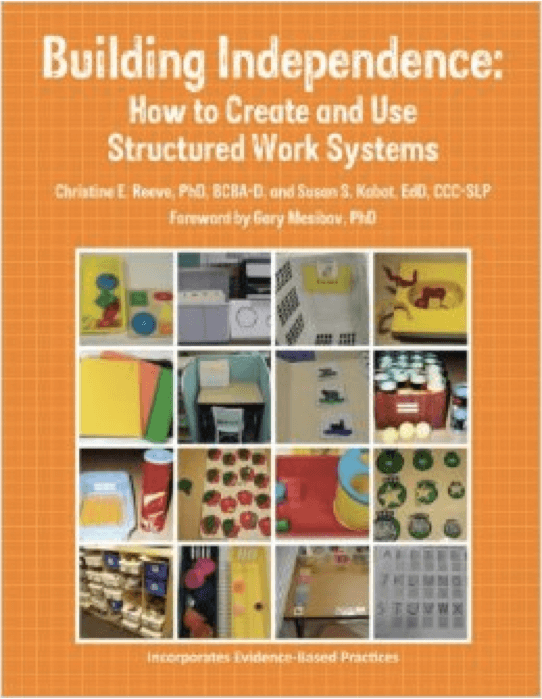
Looking for more ideas on special education work boxes or work systems and how they can be used? Check out the links in Resources below for more posts. And, I wrote about a book about them!
Buy From Amazon (including Kindle) (see my disclosure policy for more information about affiliate links).
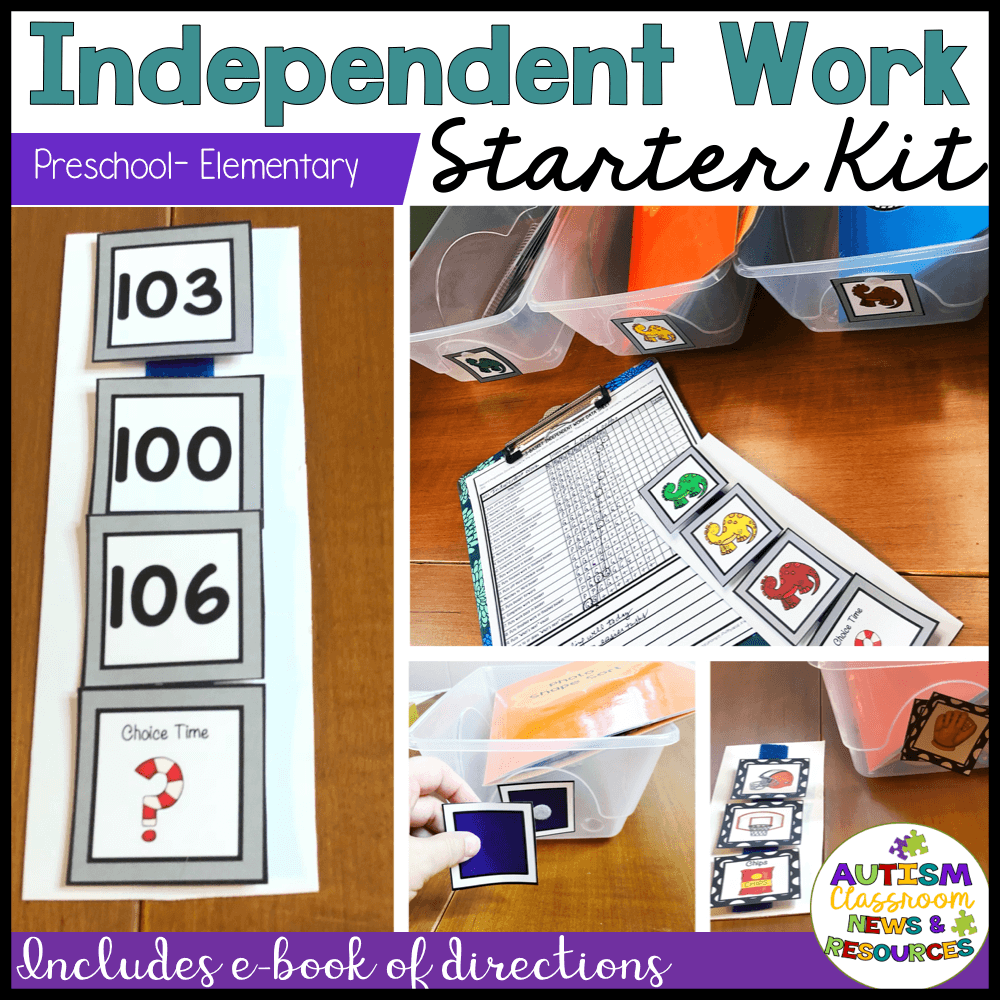
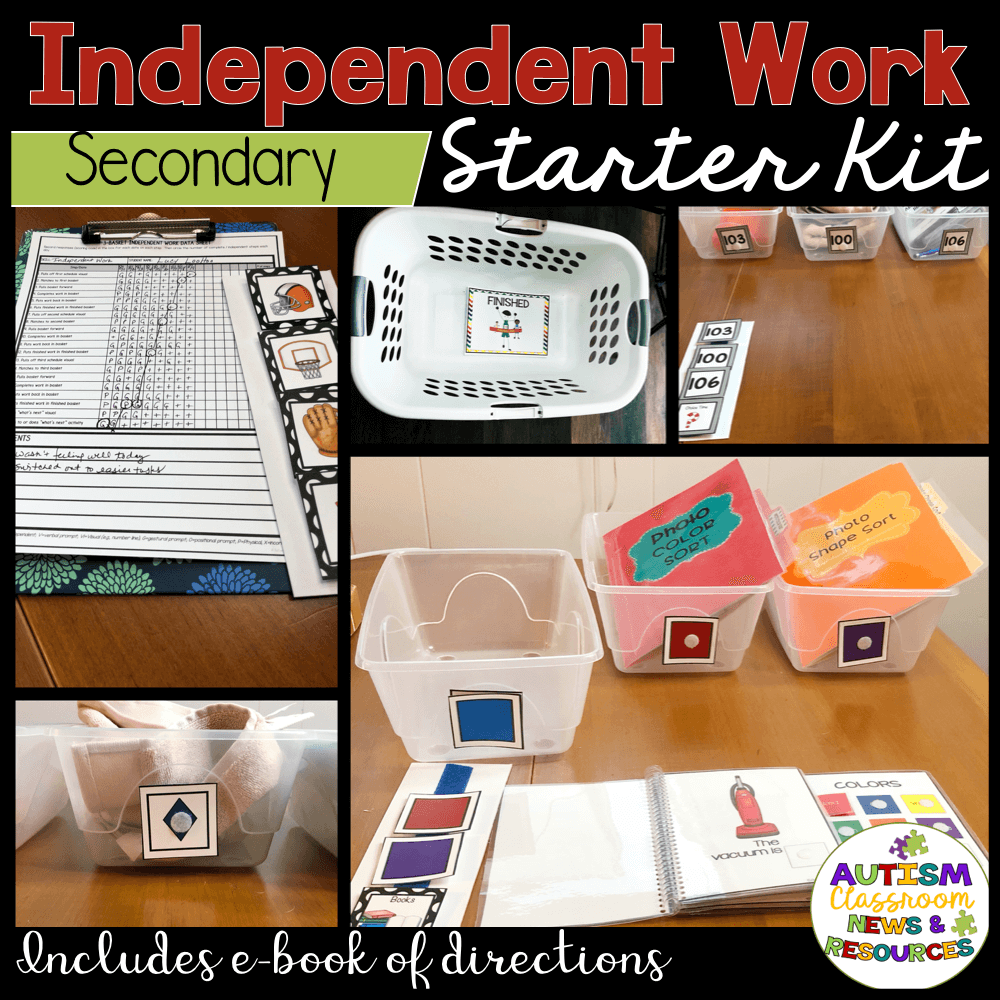
GET ALL THE VISUALS AND ORGANIZATIONAL TOOLS YOU NEED to start independent work in your classroom.
These kits include an e-book with directions on setting up independent work systems and using the materials included, data sheets for tracking progress, visuals for the special education work boxes and schedules, what’s next visuals, and mastery sheets to keep track of which students have mastered which task.

![Independent Work-3 Ways It can Become Your Best Classroom Management Tool [A sorting task in a shoebox to sort nouns from verbs on popsicle sticks into plastic cups]](https://autismclassroomresources.com/wp-content/uploads/2023/06/BLOG-22208-3-Ways-Task-Boxes-and-IW-Help-Classroom-Management-2-768x644.jpg)
