Welcome to the Autism Classroom Resources Podcast, the podcast for special educators who are looking for personal and professional development.
Christine Reeve: I’m your host, Dr. Christine Reeve. For more than 20 years, I’ve worn lots of hats in special education but my real love is helping special educators like you. This podcast will give you tips and ways to implement research based practices in a practical way in your classroom, to make your job easier and more effective.
Welcome back. I’m Chris Reeve. And I’m your host, and you’re listening to Episode 203 of the Autism Classroom Resources podcast. I am very glad that you have joined us we are in the middle of a series on independent work systems, or task box systems. Now we talked in episode 201 about the materials you need and how to set the system up itself. And last week in Episode 202, I talked about characteristics of the tasks and why they are important.
So in this episode, I am talking about the strategies that we use to actually teach the system. Now remember from Episode 202, and episode 201, that work systems are specifically designed to teach students how to complete a series of tasks independently. Each element of the system is carefully crafted with this purpose. They are a visual system for students to understand our expectation.
So it’s not a surprise that how we teach the use of the system is just as important. There are really specific strategies that we use that will fit the requirements of it being an evidence based practice of structured ordered systems. But they’re also just best practices for instruction.
So today, I’m going to walk you through how to teach and support the systems in your classroom. If your work system is run by paras or aides in your classroom, then this might be a good episode to share with them for training.
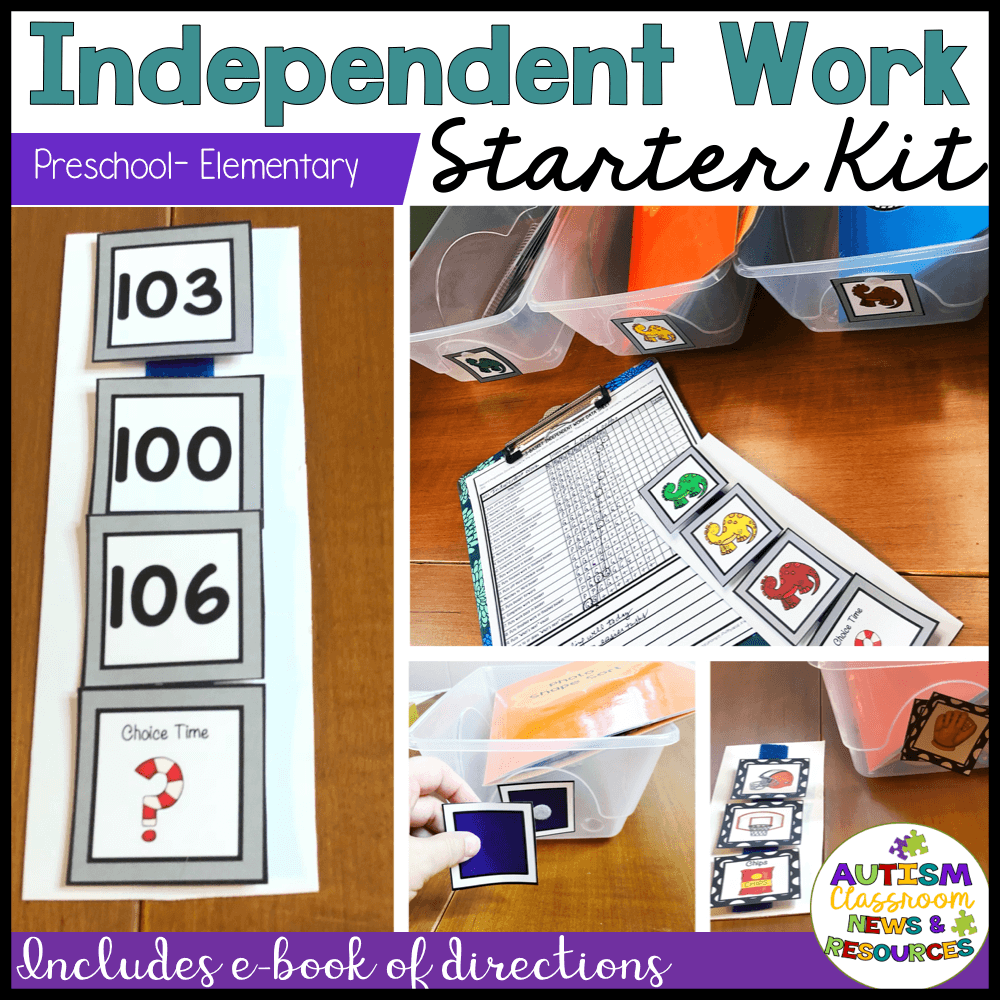
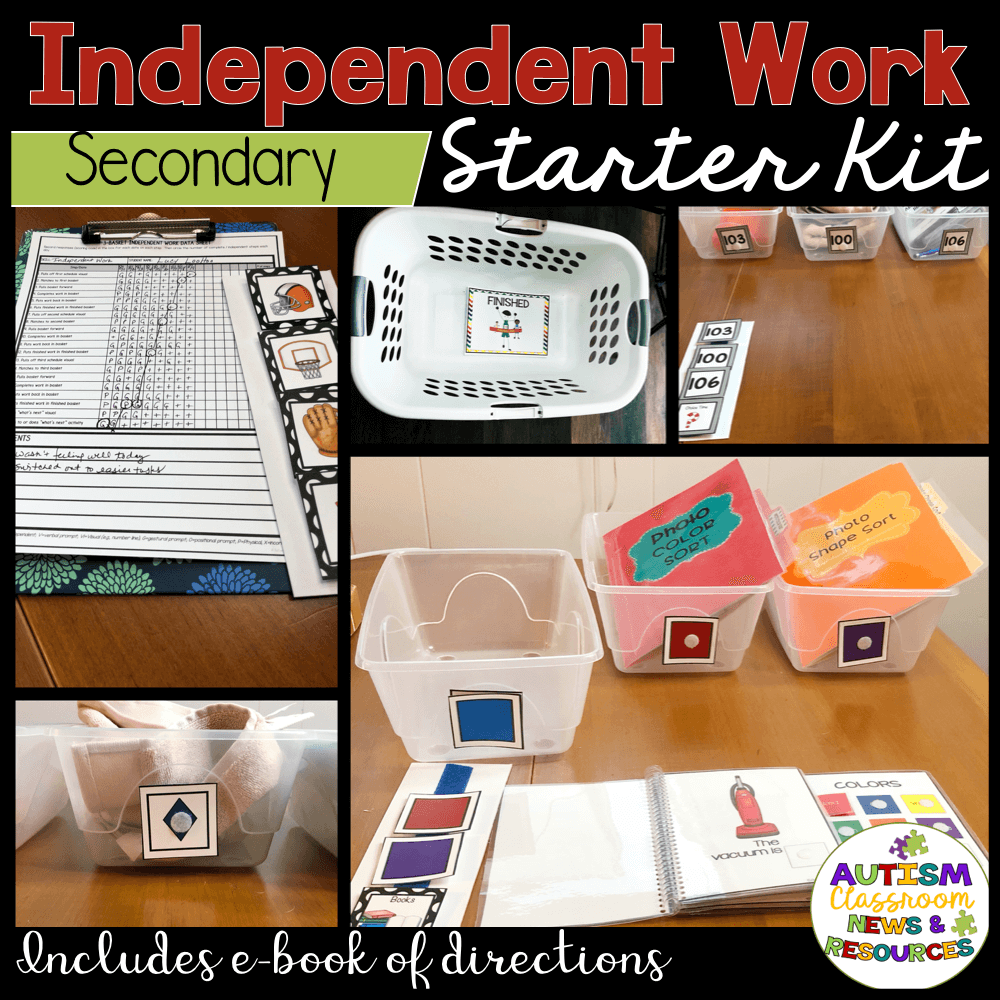
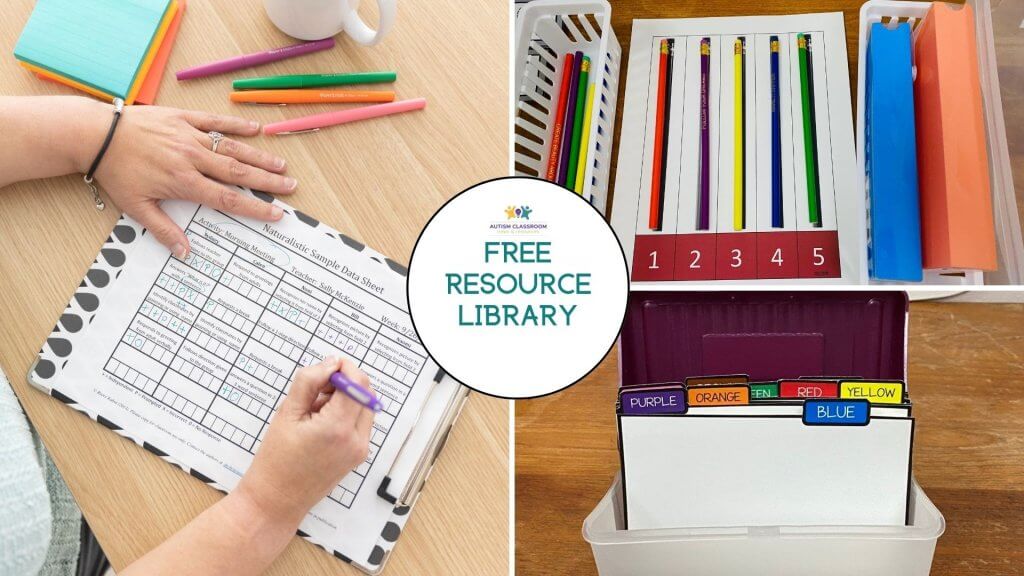
I’ve also got a free reset checklist that can help staff to know how to reset the systems as they’re doing them as well. And you can grab that in the free resource library at autismclassroomresources.com/free. I have a free webinar that you can watch at autismclassroomresources.com/iw-webinar. And that might also be good for staff members that are unfamiliar with them. I have toolkits and with tutorials and all the tools you need in my starter kits and starter bundles in my TPT store at autismclassroomresources.com/independentwork and you’ll also find tasks there as well.
And I picked this topic this month because it’s our theme for the Special Educator Academy. So if you want to grab some of those printables within your membership price, and get some training materials for training your staff, as well as learning more about them, then I’ve curated all of our content to walk you through an efficient set of training tools for work systems, whatever your different stage of development is with them. You can find out more about that at special educator academy.com. And I’ll make sure that all of those links are in the show notes as well. So let’s get started.
As we get started with independent work, I talked about why you want to use independent work systems in your classroom in Episode 114. And you can find that one autismclassroomresources.com/episode114.
But I want to talk today about the strategies that we use to actually instruct students to use a work system. So we’ve talked already about how to set it up, you got your tasks, the elements that you know, need to go into your task, but how do we assure that our students are actually becoming independent? Well, it’s all in how we teach independent work with these systems.
So today, I want to talk about five strategies for teaching. Because it’s not enough to set the system up, students are not automatically going to see the system and go, “Oh, I get this now!” Some of them might, but they’re not going to look at it and go, “Oh, I know how to do this.” We have to teach them how to do it. And we’re using the system as a tool. But there are specific ways we teach them with that tool, just like any other curriculum, to make them be successful.
Our goal is about how to get our students to work like they don’t need us. We don’t want to spend the rest of our life prompting them. So we want to make sure that we are using strategies that are going to fade ourselves out of that support. So here are five things that we need to use in our strategies.
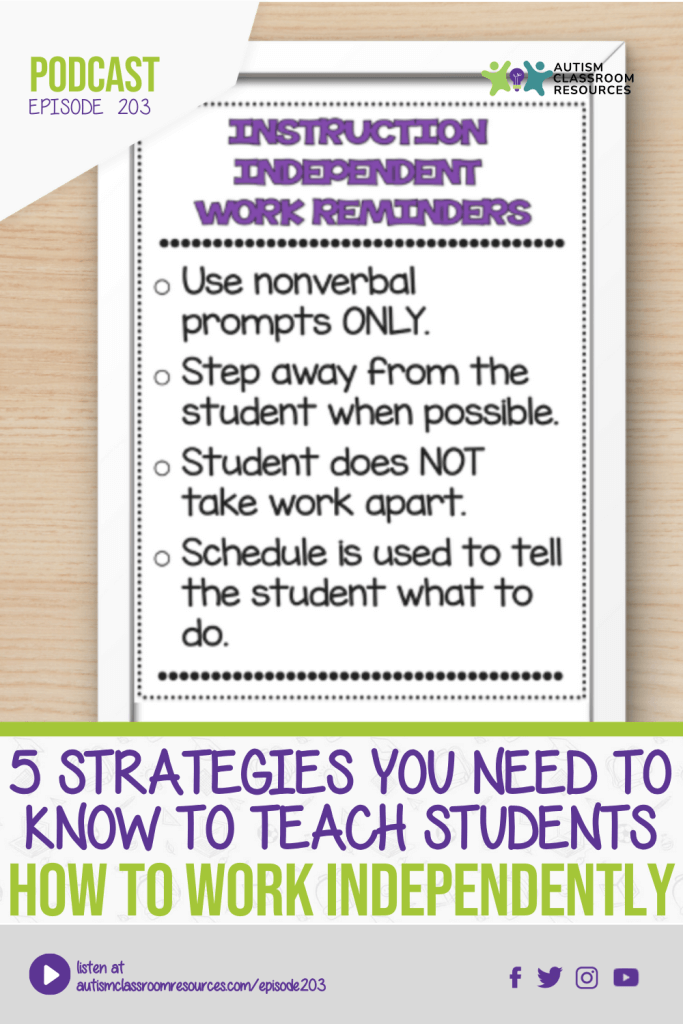
So the first is that when we’re teaching independent work, we only use nonverbal prompts. And the reason for this is because nonverbal prompts typically provided from behind the student not in front of the student, are much easier to fade than verbal prompts.
I want you to stop someday and listen to your classroom. And think about what you hear. Do you hear students conversing with each other? Do you hear quiet because everybody’s working? Or do you hear adult voices giving directions? Some of the adult voices and directions are definitely needed, and they’re inevitable. But sometimes we get so used to directing that we forget that we have to give students time to follow those directions, so we tend to repeat them a lot.
So one of the most efficient methods for fading out assistance is to use nonverbal prompts rather than verbally telling a student what to do. Verbal prompts are some of the easiest, they’re the ones we go to, that is our, our general way of interacting with people is to tell them. But it’s much easier to tell someone what to do when we have a visual, when we can point them in the right direction rather than trying to describe it.
So we want to make sure that we’re using non verbal prompts when we do independent work, because we shouldn’t need verbal prompts. They’re doing visual motor tasks, they’re not conversing, they’re not doing expressive language, they’re not doing answering questions verbally, because that would require another person to be there, and they wouldn’t be independent. So I find it to be the easiest rule for everybody on the staff that we use nonverbal prompts, and that we are standing behind the student providing those prompts.
All work tasks are very visual. And so we want to make sure that we’re fading those out. So I typically will give one direction, “It’s time to work on your own. It’s time do your independent work time, do your your task boxes,” whatever you call it in your classroom. And then I wait. And I usually count to five. And if they aren’t following with getting that first thing off their schedule, I might walk over and just point to it from behind. And then I’ll pause again, and I’ll count to five, to see if they put their hand on that visual.
Whatever step it is that they’re stuck on, I might point to it. And the advantages of a visual schedule is that everything can be prompted non verbally, we just point to it. If that doesn’t work after a few seconds, then we take their hand and we might do a partial physical prompt, or we might do a full physical prompt and move on.
I might model putting something in the basket, and then put it back for him to complete. But each time between those levels, I’m going to do this waiting game, before I get to a hand over hand prompt or full physical prompt and moving on.
Now I’ve done episodes on prompting hierarchies, I actually have a blog post that I will make sure that I put into the show notes so that you have them and if you want more information on that. But I think it’s really important that we recognize we want to do this because we want to fade ourselves out.
The second piece about teaching strategies are that we want to wait the student out. Now I kind of implied that when I talked about number one, but it really bears repeating. The biggest step in building independence is waiting for the student to initiate that step. So, so many times we tend to jump in and prompt before our students can get started. Many of them are not great at initiation, many of them take a while to come around. What we’re using the system to be is get through the system and you get a reinforcer. And so we want to use that reinforcer as that motivation to get started.
If we’re having a student that we’re giving a lot of prompting to, I would reduce the number of things we’re putting into the system. But I also know that when we’re teaching the system, waiting is hard. It’s really hard to wait out a student, especially in a classroom where we have so much going on. So I’ve got a few strategies that I find helpful in getting everyone on board with waiting the student out.
The first is I actually count to myself. Generally I count to five, before I provide any kind of support, unless the student is getting up and walking away. As long as they’re sitting at the table and they’re sitting in front of work system, I will tell them it’s time to work and then I count to five. For some of our students. It might be longer. For some of our students, it might be shorter, but I find if I don’t count, I jumped in too fast.
The other thing to do is if my student’s going to be able to stay in that area without getting up or without leaving the area, then I might turn and do something away, put something away, reset another system, sometimes I walk over and check on another student. So if you’re doing independent work systems within a center, then multitask and use that as some of your waiting time.
Waiting time is also a really great time to write down data and take any anecdotal notes. So it’s a great time to take a data sheet out. And once a week, we take data, I take data on the steps of the work system that the student has completed independently. So if a student is just getting started, that’s a great time to write down what they needed help with.
And then in order to get everybody on the same page, I post visual reminders. And I have a download at autismclassroomresources.com/free in the free resource library of posters to remind staff of the elements for teaching an independent work system, and one of them is to use non verbal prompts only, I often will have a quiet visual that I will put up and the quiet visual is not for the students, because they’re usually pretty quiet when they’re doing independent work. I often find independent work is one of their favorite times of the day, because people leave them alone, it’s all work that they know how to do, and they know what’s expected of them. So I often find that even that it’s like a calming time for them, too.
The third thing to do is to point to the reinforcer visual, the what’s next visual. And that’s probably one of the primary prompts that I’m going to do when the student gets off track is I’m just going to walk over and point to that visual. That is the function of that being on the schedule, is to remind them, when you get this done, this is what you’re going to get. That happens a lot when they get stuck, or they are not kind of finishing their whole set of tasks. It’s a good effective nonverbal way to get them back on track and remind them what.
I don’t talk about it, I don’t tell them don’t forget, if you’re going to work for this, the visual itself is enough that if your system is set up correctly, they’re going to know how it works. If you walk them through it a few times, they’re going to know what they get when they’re done. And that’s going to be their motivator.
Number four is, once you are fading out your prompts, you want to make sure that you are fading out your presence. Just standing behind a student is a prompt for some of them. And a lot of our students as long as someone is standing behind them, they’re going to turn around and ask what do I do next? What do I do next? That’s exactly what we’re trying to get away from by teaching independent work.
So we want to make sure that we are slowly moving out of the area. Eventually, you want to be able to say, “Go do your work,” and have him go to the area, sit down, and do his scheduled tasks. And you can fade yourself out by moving slowly further and further away. And then eventually moving out of the area completely and just coming and checking periodically. Eventually, if your students are all working independently, you may not need to staff that center. But when you’re first starting, you probably will.
And then finally, number five is really, really, really important. Only give them praise, and the reinforcer, when they complete their work. So we don’t tell them after every task, “Yeah that’s really good! Now did the next one,” or even say, “Yeah, good work,” because then they learned that an individual task is a task by itself, we want them to do the whole system.
Many of our students will wait for your response to check their work before they continue to the next step. And that’s exactly the type of behavior that we’re trying to change. We’re trying to get them to understand that they don’t need you in order to do a series of tasks. So remember that we’re trying to teach that independent work without having to supervise it.
So if we have to be there to confirm that they did each step and tell them that, then we might as well be prompting the next step. We want our students to be independent workers, and complete the tasks from start to finish without us even in the area. Because eventually I want to give them a to do list and have them go get their own work. So we praise them when the whole system is done. Because I don’t want an employee at a worksite or at a job who asks me about whether every step of the job is correct, or wait for my approval before they move on to the next thing they need to do.
So we want to make sure similarly, I don’t want a student in a gen ed class who needs somebody there to check every problem on their worksheet or to check that they have finished their work. I want them to understand that they have to do a series of tasks before somebody they check in with somebody.
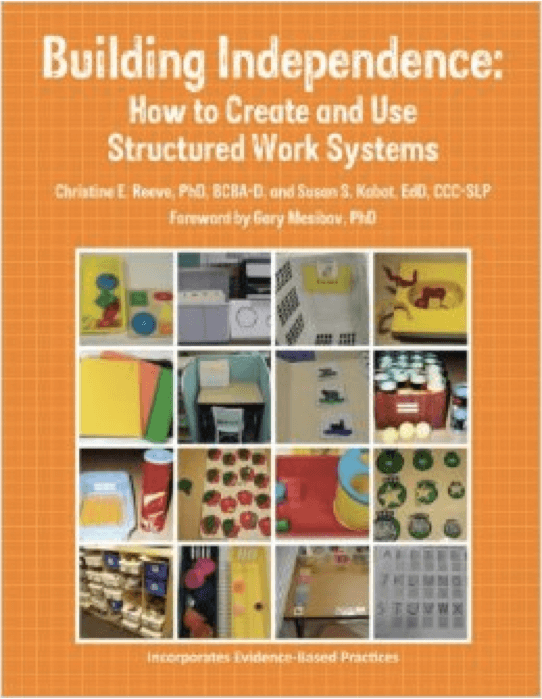
So I should also mention that I love independent work, which I’m sure you know by now, so much so that I wrote a whole book on it. And you can actually find that on Amazon. It’s called Building Independence: How to Create and Use Structured Work Systems. It’s published by Future Horizons. And it’s by Christine Reeve and Susan Cabot. So it was a book that was like 20 years in the making, because we didn’t used to have a lot of resources to find our tasks and how to different ways to set up work systems.
So that’s what you need to know about our teaching strategies for independent work. If you have questions or comments about independent work, pop over and leave me a comment on TikTok. I’m @autismclassroomresources, and I will be sure and try to help.
Again, if you’re looking for an in-depth overview with images and things like that, go to our free webinar, autismclassroomresources.com/iw-webinar. Grab everything independent work in my store at autismclassroomresources.com/independentwork. And if you’re listening to this in February 2024, and you are looking for more resources, it’s actually a little bit cheaper to get into the membership, come join us at specialeducatoracademy.com.
I hope you’ll join me next week when I’m going to be talking about how do we move forward with students who have already mastered the beginning independent work system. So how can we start to use it to stretch and expand their independence skills? So I think that’s going to be a really fun episode. So come back and join us then and until then, have an amazing week, and I’ll talk to you later.
Thanks so much for listening to today’s episode of the Autism Classroom Resources podcast. For even more support, you can access free materials, webinars and Video Tips inside my free resource library. Sign up at autismclassroomresources.com/free. That’s F-R-E-E or click the link in the show notes to join the free library today. I’ll catch you again next week.
