
Independent Work Systems Lend Themselves to Paraprofessional Centers
I’ve talked about structured work systems frequently in the past, I’ve created starter kits for them on TPT, and I’ve even written a book about them (forgive the shameless plug, but I do really love the book!). And that’s an affiliate link.
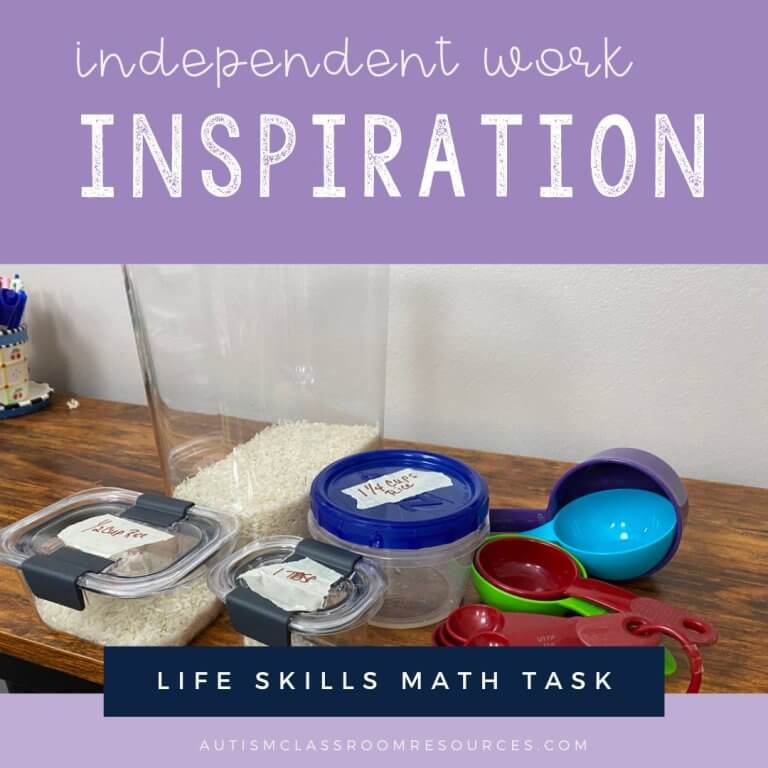
One of the things I really like about work systems is that because they address mastered tasks that students must complete independently (as their focus is teaching independence), they are a great center to be staffed by paraprofessionals. I even had one high school teacher who staffed the center with her peer helpers who volunteered in her classroom.
3 Steps in Getting Your Paraprofessionals On Board with Independent Work Systems
Getting your paraprofessionals onboard to actually teaching the work systems consistently to promote independence, isn’t always that easy though. Just expecting them to teach the system is like expecting our students to learn the skills on their own. It’s critical to make sure that the staff who supervise and teach the work system center know how to do that, and know what your expectations are. There is a lot more to it than just putting in tasks.
Training Paraprofessionals on Independent Work Systems
The first step in implementing independent work systems as a paraprofessional center is making sure they know how work systems are designed to teach independence. It’s important to assure that staff know why work systems are set up how they are and how to implement them with fidelity.
So that means that they need training. Luckily work systems are not terribly complex, so training on them doesn’t have to be either. The prompt fading and reinforcement are built into the system if you are following the structure of a true structured work system.
You don’t need a lot of training for independent work, but you do need to make sure that the staff know the elements of what they need to do. We have a number of videos and resources in the Special Educator Academy for implementing independent work.
I know that finding enough time to train staff is a reach in any special education environment. So, we have a quick 15-minute video tutorial you can download and give your parapros to watch on how to implement the system. We also have Para-Pro Tips for independent work that have a 5-minute video and a tip sheet to download and share with staff.
I’ve done a few blog posts that can provide information as well. You can find one here, here, and here.
Second, there is planning for the system and communicating information to the staff. For instance, which task can each student complete independently that should be put in the work system. I generally have included the tasks the student works on for a week in the lesson plans. I’ve also numbered all the work baskets and then had a running list in the work are that lists each student and the tasks he or she can complete on his own. As he masters more tasks, we add them to the list. That way, anyone can walk into that center and know what tasks students are able to complete on their own. This is particularly helpful if you sometimes use your independent work systems to fill in downtime or on a fly if there is a crisis in the room that requires attention and leaves you understaffed.
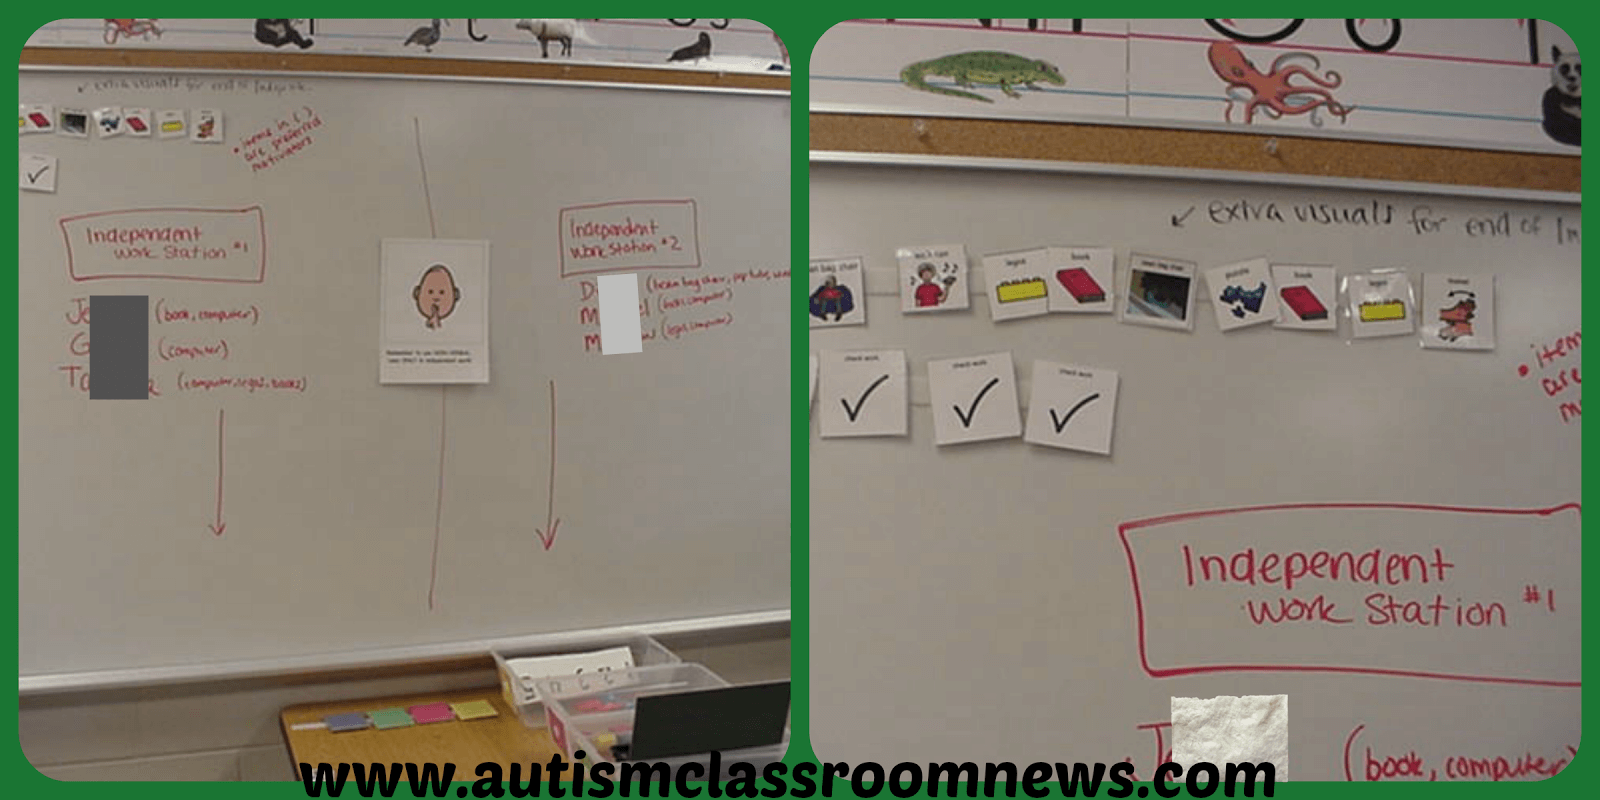
And third, it’s helpful for all of us to have reminders about how to use the systems so we don’t forget over time. Visual cues are a great way to provide ongoing information to staff as well as our students. Just because they are strategy we use for our students doesn’t mean we wouldn’t want to use them for ourselves. In the picture above there are a multitude of cues on the whiteboard that is above the workstations. On the left, you see a Boardmaker symbol for Quiet. That is NOT for the students; that is for the teachers! It is a reminder to them that we only use nonverbal prompts when we teach work systems because they are much easier to fade out than verbal. But that’s hard to remember if our highly verbal world, so the reminder helps us all. In the boxes you see Independent Work Station #1 and Independent Work Station #2. These titles correspond to what is written on the schedule and below the boxes are the students name (That I’ve covered up for privacy). The arrows point to which side of the table they are working on (since these work stations face each other). Next to each student’s name is a list of reinforcers that can be used as the “what’s next” visual individualized to him or her. I also will often write the number of the tasks each student should have after his or her name. On the right, you see the “what’s next” visuals where we stored them for easy access to change them out. The check marks were for some of the students whose “what’s next visual” was to raise their hand and have their work checked before getting their reinforcer.
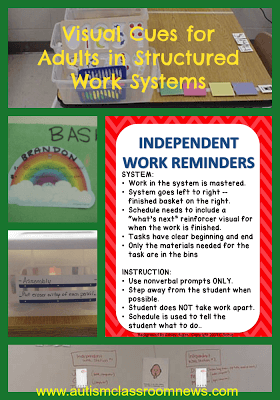
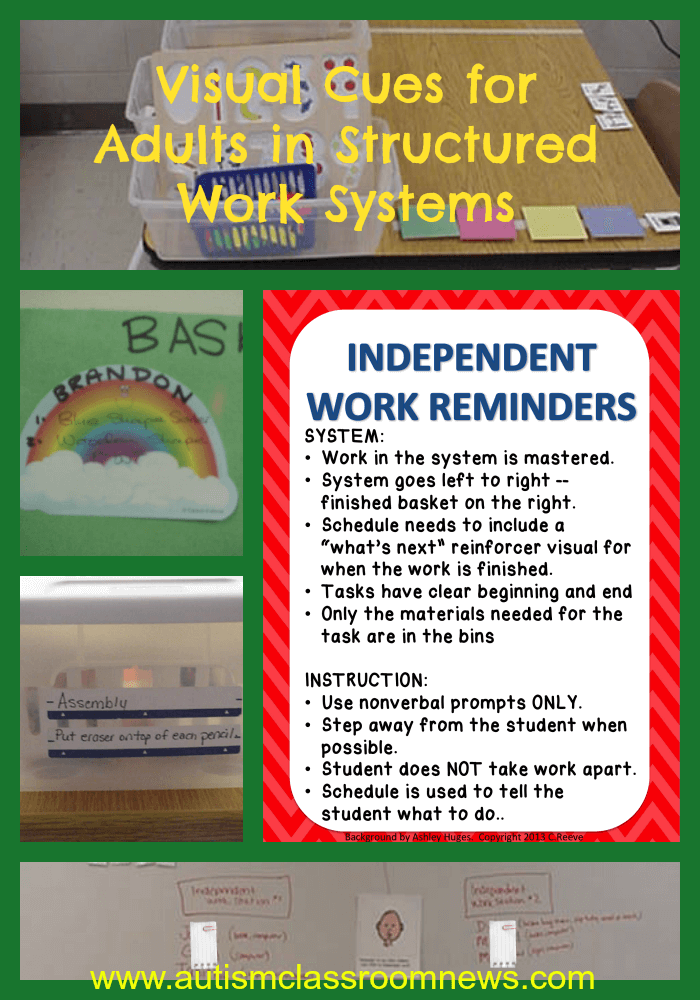
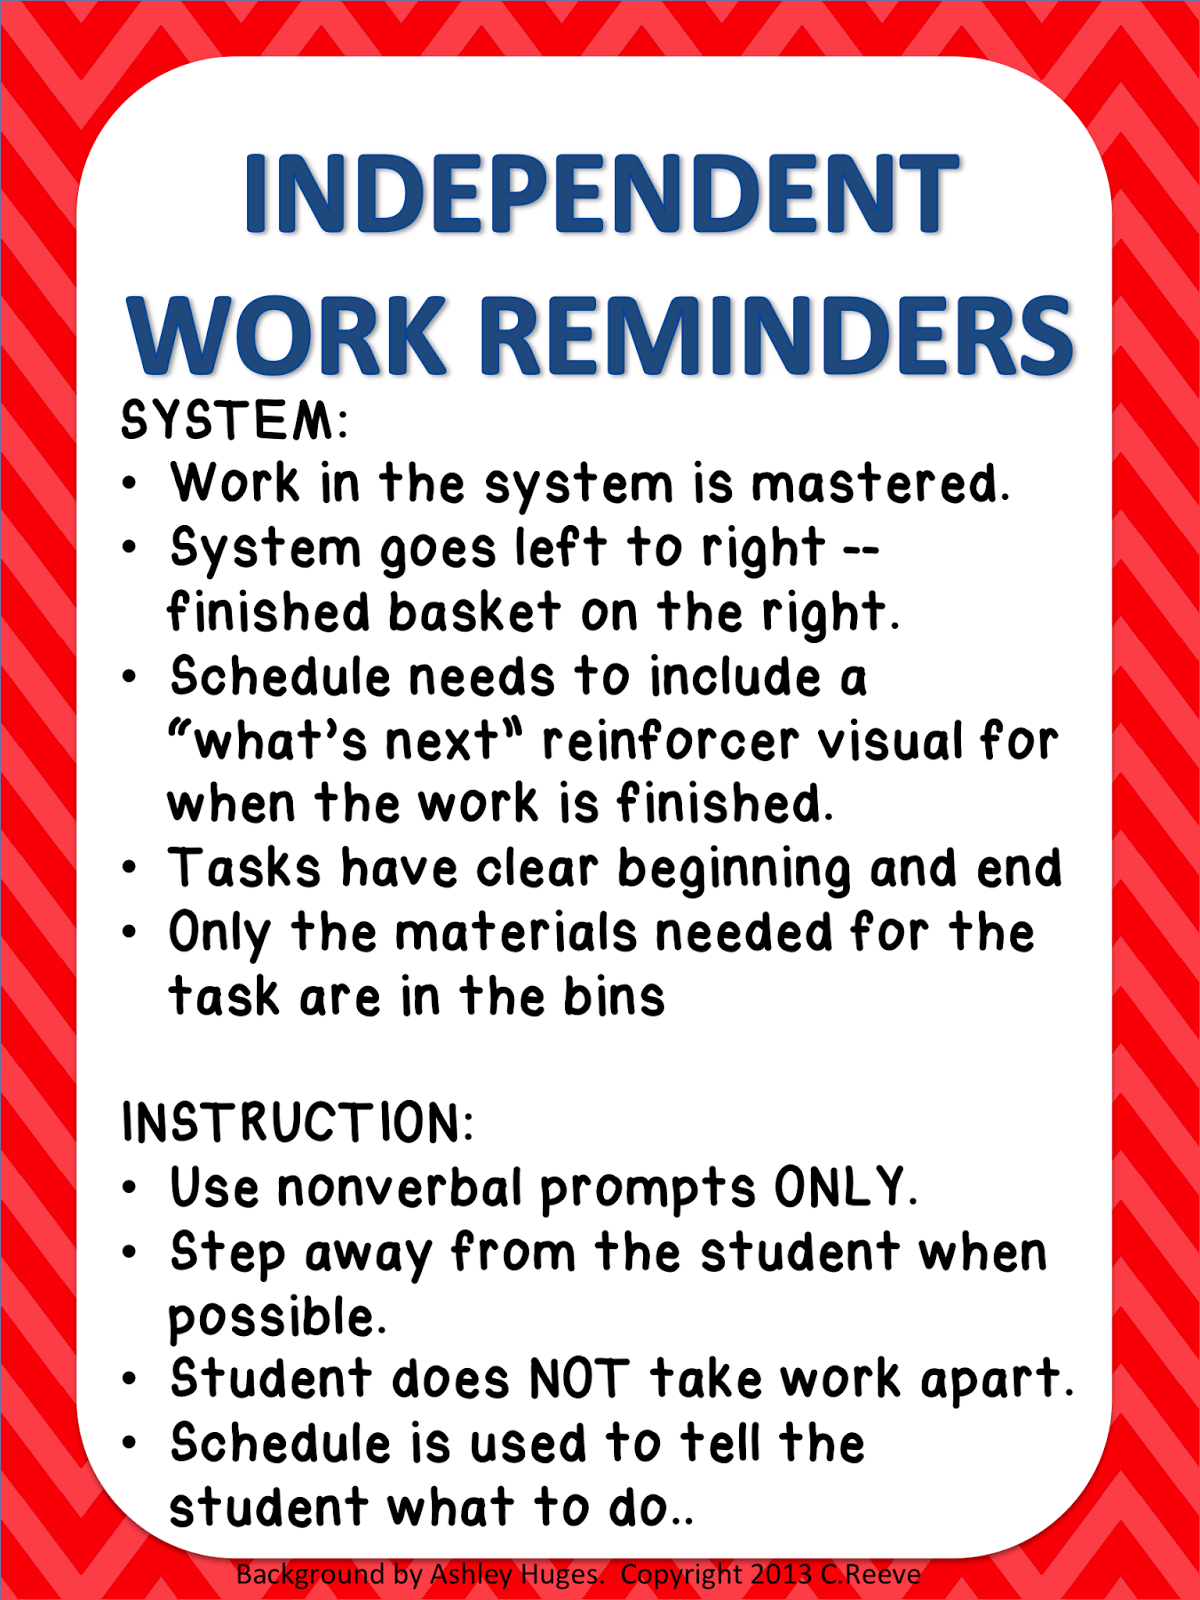 Another form of visual that I often use are reminders for staff about how to use the work systems including how to set them up and what to do to support the students. Below is an example I recently made for a program where we needed to make sure that all the paraprofessionals understood what needed to be done. I divided the reminders into those that needed to be considered in setting up the system and those that needed to be addressed in teaching it. It’s designed to be posted in the area as a reminder. You can download it for free by right clicking on the picture and saving it or you can click here to download it. I’ve saved it as a picture file so you can make it bigger or smaller as needed.