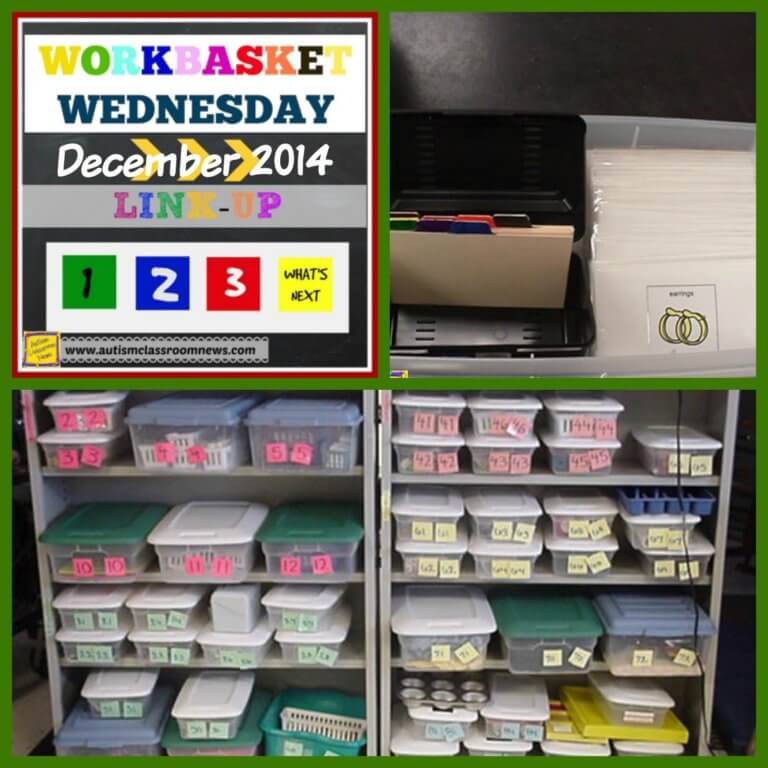

Wow, time flies! I can’t believe it’s that time again–time for Workbasket Wednesday’s link up. If you want to link up, see the directions and the linkup at the end of this post.
This one is going to be short and sweet as I’m exhausted. Between the sale (thanks for everyone’s support who buys something from my store!), this cold, the blog hop, Thanksgiving, and traveling, I’m exhausted. December is a crazy month but I have so many ideas for freebies and other stuff running through my head. If I can stop needing to actually sleep, look for a few surprises in the next few weeks.
This month I thought I’d shake it up a bit and talk about system setups. If you go to the link at the top of the blog on Structured Work Systems, you will see guidelines for this, but I often get asked about how to store and keep all the tasks straight. I also get asked about how to know which tasks to use for which students. I wanted to share some pictures of a system that I think worked beautifully for a high school classroom in Cookeville, TN. I’ve used this system in a lot of classes and there are some things I love about it that I’ll share as well.
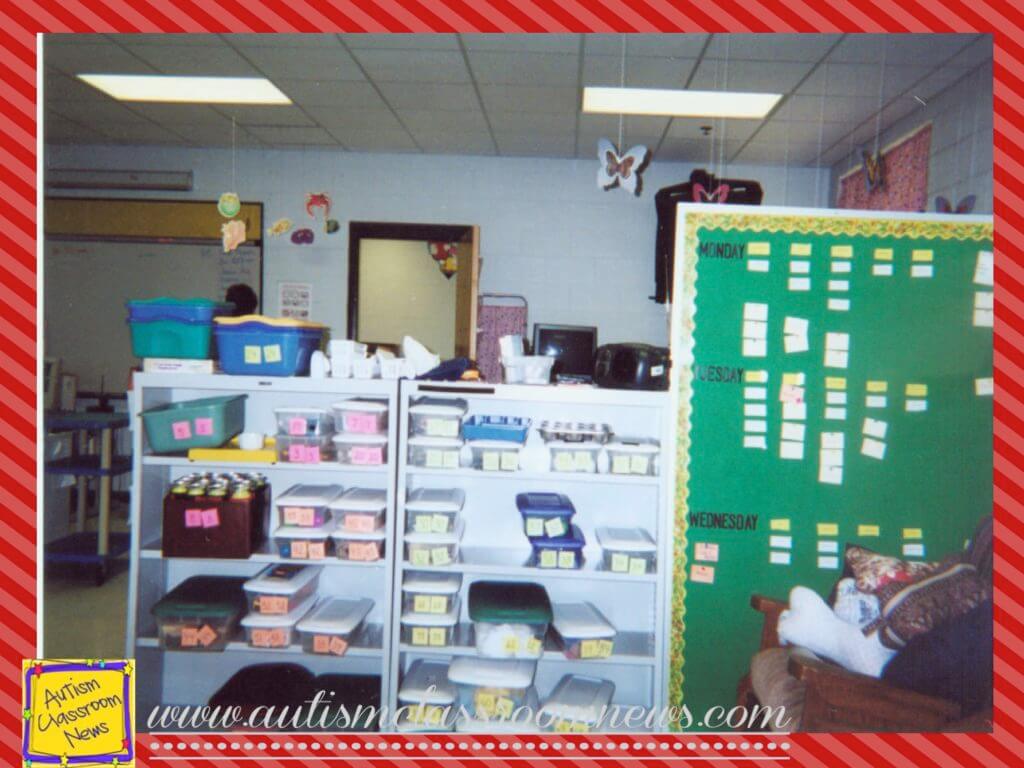
Above is the overall system. You see the tasks on the shelves. On the board on the right you see days of the week. It’s not a great picture (sorry, it’s old before digital film, don’t judge), but you will see little pieces of yellow paper next to the days of the week. Those papers are students’ names and underneath each name are the numbers of the baskets that each student will do that day. This allows anyone, including peer buddies who come into the room, to set up the systems for the students who are not able to get their own tasks. Some students actually check this schedule or a list made from this schedule and get their own tasks, take them to their desk, complete them and then put them in a finished area. I really love this type of system because if you have all the tasks in boxes or bags with permanent numbers, you can keep a running list of all the tasks that each student has mastered and can complete independently. That makes lesson planning easy–you just put the numbers into your lesson plans. If you don’t have room or money for boxes for every task, you can store ones you aren’t currently using in ziplock bags and put the numbers on them. Then dump them in bins when you need them.
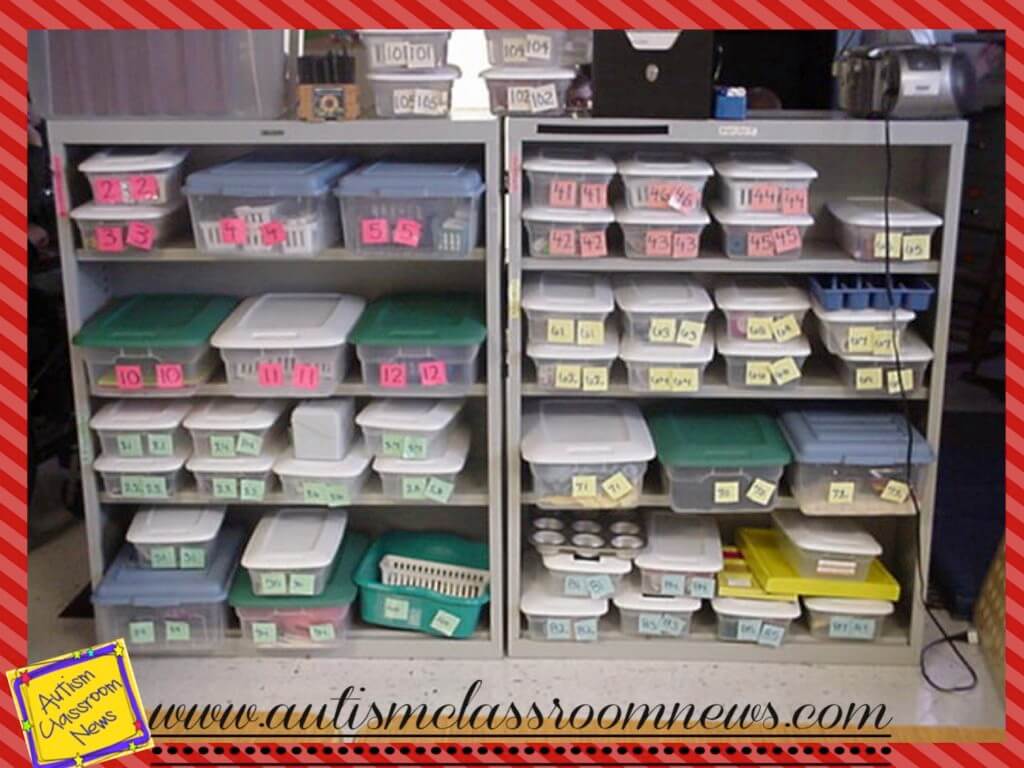
This picture just shows you a close up of the baskets on the shelf. You’ll see she has recipe card holders for filing (more about that later), a muffin tin for one, and somewhere she has a notebook that you will see below.
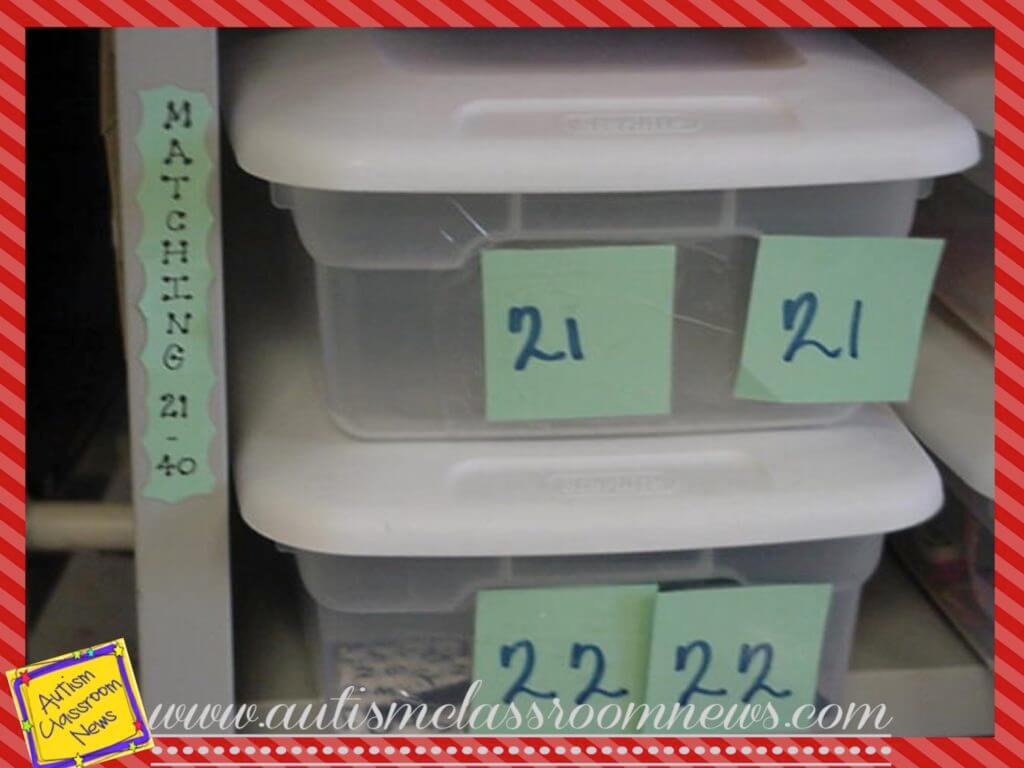
Each basket has two numbers because one stays on the basket and one goes on the student’s schedule at his/her work area. Then they match the number to the basket and complete it.
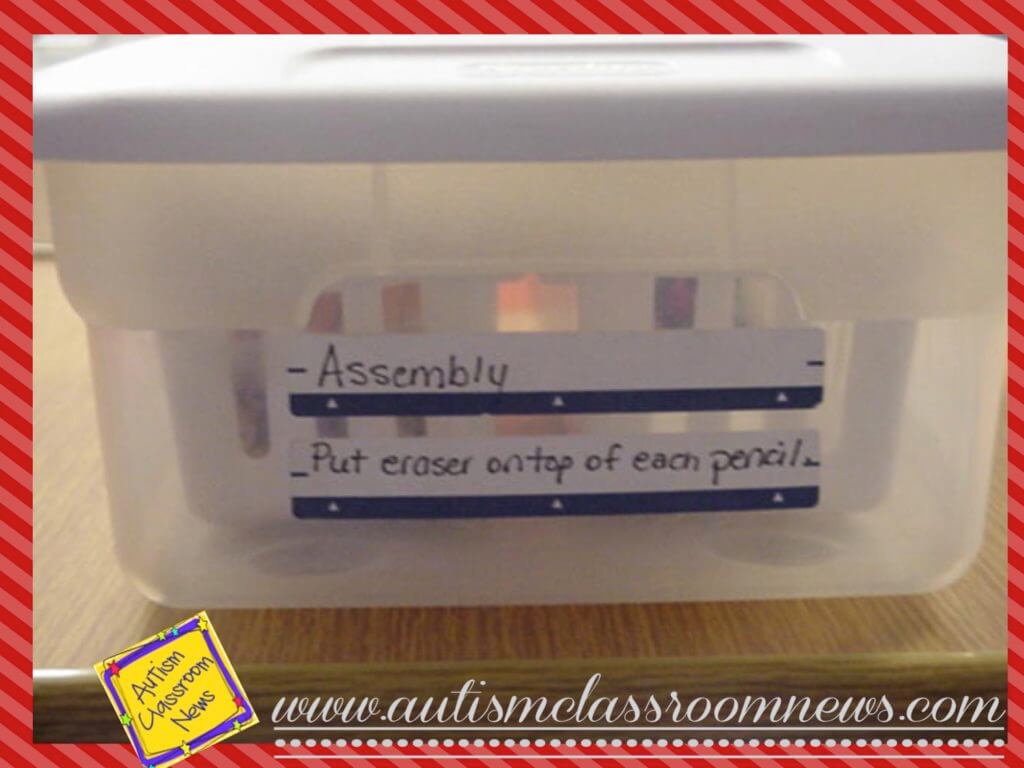
On the back of each basket (opposite the numbered side) she used file folder labels to write the skill for the task as well as directions. In this case, they put the eraser on top of each pencil. This allows anyone overseeing independent work to be able to know how to set up the task for the student if needed.
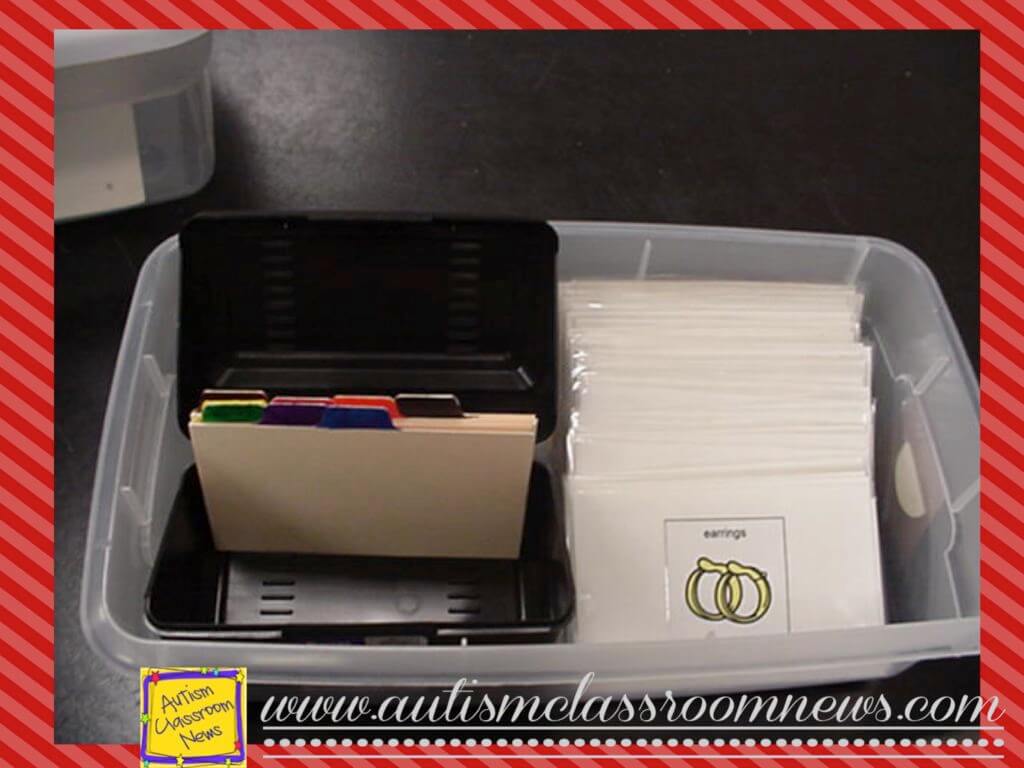
And finally, I hated to have a workbasket wednesday post that didn’t have an actual work task. Remember I mentioned that recipe file box? They are perfect for filing index cards. You can file them by numbers, by letter, or, in this case, by color. This was for a student just learning to do it. It’s an additional way to teach a student how to sort that can then convert into a filing job in an office. I’ll do a post about these and different levels of them in the future.
So, want to link up and share your work tasks? Please share them by following the directions below and I will share them on all my social media to get those ideas out there!

1. Write a blog post with pictures of workbaskets (no store links)
2. Grab the button above and put it in your post to link back to this post
3. Add your post to the linky below.
4. Check out the other posts linked up and leave comments if you like them.
If you aren’t a blogger, share your pictures by emailing them to me, pinning them to Pinterest and including the link in the comments below, or sharing them on my Facebook page.
Until next time,