If you haven’t yet completed the reader survey, I would really love your input! You can find the survey HERE and the reasons why I’m doing it HERE.
I recently had a question from a Facebook follower about whether I ever deliberately leave things out of workbaskets to teach kids to get materials or ask for help–or at least that’s how I interpreted the question. 🙂 I realized that I’ve done a number of posts about structured work systems but that I hadn’t talked much about ways to expand students’ skills once they know how to use the system. So I thought I would talk about how, once the student can be independent within the system, you can expand on the system to build more independence.
Keep in mind that these are strategies you would ONLY use once the student is able to be independent at using the system and needs no assistance. (I know I’m repeating myself, but sometimes it’s needed) :). Also, when you first introduce these, or other changes, to the system, you will need to have someone available to prompt and teach the new expectation so the students can be successful.
1. Leave a needed material out of the system
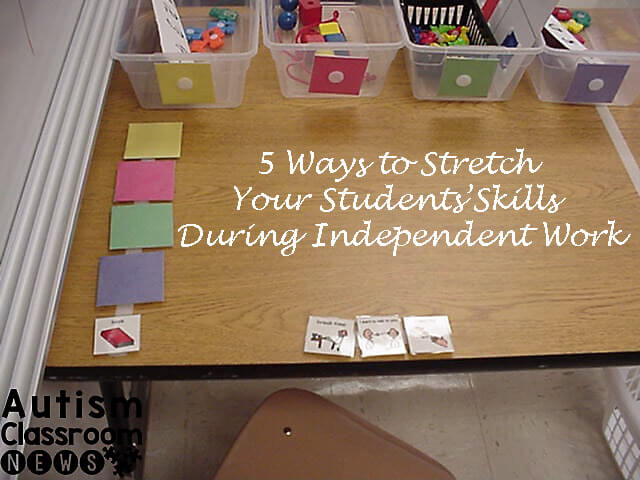
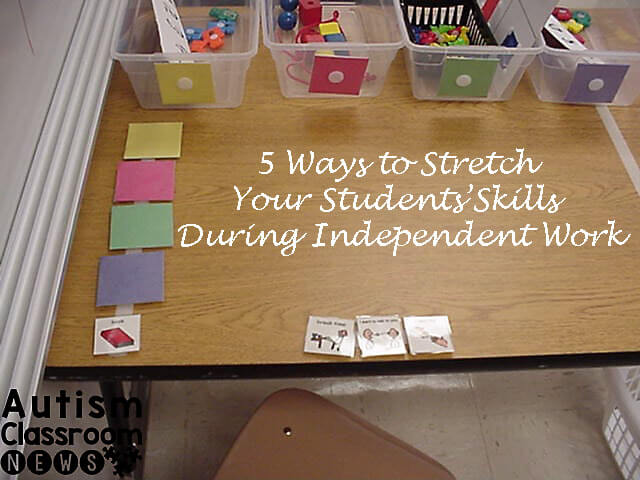
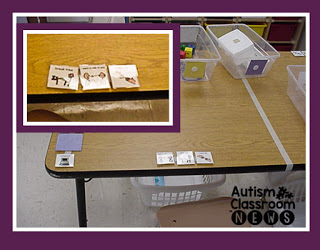
One thing that we often do when a student is able to complete the system is to deliberately sabotage the system so that he or she has to ask for something he needs. So for instance, we give him a worksheet but no pencil. We give him a cutting task but no scissors. I put in a puzzle but it’s missing a piece. By this point in their learning, the students know that they cannot put it in the finished basket until the task is complete. If I sabotage the system, though, I will often put visuals in their work area to remind them that they can ask for things. Many times my work systems look like the one to the left with communication visuals for help, break and talk to me at the bottom so the student is reminded. You may also need to have someone available to prompt the student as some will hit an impasse and just sit there not doing any work. Just make sure you fade the prompts out over time.
2. Put a Raise Your Hand visual in the “what’s next” place
When students are able to complete the system, you might want to teach them to have someone check their work before they are released from the work area. This is particularly important if you have one of those kiddos who just puts visuals on a file folder wherever the Velcro is and maybe isn’t real careful about how he completes it. By putting a Raise Your Hand visual at the bottom of the schedule you are giving the cue to let someone know that their work is finished.
3. Move the tasks away from the table
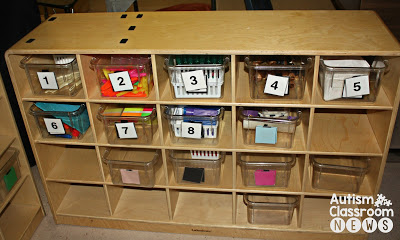
Soon I will write a post on my problem with using 3-drawer carts for owrk systems. One of the reasons is because when the students are independent you want them to learn to go get their work. We do that by slowly moving their work from being on the table in front of them to maybe being on a shelf next to them. Then we can move the tasks to a shelf across the room. Keep it simple at first and then expand so the student can go get his materials where you store them. In this picture the basket choices are simplified so the student can find the right baskets. This gets students starting to move to get their work and leads to how you would use it on a job site.
4. Give the student a list of materials within the task
In this situation, you would give the student the task, but instead of all the materials, you would make a list of the materials he/she needs to find in the room to do the task. This may start simple with a note that says, “Get a pencil” and then grows into a list of “Get the following: a pencil, notebook paper and the stapler.” They then use those materials to complete the task.
5. Cooperative tasks
This one is a hard one to some degree, at least for me, but the idea is to have the students complete a task that requires more than one student to complete it. It might be something where one student has half the materials and another has the other half and they have to ask to get what they need. You could do this with a large floor puzzle where you give half the pieces in each student’s workbasket. You may need to provide some visual supports at first. Sometimes this one is difficult if the students are not working on the same level or they haven’t mastered the skill of asking someone to help them or for materials, so teach those skills before you try this one.
 |
|
Disclosure: Amazon Affiliate Link
|
So, those are 5 ways you can expand on the use of work systems once your students have mastered them. The number of ways is really only limited by your imagination. If you are looking for more information and ideas for work tasks and work systems, check out our book on Structured Work Systems. You can click on my Amazon affiliate link below to check it out. You can also check out my structured work starter kits in my store for tasks for elementary and secondary students.
I’ll be back later this week with more information on the Effective Interventions in ABA series. Until then, please share your thoughts on the survey if you haven’t already. I really appreciate the feedback and already have some great ideas, I’ll share this coming weekend after the survey closes, of some things to add / change.

