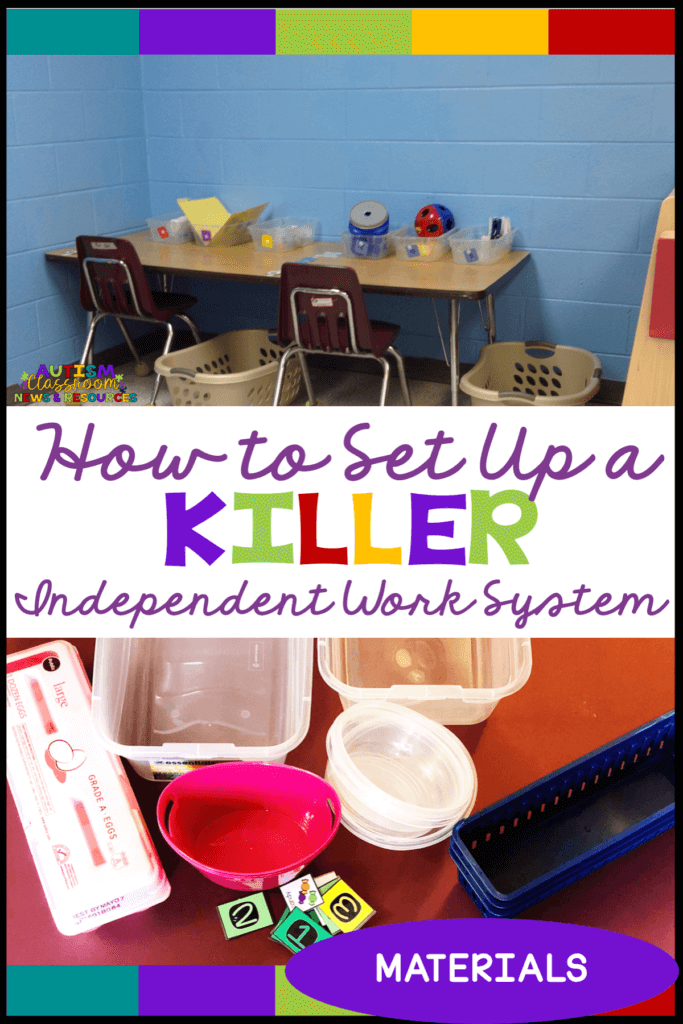
This post has all the materials you need to start independent work systems in your classroom. Now we know why we need independent work systems and what they can do for us. And we know the questions they need to answer for the student and why they are important. So let’s get to the meat of the issue of how to set them up properly to answer those 4 questions.
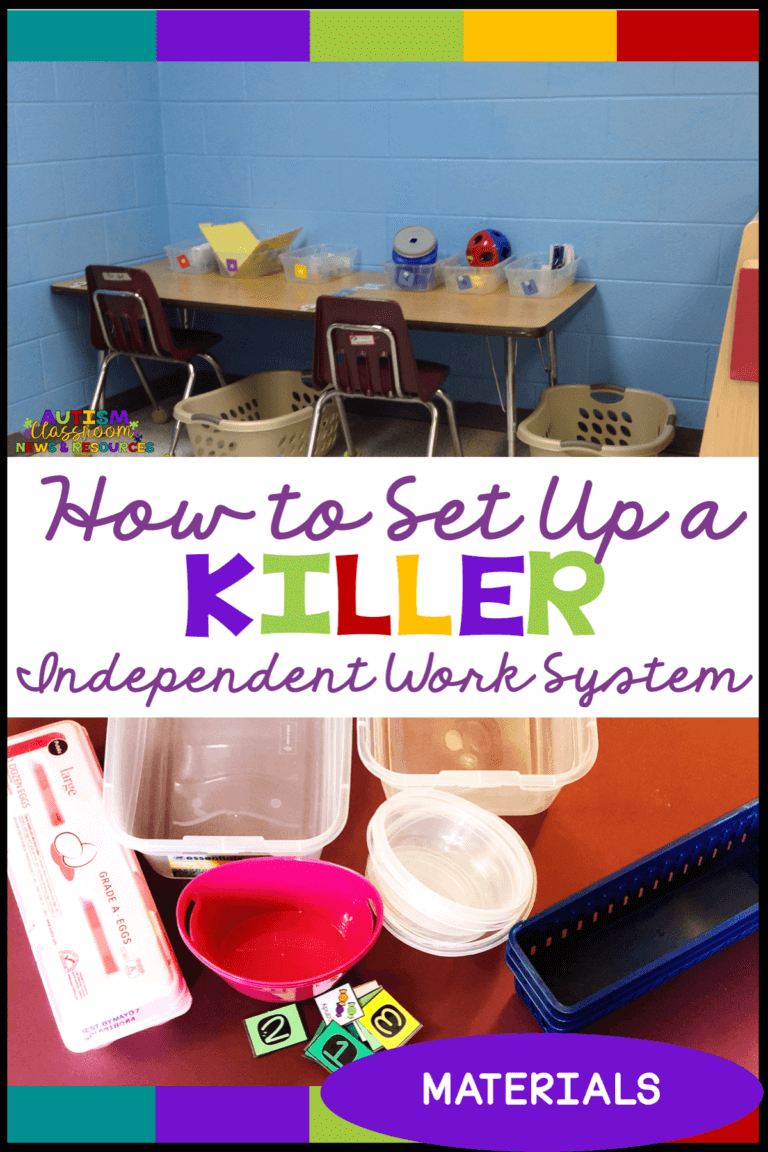
In order to create good independent work systems, you need the right tools. But don’t worry, they don’t require buying lots of stuff (unless you want to). Work systems can be as pretty or not as you want, but the one thing they have to be is functional.
I’m going to focus this post on the basic, beginning structured work system. This system can be adapted up or down according to your students’ needs and I’ll focus in some future posts how to do this. However, you can see some examples of how to develop more advanced systems here and some examples of more basic systems here.
This post contains affiliate links for purchases. I only recommend resources I use myself. The price is the same to you, but it gives me a small commission to keep finding them for you.
[socialpug_tweet tweet=”Everything you need to set up a killer independent work system for your classroom. #TEACCH #independentwork” display_tweet=”Everything you need to set up a killer independent work system for your classroom. ” style=”5″]
What Do You Need to Start Independent Work Systems?
20 SHOE BOXES
To get it set up I usually l recommend starting with 20 clear plastic shoeboxes. Walmart tends to have the cheapesttypically but the Dollar Tree and Target are options as well. They tend to cost about $1 or a little less each. You can find them at Amazon below (but more expensive than Walmart, just FYI).
Don’t have money for shoeboxes, no problem. Save all your cardboard shoe boxes and ask your family and coworkers to do the same. Gather containers you might have in the classroom.
LARGE FINISHED BASKET
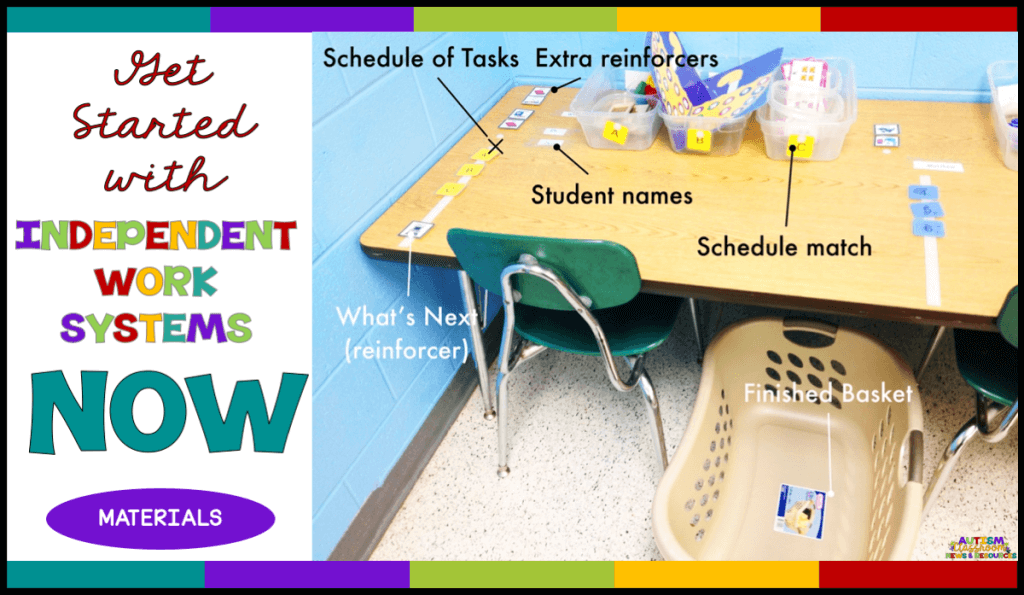
You need 1 for each work system. I typically use a large laundry basket, but you could also use a copier paper box or another large carton. The key is you want the basket to be large enough to hold all the tasks the student completes and for them to fit in it still completed. That means often it needs to hold 3 to 5 of the clear shoeboxes. Amazon used to have them but most are ridiculously expensive at the moment. Walmart’s are much more reasonable. This one would be sufficient.
SMALLER CONTAINERS
You can purchase them in disposable format from ziplock or Rubbermaid or gather up your trash. One person’s trash is another person’s treasure, it is said. And that is never as true as it is in creating independent work system. So put the word out and ask people to start collecting. Here some some things you can use.
- Square and round containers—or butter / margarine containers, deli soup containers, and other plastic take out containers. Pringles potato chip cans and coffee cans are also golden finds to use. For all you new moms out there, baby food containers (or pudding cups) are also great for being able to inset into the baskets.
- Sorting trays—silverware, the round chip trays with the dip cup in the middle are great as well.
- Egg cartons and/or ice trays (great for 1-1 correspondence)
VELCRO
You need this to put the schedule together and put the visuals on the bin. And sometimes you need it to put the tasks together so they stay together. If you want to buy in bulk, Feiner Office Supply is the cheapest I’ve found.
If you don’t want to or can’t buy in bulk (even with a friend), Amazon is probably the cheapest option. And if you can, I highly recommend buying dots. Once you use dots and don’t have to cut the Velcro constantly…you’ll never go back. They are worth the little extra to save the time.
SYSTEM SCHEDULE VISUALS (2 EACH)
These can be colors, numbers, letters, symbols, or really anything. You can make them theme related, or not. There are really 2 criteria you need to use—they need to be something the student either knows how to match or start with something basic like matching colors. Some people make different types of visuals for different types of tasks. That’s a project for down the line. Right now, let’s just get started. So let’s start with colored visuals. Make sure you have 2 of each color. One is going to go on the schedule and the other is going to go on the bin.
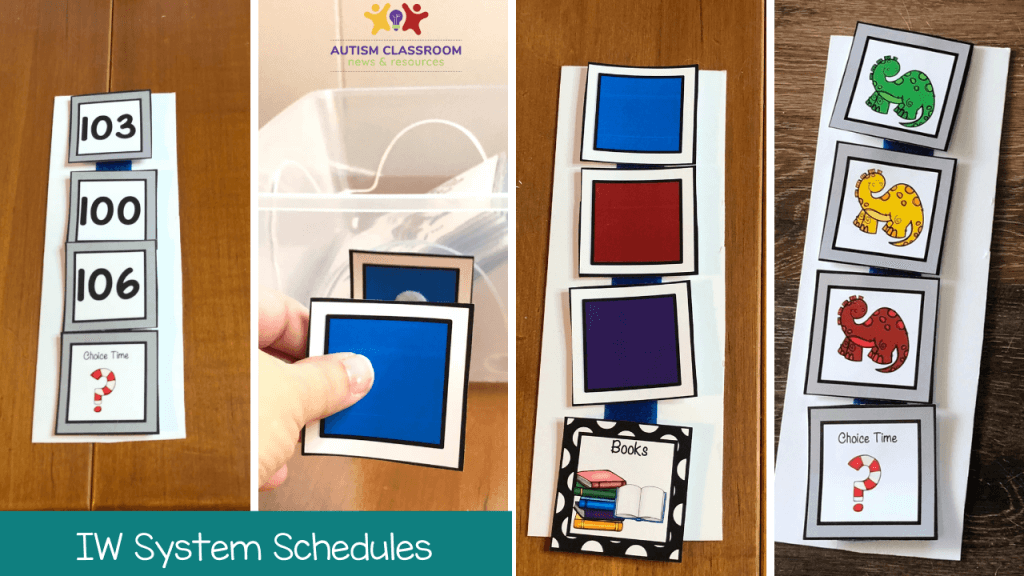
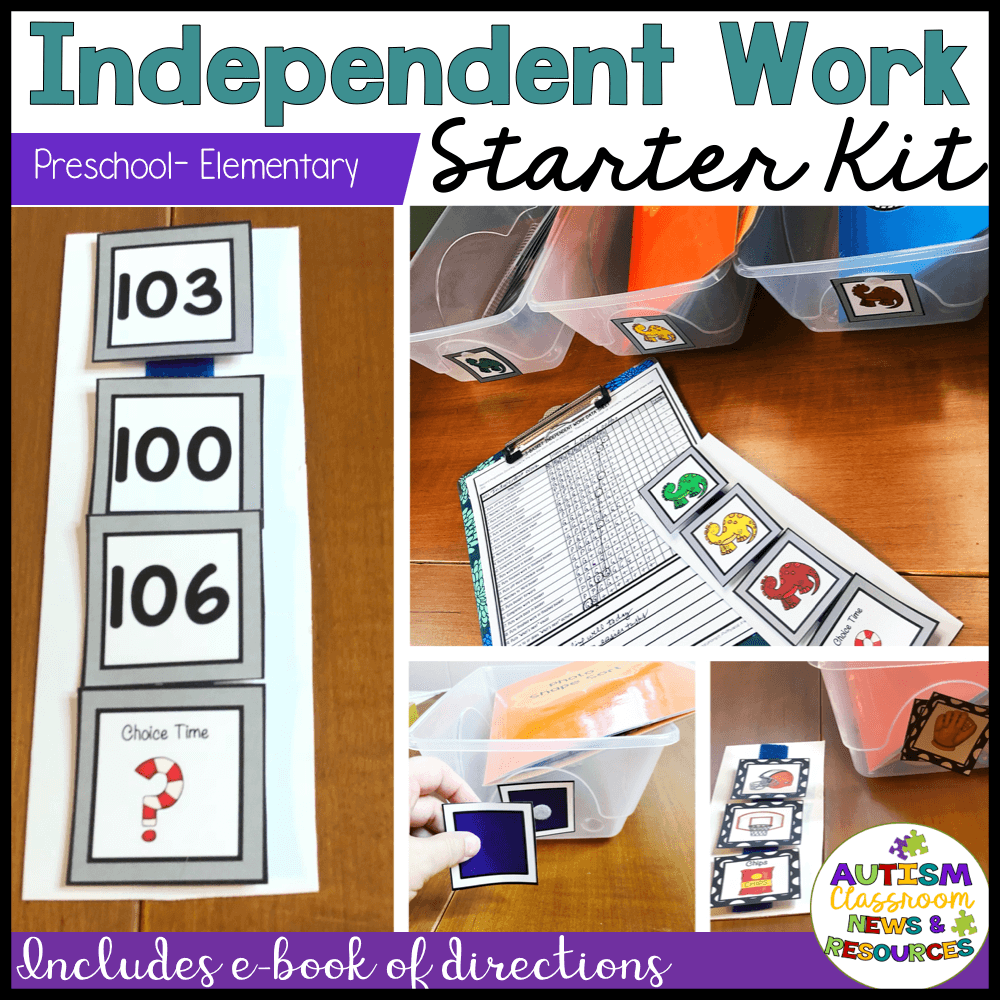
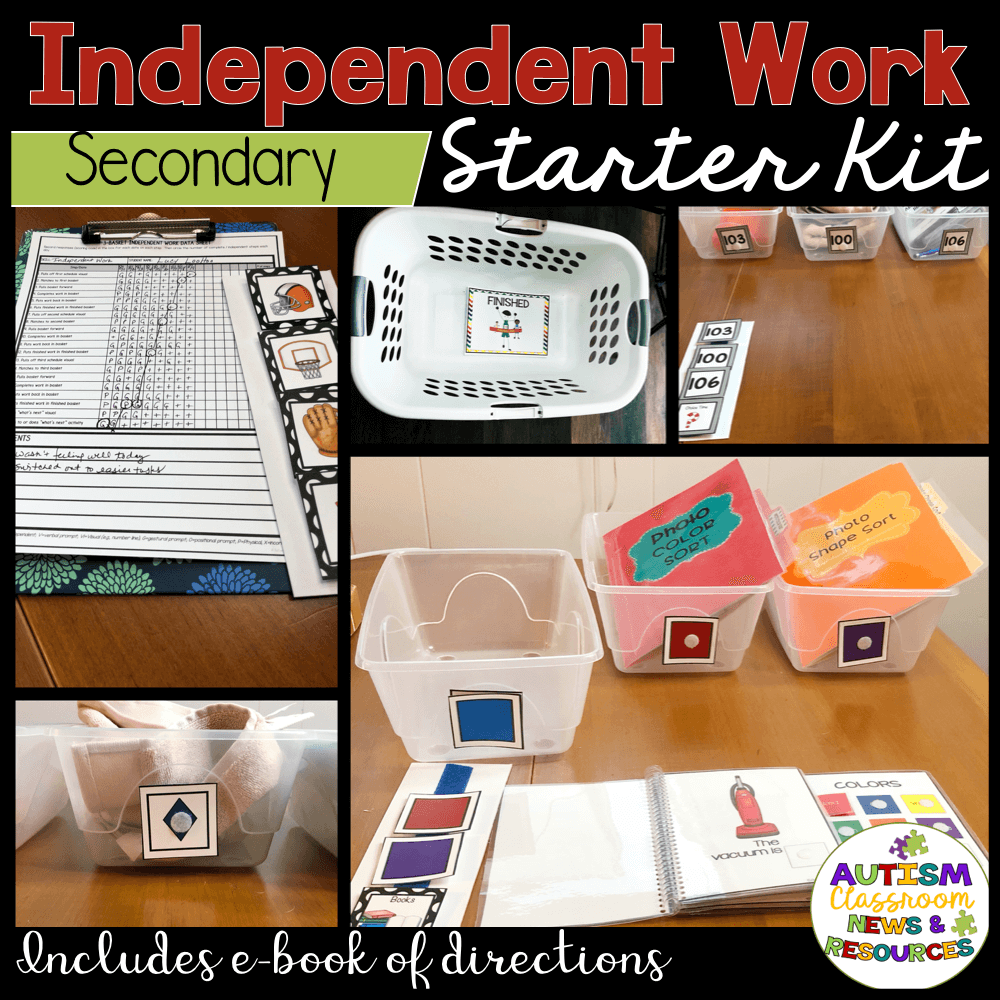
You can grab schedules you just have to print, laminate and Velcro in my starter kit for elementary and for secondary. Or you can use post-it notes or construction paper. It doesn’t need to be fancy. You do want it to be durable.
KNOWN REINFORCERS FOR EACH STUDENT
You need to know what is really reinforcing for your students’ behavior. You are going to use that as your “what’s next” to motivate them to work independently and complete the system. Want some tips on how to figure out what reinforcers work for your students? Check out this post.
PICTURES OF REINFORCERS
If your students are not good readers, you will need pictures or symbols to represent the reinforcers. In this case you typically don’t need 2 pictures because often they will give the visual to an adult to get the reinforcer. if you want them to access it on their own, you might have a toy box or container within the reinforcer in it with a matching visual if you want.
So, in the next few days gather the materials above. Get them ready and forward with the arrows below to my next post for a tutorial about putting them all together to create the system.
GET ALL THE VISUALS AND ORGANIZATIONAL TOOLS YOU NEED to start independent work in your classroom.
These kits include an e-book with directions on setting up independent work systems and using the materials included, data sheets for tracking progress, visuals for the special education work boxes and schedules, what’s next visuals, and mastery sheets to keep track of which students have mastered which task.

![Independent Work-3 Ways It can Become Your Best Classroom Management Tool [A sorting task in a shoebox to sort nouns from verbs on popsicle sticks into plastic cups]](https://autismclassroomresources.com/wp-content/uploads/2023/06/BLOG-22208-3-Ways-Task-Boxes-and-IW-Help-Classroom-Management-2-768x644.jpg)
