So for Workbasket Wednesday last week I said I would talk more about how I set up structured work systems in the classroom as centers rather than as individual set ups. This allows us to have students rotate through the work systems one to two times per day and allows you to have smaller numbers of students in centers. When the students are first learning to use work systems, they will need to have a staff member available in the center to teach them to work independently. However, once the students are able to complete the system independently, you can free up a staff member to work with other students.
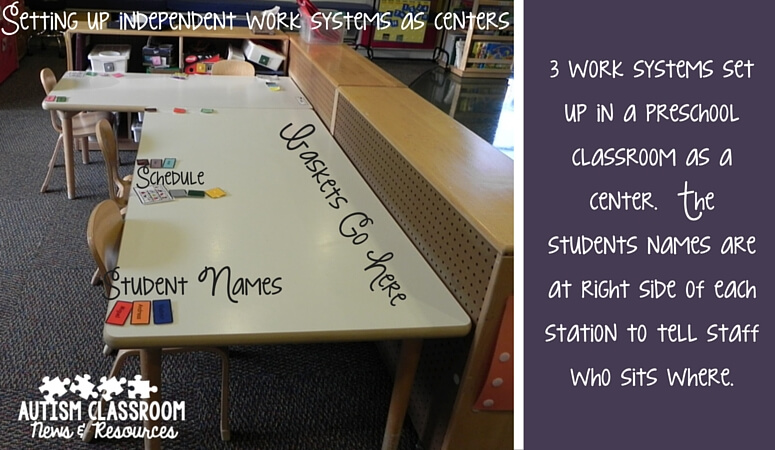 If you are used to having each student have his or her own system, let me walk you through how I set up systems as centers so that subsets of students use the same area and set up for independent work.
Determine the needs of the students and their skills
In setting up any classroom, the first thing I always want to know is the characteristics of the students. What do they need academically and behaviorally? How independent are they? I typically do this through creating teaching plans based on IEPs of the students. You can find out more about that process here and I’ll be talking about it in the coming weeks in more detail as I talk about setting up rooms.
Determine how many students in each group
After I know the needs of the students, how many groups can I break them into and how many students will be together at the same time? This is typically based on two factors: How many staff members do I have? and What are the skills of the students to work independently. Clearly if I have students in a group who need support for independent work, I can’t have more centers than I have staff members during the day. So if I have a teacher and 2 paras, I’ll have 3-center rotations. One might be Reading, one independent work, and one math. Or one might be an art or craft center with a para, IEP instruction with the teacher, and independent work with a para. In a class of 10, there would be 3-4 students in each group. On the other hand, if I have students who can work independently, I could possibly have 4 centers with independent work not being staffed. That would allow me to break the groups down into groups of 2 or 3 students for a classroom of 10 students.
Determine How Best to Group the Students
When I group students I start to think about their level of independence. Do I want to group students who are more independent together or do I want to mix levels. Mixing levels might allow me more time to do instruction with the group, if one or two of the students can work on their own. On the other hand, sometimes this means that the student who is more independent won’t get as much attention and I’m better off grouping them with like levels of independence together. This changes with each different classroom so I’ll give you ideas about how I set up the systems for both situations.
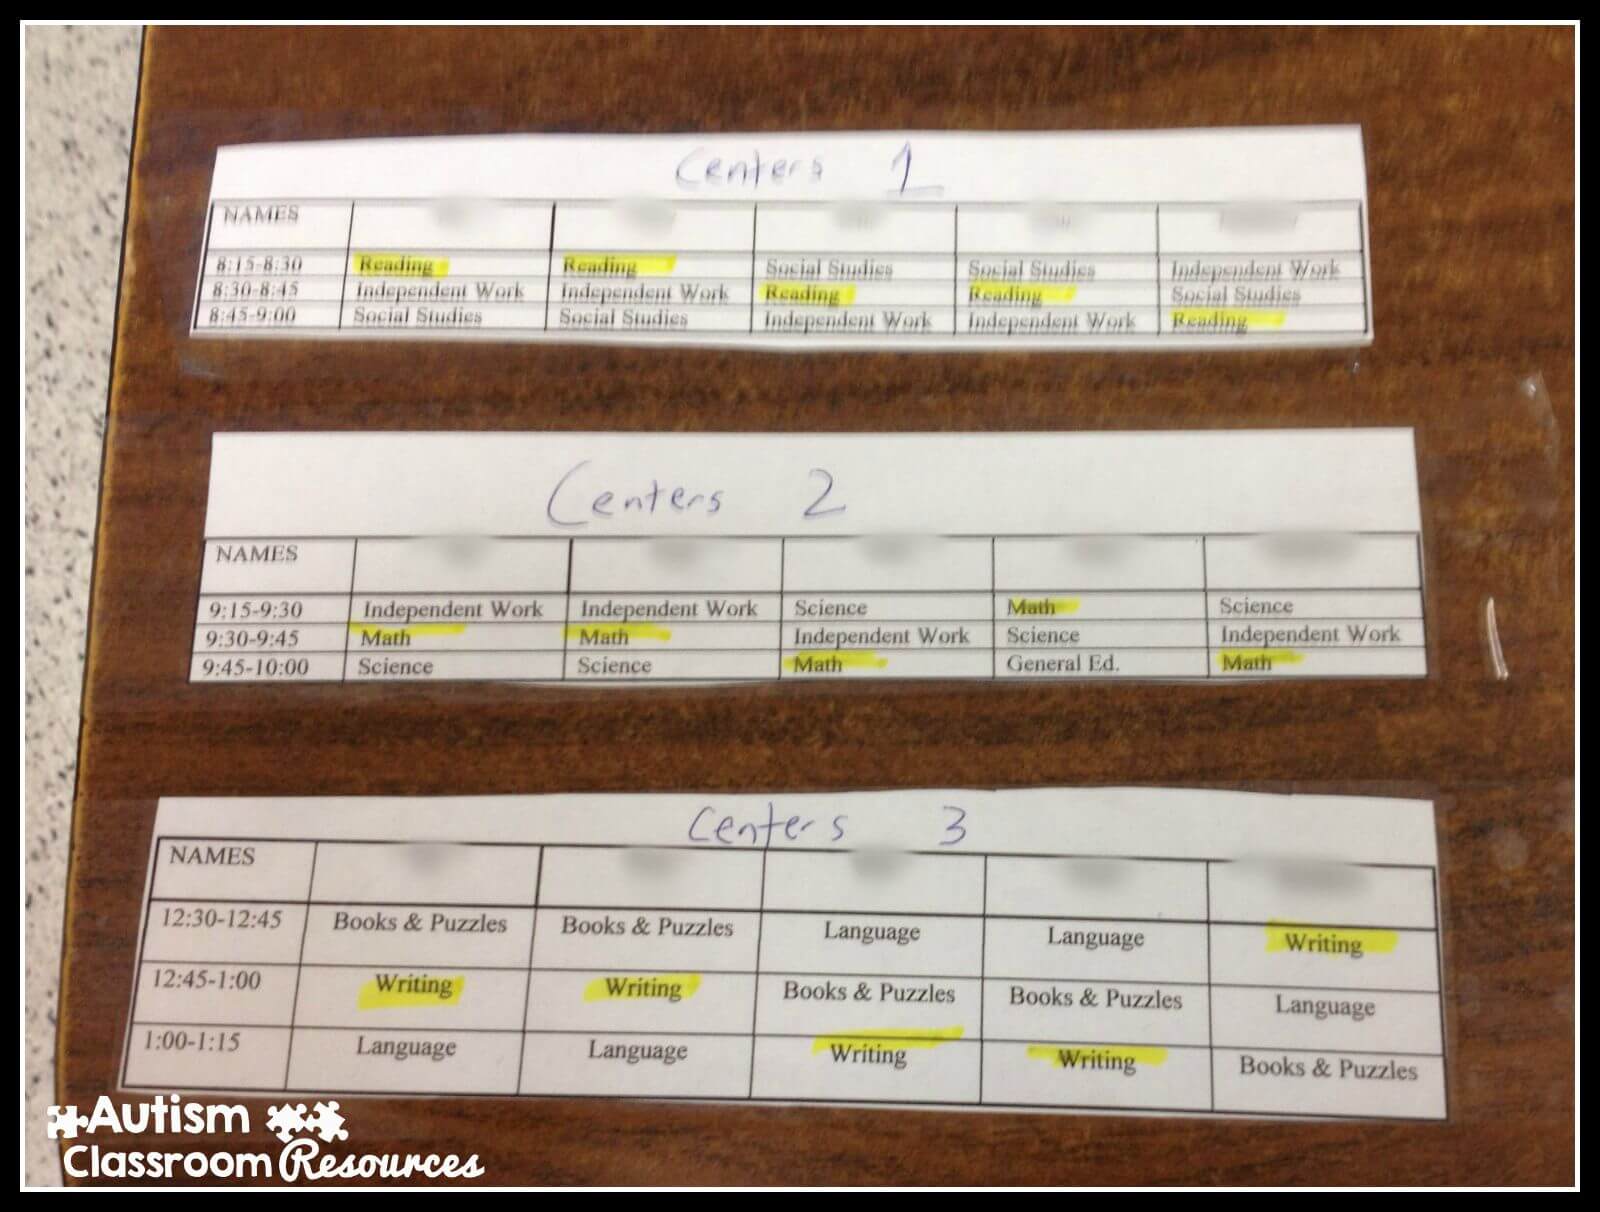
The number of students in the group will tell me how many work stations I need in the structured work system center.You can see in the picture below that the students rotate through 3 centers 3 times; two of the centers have independent work.
Setting up the Systems
Once I know how many systems I need within the center and the needs of the students in the group, I can start to think about how to organize the systems to make them work.
Groups by Level of Skill:
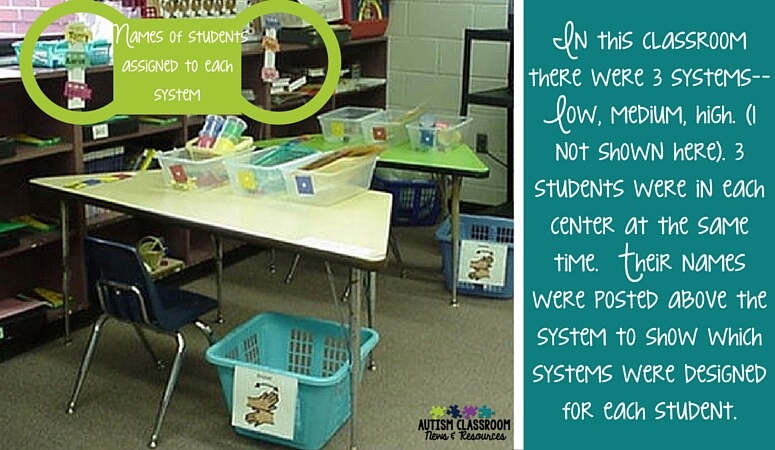
If I grouped the students by levels of skill, I might have three groups of higher students (more academic work), medium students (working independently on more complex tasks), and more complex learners (working on put-in tasks to learn how to use the system). In that case, I would set up the centers so that for rotation 1 the tasks are high; for rotation 2, the tasks are medium; and rotation 3 has put-in tasks. To assist with this I would do the following:
- Set up the center with systems matching the largest number of a group
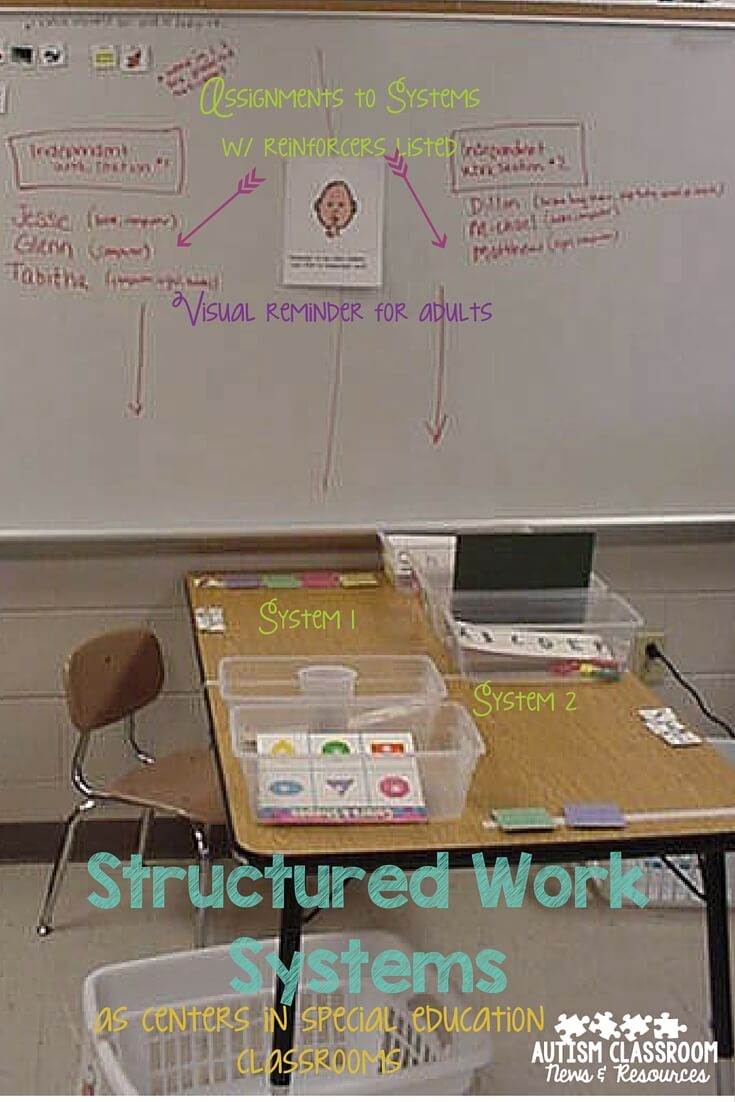
- Label each system with which students will work there
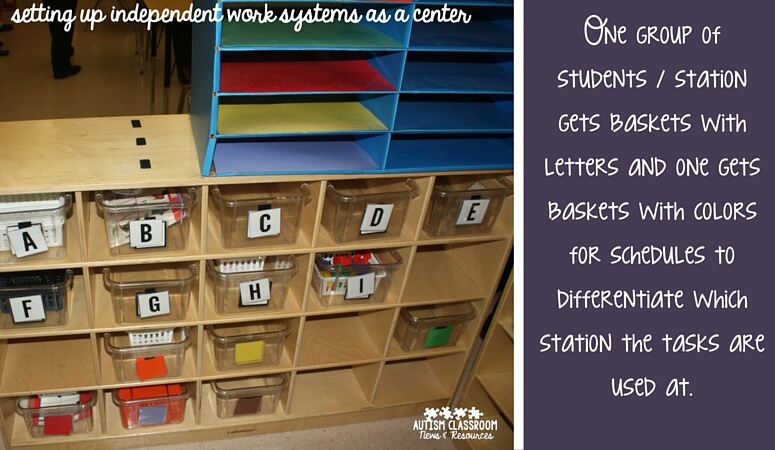
- Set up the baskets on a shelf and you can do it one of two ways.
Option 1: Set up a set of baskets for each student. If you have the room, set up the baskets you want each student do. I typically use the schedule icons to tell me which ones belong to which students. So, the highest group uses letters, the middle uses numbers and the lowest uses colors. Then I can set them up by the station and staff knows that each group gets the corresponding baskets. It’s easy then to switch them out when its’ time because you just take the baskets off the shelf and put them on the table. You also don’t have to reset all the previous students’ tasks before the next group can can sometimes be a stretch.
Option 2: Store tasks in ziplock bags and replenish the system with them. This option works well if you don’t have a lot of space or enough baskets. In this situation, store the materials for each task in a large ziplock bag and label it. Then, when setting up the systems, staff just takes the tasks out of the bags and put them in the baskets of the system. Clean out the finished basket when that group is done and replace the tasks with the next set of tasks from the bags. Again, I label them with the icons I use for each group so it’s easy to put them in order, in case I have a high interest activity as the last task to motivate the student.
Groups with Multiple Levels of Skills
When I group students so that there are multiple levels of skills, I can usually break them down into high, medium and low groups. Then, I set up the system so that one system in the center is designated high level skills of academic skills that all the higher level kids can do. Another system is set up with medium tasks that all the middle group can do completely independently. And finally, the third system would have lower level tasks like put-in tasks. If I only have 2 systems and 2 students in each group, I might just have a high system and a low system. I then would use the options above for storing the tasks in the same way but they would be set up by low, and high.
 Expanding the Systems
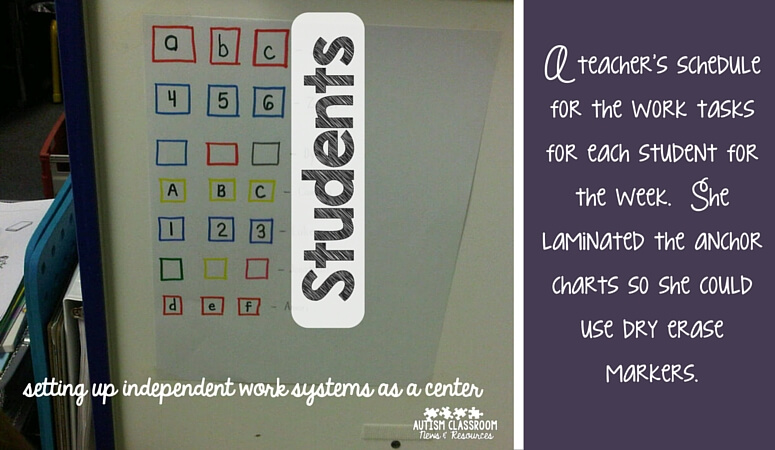
Once you get to know the students and they begin to get some skills under their belt, you can start to individualize the systems a bit more. I generally number all the tasks in storage (whether in notebooks, baskets, or bags). Then I keep a running list of tasks that students master as they master them and post it in the independent work area. In the lesson plans I then specify which tasks to set up for each student each day or for the week. In that way I can individualize the tasks more to the needs of the students as I get to know them and as they progress.
So hopefully that gives you some ideas about how we use work systems as a center in classrooms. If you have any questions or suggestions I’d love to hear them. If you are interested in more ideas about work systems and how to get started with them, you might find the following resources useful.
Looking to set up work systems in your classroom but not sure where to start? Check out my Structured Work Starter Kits and Bundles in my store.
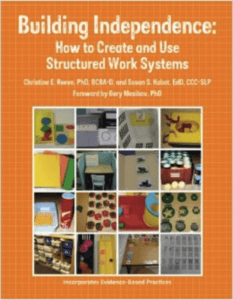
And, I wrote about a book about them! Click on the book to the left for an Amazon Affiliate link (see my disclosure policy for more information about affiliate links).
NOTE: I’ll be back on Facebook Live next Sunday, July 17 at 7 PM to chat about setting up classroom spaces and kick off a new series. I hope you’ll join me on the page!
Until next time,

