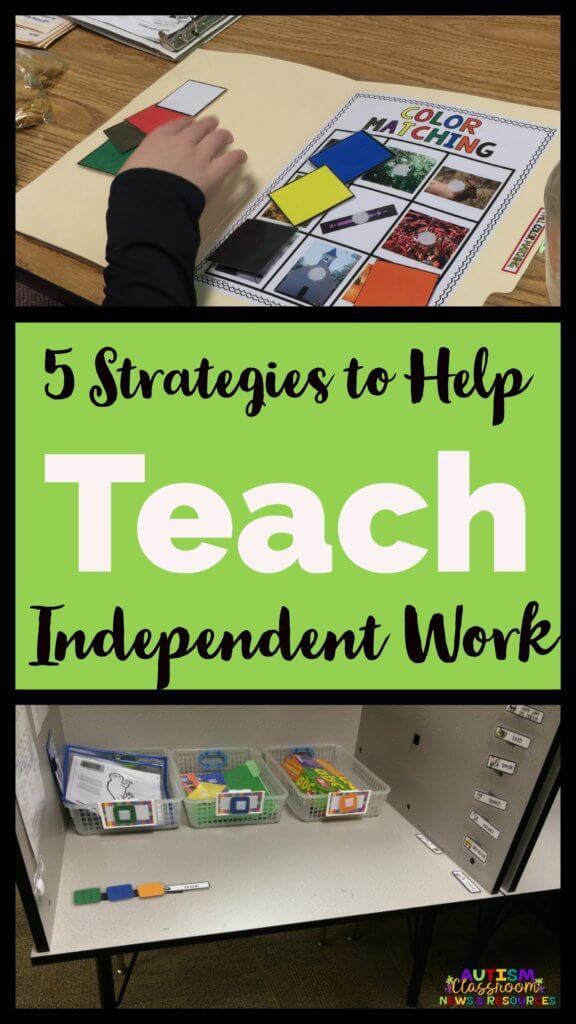

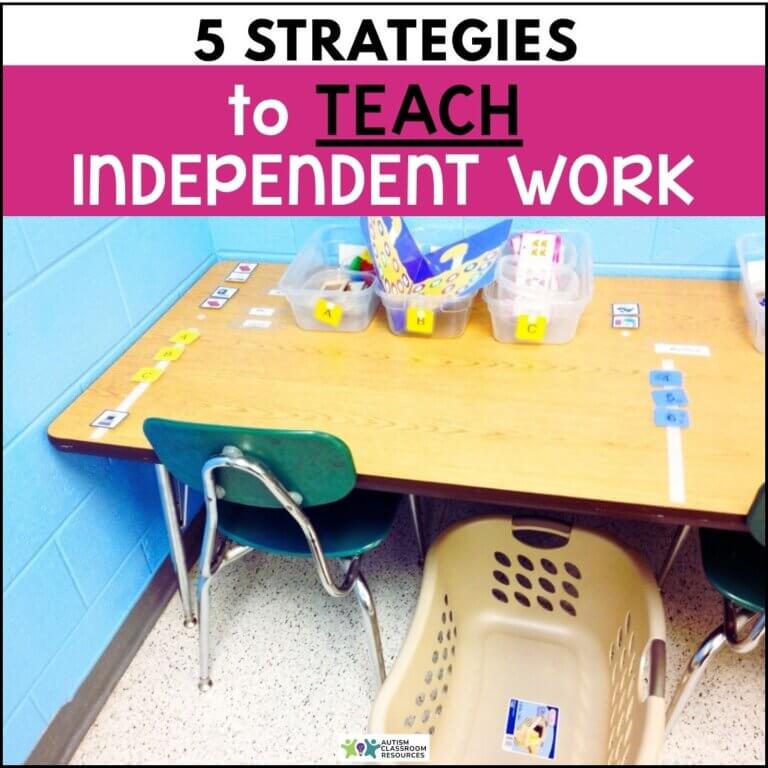

You’ve set up your independent work system and you’ve got great tasks and organization…so how do you assure that you teach independent work your students build independence? These 5 strategies are important in getting to the final goal!
It’s not enough to set the system up…we have to actively teach our students to work independently. Our goal should be how to get our students to work like they don’t need us. Because you don’t want to spend the rest of your life prompting them, right?
So let’s talk best practices to teach independent work and get you (and your paras) out of the independent work area.
Table of Contents
5 Best Practice Strategies for Teaching Independent Work
Just like with the system and the tasks, there are reasons why we teach independent work the way we do. Here are the 5 things you need to know to teach independent work.
1. Nonverbal Prompts only
Stop someday and listen to your classroom. What do you hear? Do you hear students conversing? Do you hear quiet because everyone is working? Or do you hear adult voices giving directions?
Some of the adult voices and directions are needed and inevitable. But sometimes we get so used to directing that we forget that our students learn to wait for those directions.
One of the most efficient methods for fading out assistance is to avoid using verbal prompts if you can help it. Unfortunately verbal prompts are some of the most frequent and easy prompts we use. How much easier is it to tell someone what to do than to point, get a visual or even just wait for them to do it? So much easier!
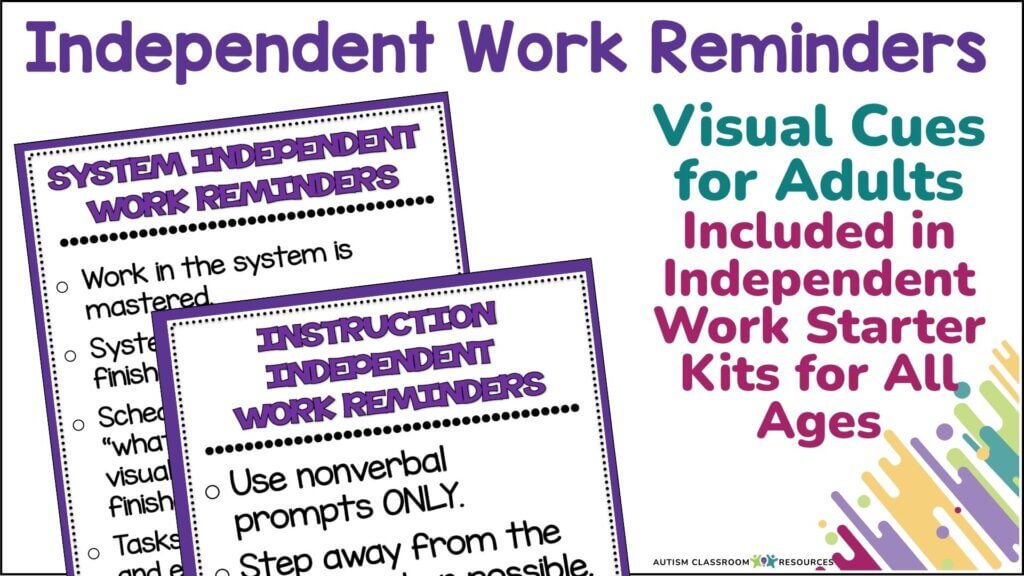
Therefore, I find it easiest to make a rule for the classroom staff that only nonverbal prompts are used to teach independent work. Because all work tasks are visual in some way, it’s easy to use only pointing, gestures, physical prompts or visuals to redirect the student to complete the task. You aren’t using verbal tasks that require him to talk to a person, so there is no need to respond verbally. Verbal prompts are difficult to fade for many of our students so they wait for the verbal prompt each time.
How to do it?
So, how do you use nonverbal prompts? I use a 3-prompt procedure in which I wait for the student to start the work after the direction “It’s time to do your work.” After 5 seconds (more or less depending on the student), I might step in with a point at the schedule (or where ever the student got stuck).
Then I’ll pause again, and step in after 5 seconds and put his hand on the task or item for the next step (or I’ll model putting something in the basket and then put it back for him to complete). And I’ll do the waiting game again before I finally do a hand-over-hand physical prompt and we can move to the next step.
You can see examples of prompting hierarchies and links to posters in this post.
2. Wait the student out
OK this one is implied in #1 above, but it bears repeating. The biggest step in building independence is waiting for the student to initiate the activity and complete the steps. So often we jump in and prompt before the student can get started.
Tips
Let’s face it, waiting is hard. So I find it helpful to employ a few strategies to help.
3. Point to the reinforcer visual (what’s next)
One of the primary gestures I use to get students going or back on track is to point to the “what’s next?” visual. This is typically a reinforcer for the student provided when the work system is finished. Not having this often results in students stalling out within the system. An effective, nonverbal, way to get them back on track is to remind them of the incentive. Just don’t talk about it.
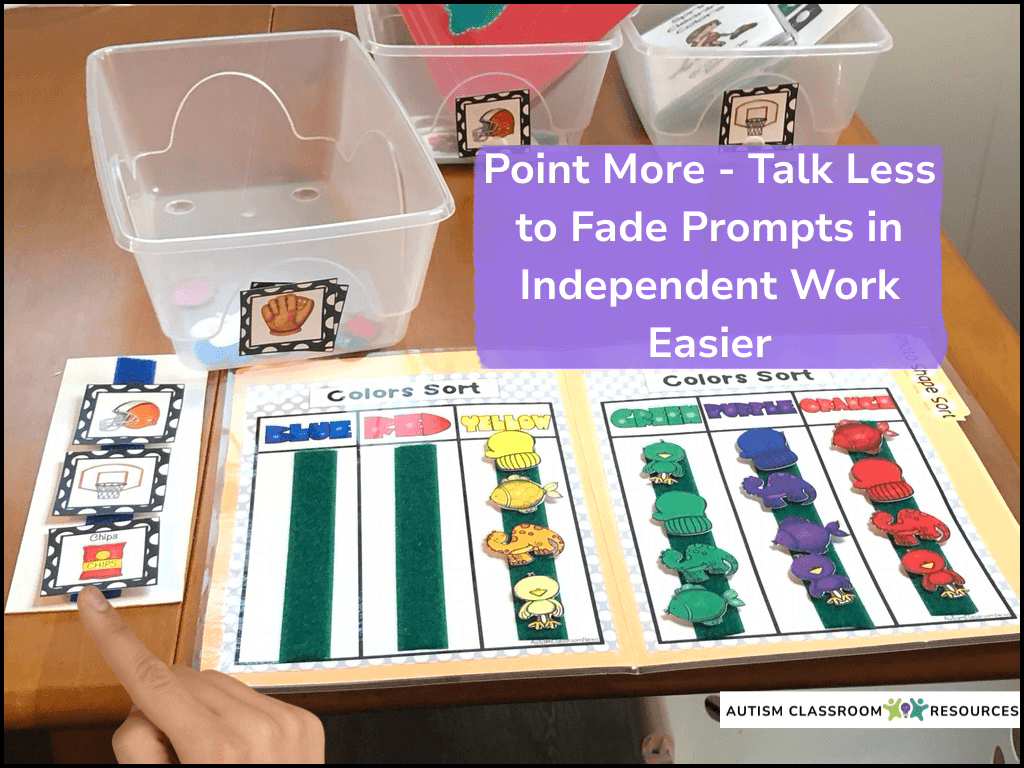
4. Fade proximity
In addition to fading out your prompts, you need to make sure that the adults are fading out their proximity (i.e., their mere presence in the area) to the student. For some of our students, just standing behind them is a prompt. So, make sure that you are moving away from the area. Eventually you want the student to be told, “Go do your work” and have him go to the area, sit down and work with his scheduled tasks.
You can fade yourself out by moving farther away from the student over time. Then moving out of the area and just coming back to check periodically.
5. Praise only at the end
And finally, this one is sooo important. Not only do you want to avoid giving directions and prompts for every step, you also want to avoid praising every step completed.
Why? Because for many of our students they will wait for your response to check their work before continuing to the next step. Remember that you are trying to teach independent work without having to supervise it. If you have to be there to approve each step, you might as well be prompting the next step too. We want our students to be independent workers and complete tasks from start to finish. Then we can praise them when the task is done!
You don’t want an employee who asks you about whether each step of a job is correct or waiting for your approval. So make sure we are using praise and reinforcement for completion.
This post contains affiliate links for purchases. I only recommend resources I use myself. The price is the same to you, but it gives me a small commission to keep finding them for you.
I’ll be back with ideas for training staff. In the meantime, if you are looking for task examples, check out the series of Workbasket Wednesday posts.
You might also want to check out our book on Building Independence (affiliate link). Or check out our free webinar on independent work systems here or in the Academy.
-
Sale!
Independent Work Stations Middle & High School Life Skills Starter Bundle
Original price was: $55.05.$40.14Current price is: $40.14. Add to cart -
Sale!

Independent Work Stations Task Box Starter w File Folder Activities & Task Cards
Original price was: $39.90.$31.75Current price is: $31.75. Add to cart