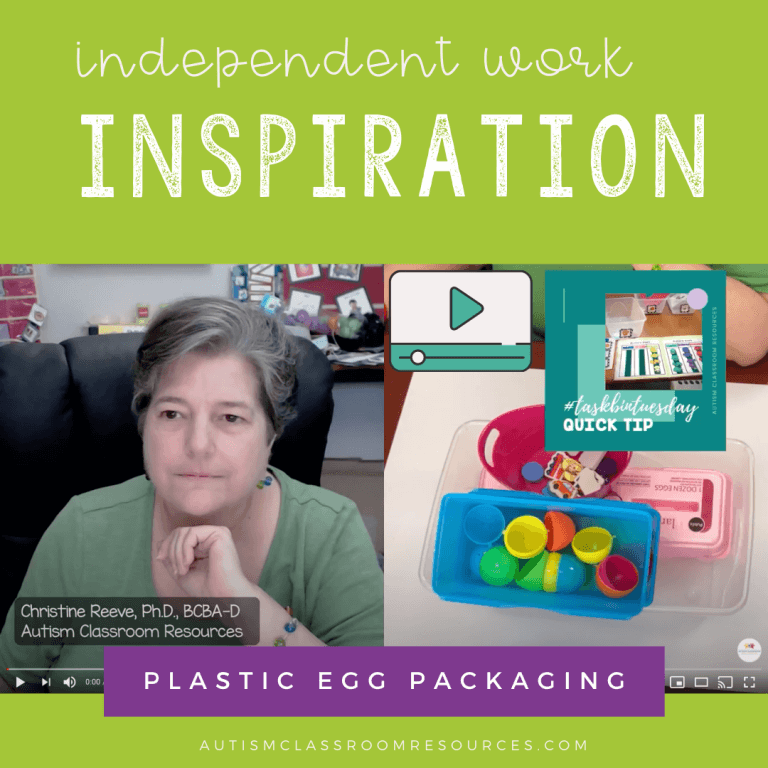
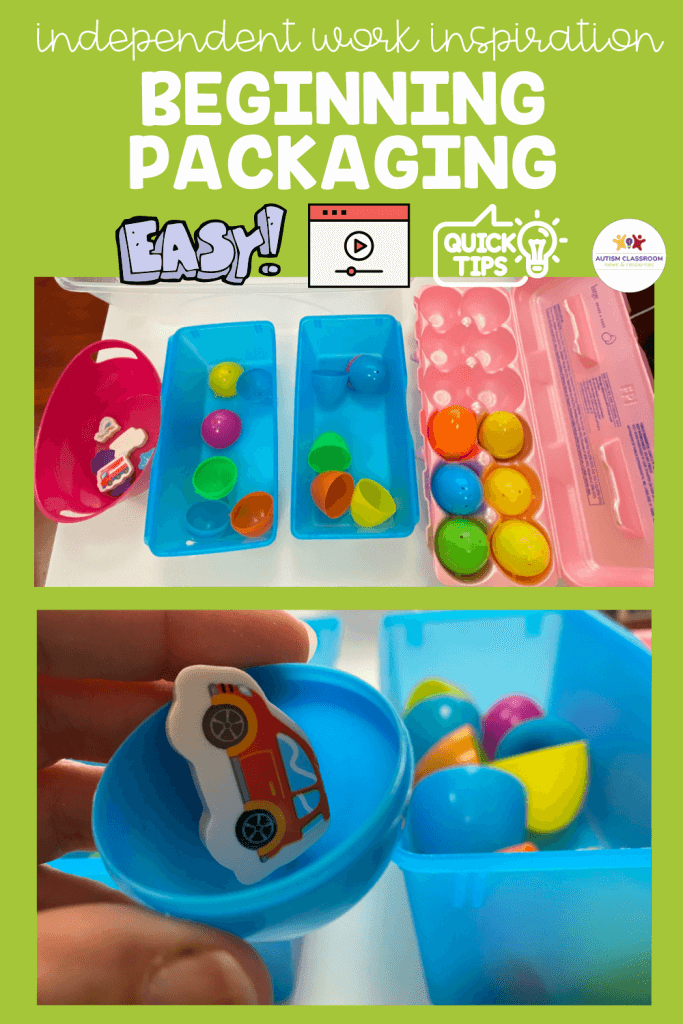
One of the great things about plastic eggs is that they offer a fun way to start to teach students beginning packaging skills. Packaging skills are when students learn to put items in containers and seal them up. With eggs, that simply means putting something in the egg, finding the matching half of the egg, and closing it up. So it’s perfect for beginning packaging. It’s simple and it’s fun.
Independent Work Inspiration: Material List
- 12 Plastic Eggs
- 1 Egg Carton
- 12 small items like mini erasers
[socialpug_tweet tweet=”Plastic eggs offer a great way to start students on beginning packaging tasks in a fun way. Find out how with this video tutorial and tips in this #IWinspiration post. #teacch #taskboxes” display_tweet=”Plastic eggs offer a great way to start students on beginning packaging tasks in a fun way. Find out how with this video tutorial and tips in this #IWinspiration post” style=”2″]
Plastic Egg Beginning Packaging Task: Who is it For?
This beginning packaging egg task is great for younger students, but you can adapt it with other types of containers for older students. For younger students, it’s a fun and simple way to put one item in each egg. For older students, you could use small containers like the ones I used in this post with money to make it more age respectful. Whoever you set it up for, just make sure that they have mastered the skills, and that they can match the sides of the eggs and put them together. I’ll have more about this in the tips after the video.
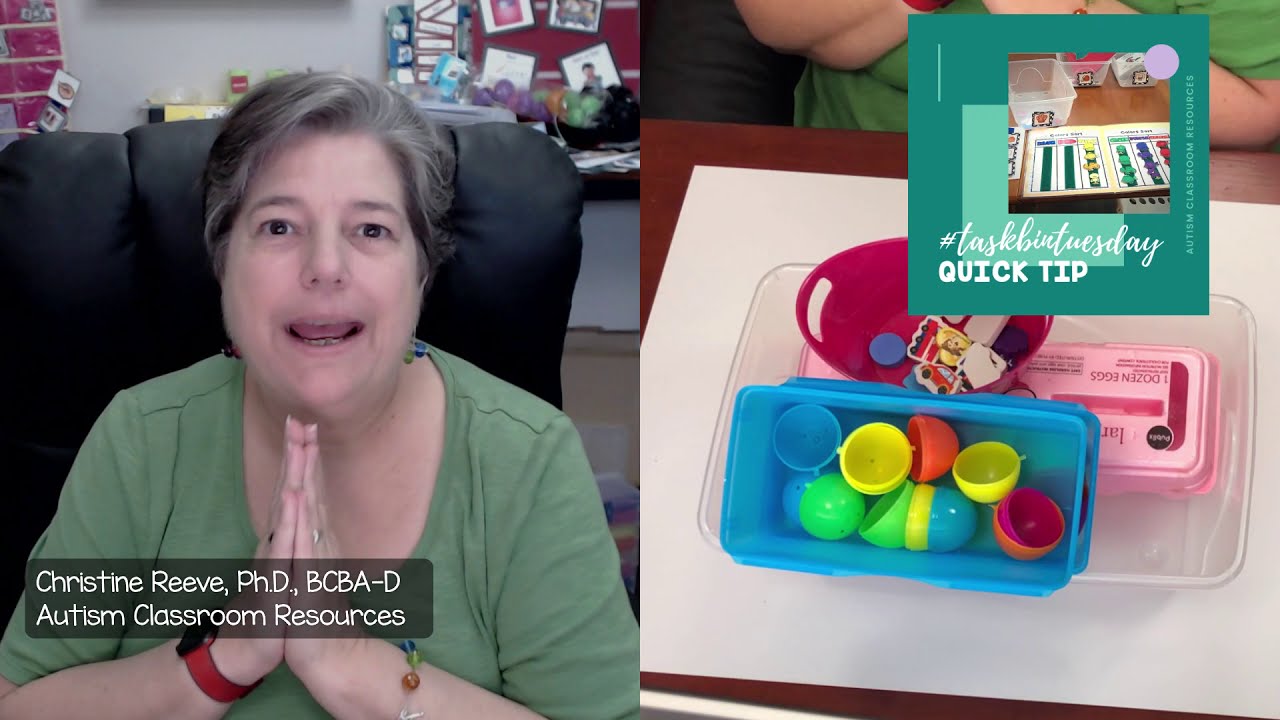
Plastic Egg Put-In Task Video
Adjusting the Difficulty of Beginning Packaging Skills
It is easy to bump the difficulty of this beginning packaging task up or down. If your students aren’t quite ready to put an item in the egg, just have them match the bottom and top of the eggs and assemble them. Then later you can add the packaging component.
If your students find 1 item too easy, add more small items. For instance, students have to put in 1 mini eraser and 1 bead into each egg. Just put each set of items (erasers, beads) in separate containers so they know to take 1 from each. Lay it out for them in the basket so that 1 side of the eggs, then the eraser, then the beads, then the other sides of the eggs go left to right so they learn to put it in order.
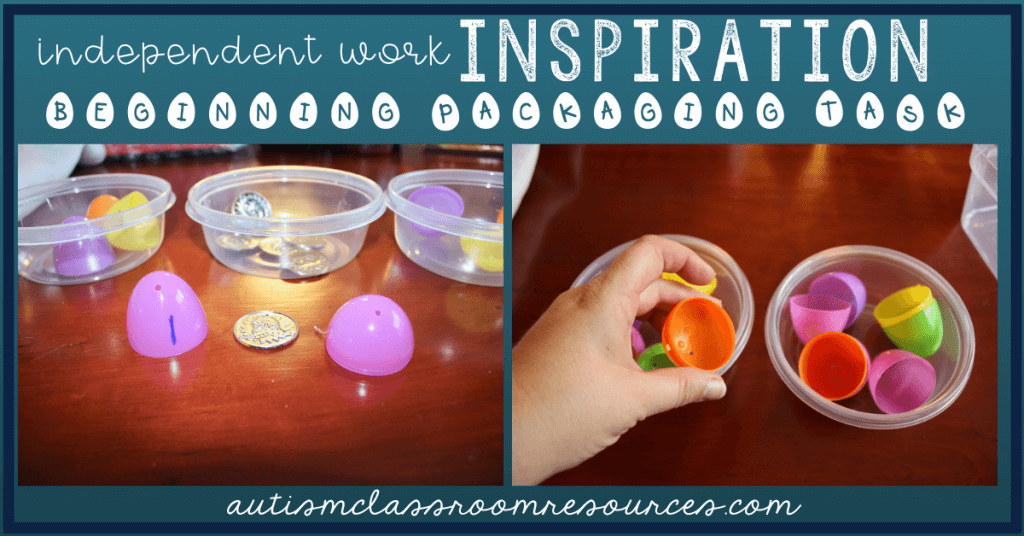
You can also have them package specific numbers of items, as shown in the left photo below. In that task, they have to put the number of coins in to match the number on the egg. Or make it easier by eliminating the items that go into the egg. Then they just put the two pieces together, as you see on the right picture.
Additional Tips for Beginning Packaging Tasks
Make sure you have the same number of eggs (with the same numbers of each side) and items to be packaged. You don’t want the students to be confused by having extra left over pieces. You can also decrease difficulty by decreasing the number of eggs the student has to complete. But, you may want to break the egg carton down to a 6 or 4-egg carton so the students don’t get confused when there are empty spaces.
Once you have the eggs and things to fill them, this is an easy and quick task to set up and can be used throughout the year. Want to see how these beginning packaging tasks can be expanded toward more functional and vocational skills? Check out this post for more ideas.
Need more ideas for independent work inspiration? Check out the resources below.
More Workbasket Wednesday Resources
Looking for more ideas on special education work boxes or work systems and how they can be used? Check out the links in Resources below for more posts. And, I wrote about a book about them!
Buy From Amazon (including Kindle) (see my disclosure policy for more information about affiliate links).
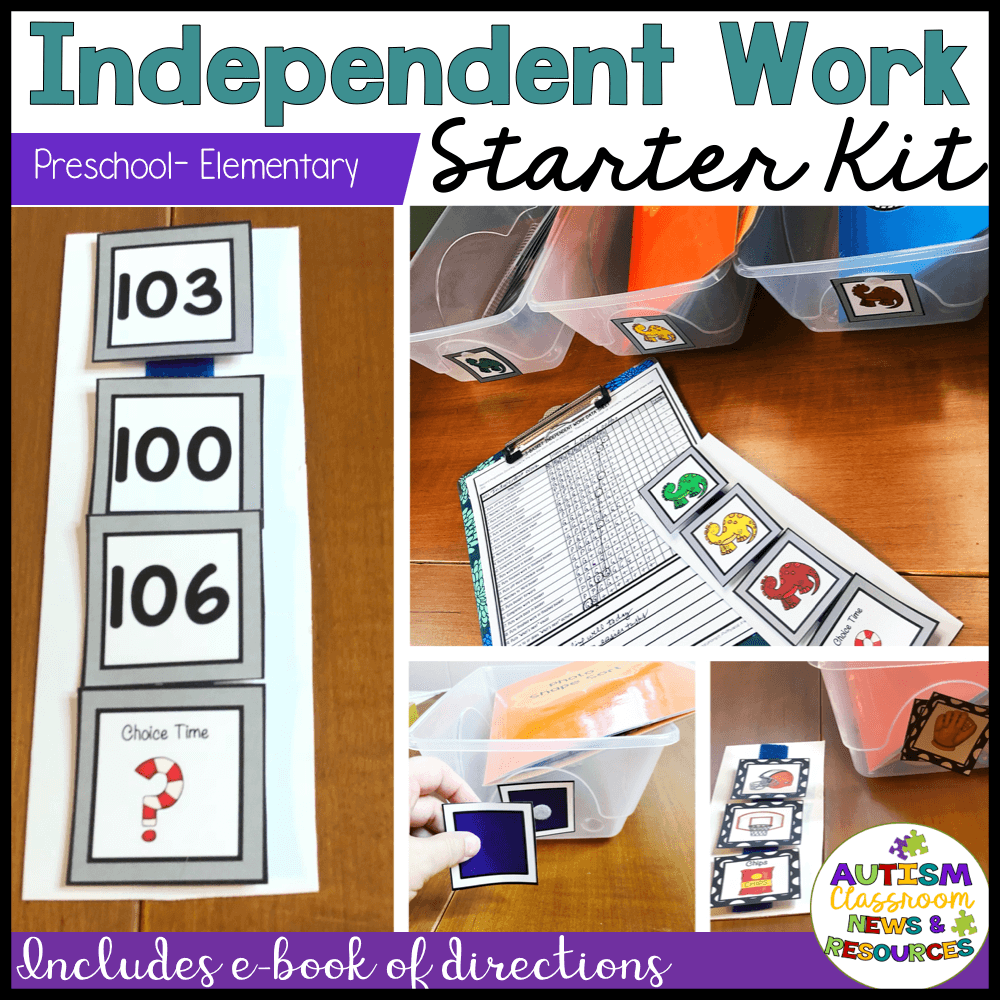
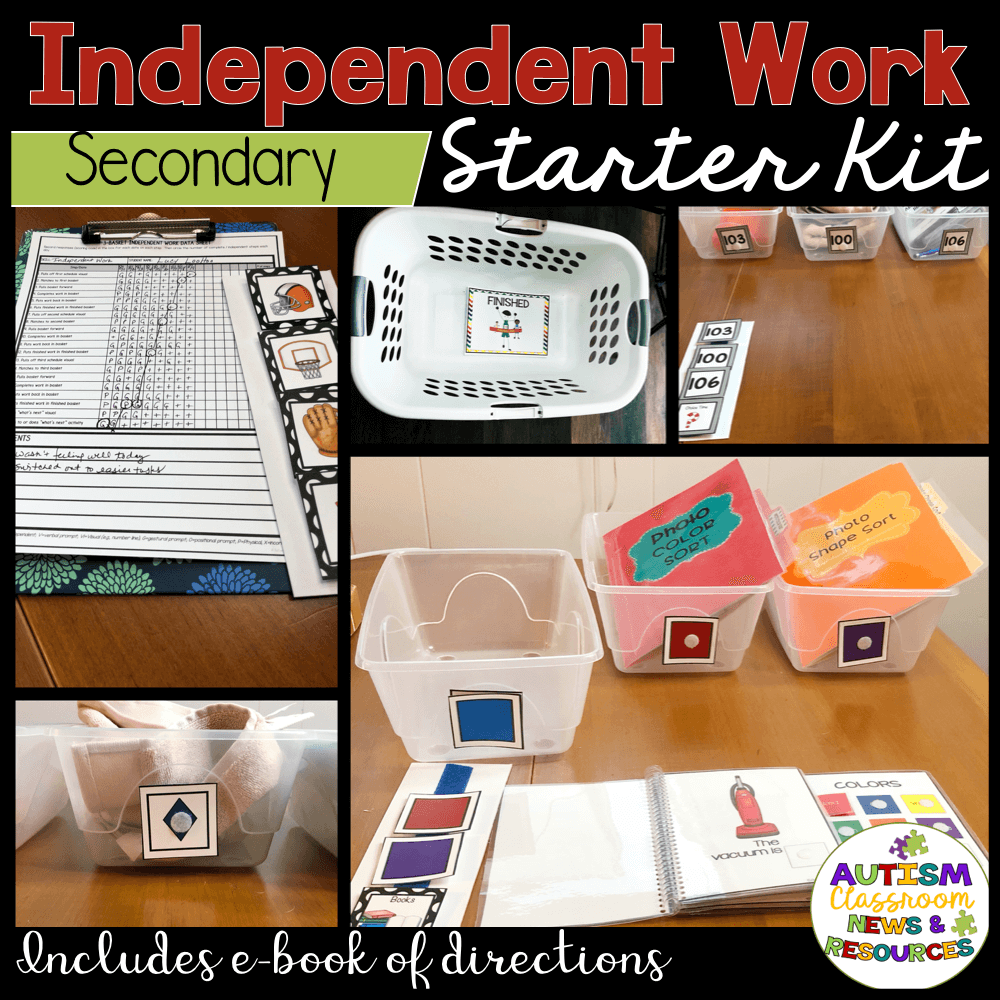
GET ALL THE VISUALS AND ORGANIZATIONAL TOOLS YOU NEED to start independent work in your classroom.
These kits include an e-book with directions on setting up independent work systems and using the materials included, data sheets for tracking progress, visuals for the special education work boxes and schedules, what’s next visuals, and mastery sheets to keep track of which students have mastered which task.

